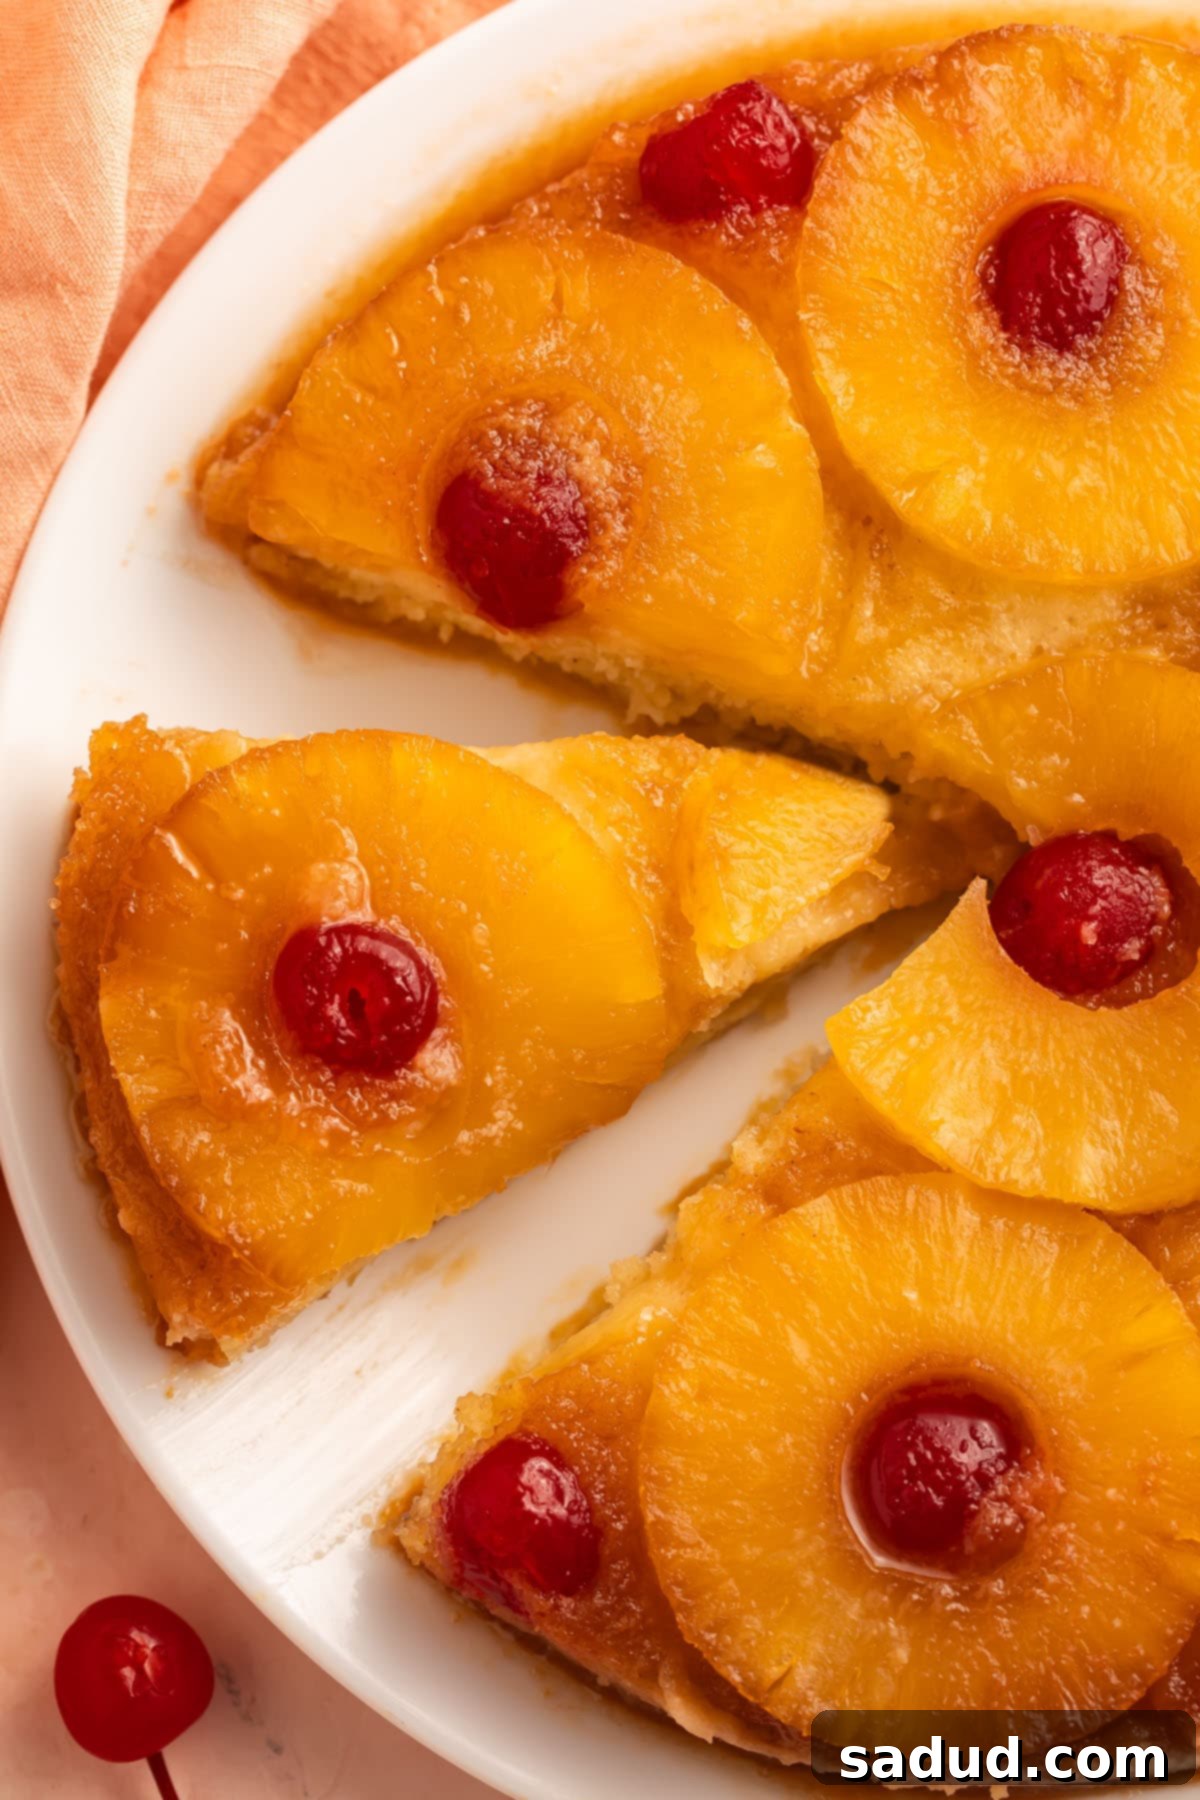
The Ultimate Gluten-Free Pineapple Upside-Down Cake: A Sweet & Easy Classic
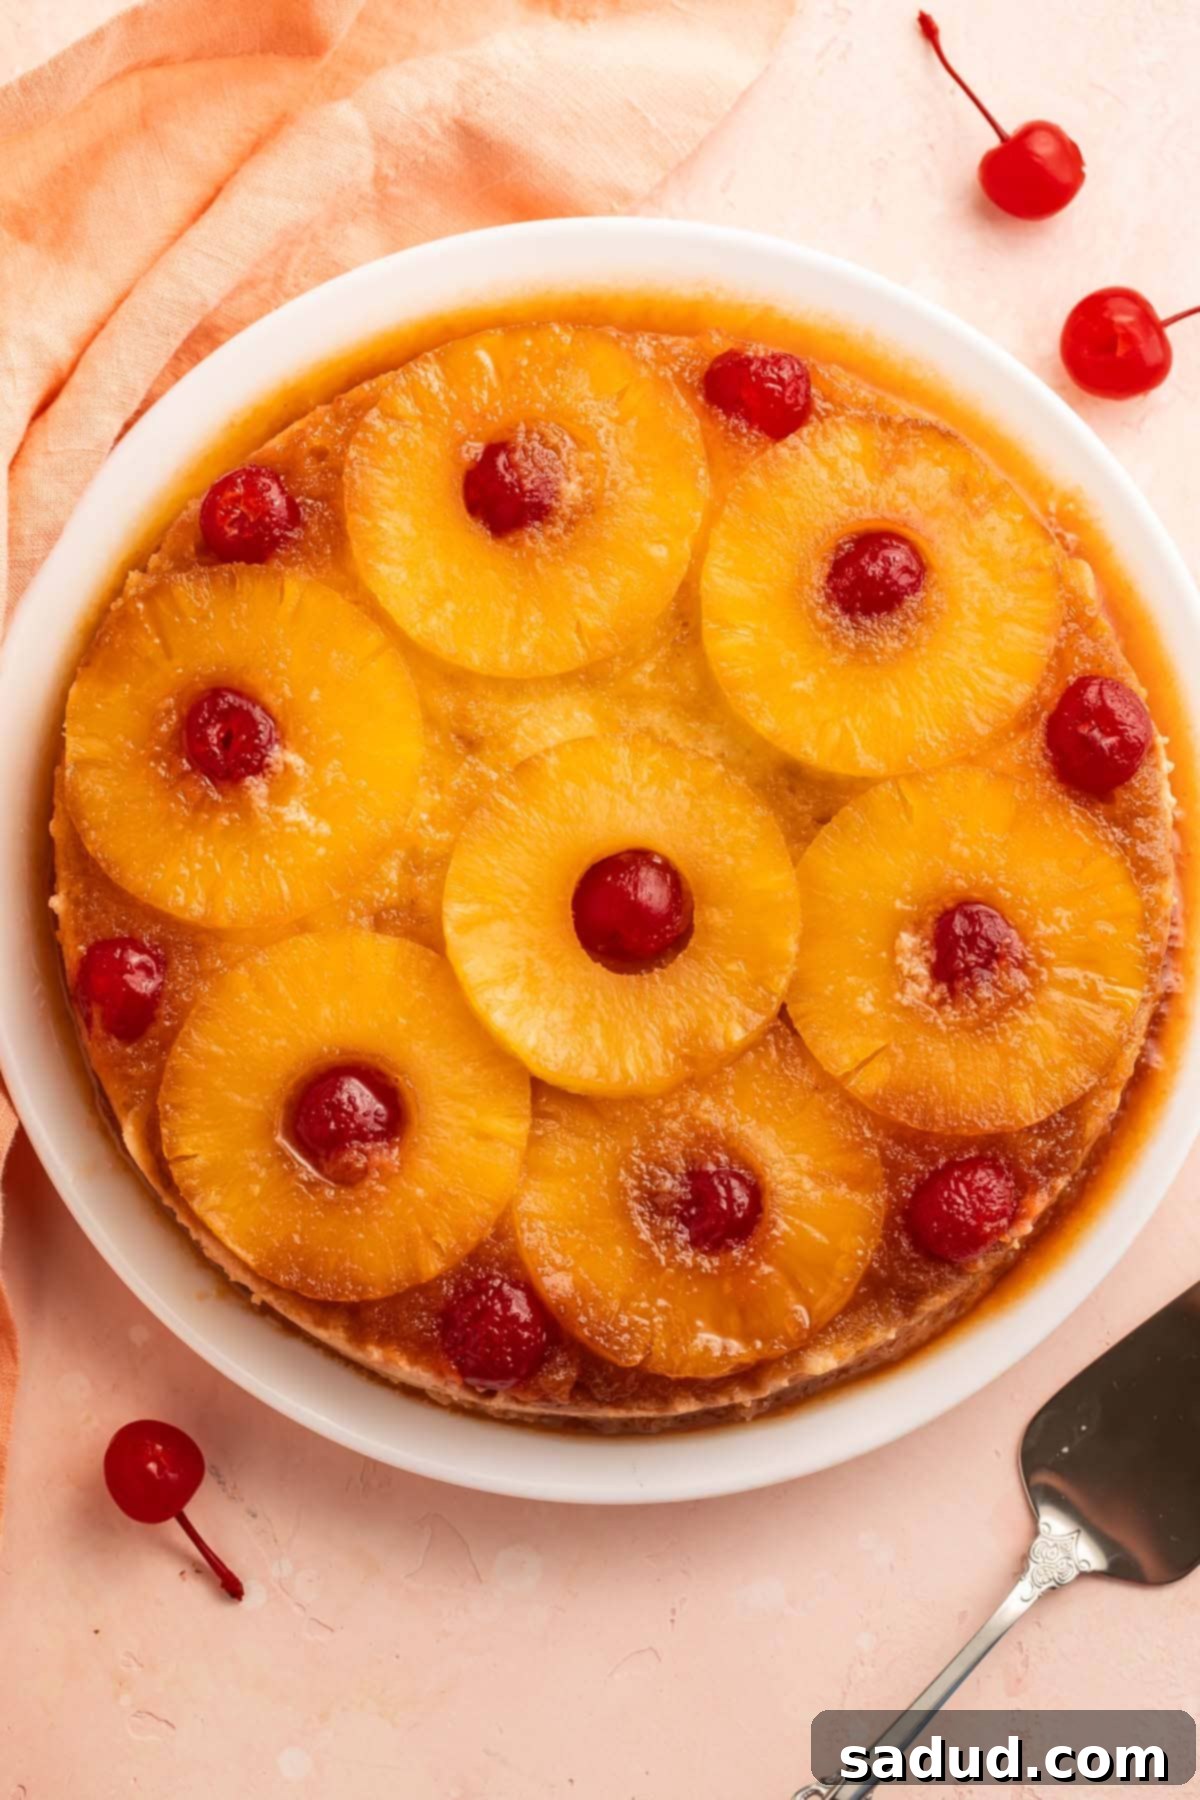
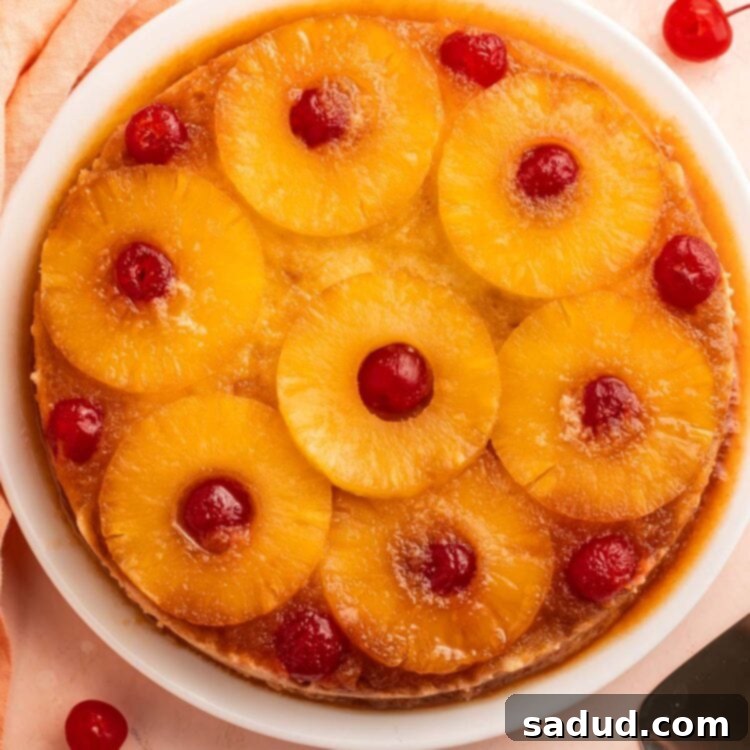
Imagine a dessert that instantly transports you back to simpler times, a true classic reinvented to fit modern dietary needs. This isn’t just any cake; it’s a perfectly moist, rich sponge, generously crowned with vibrant, tangy pineapple rings and sweet, lush maraschino cherries. All of this is enveloped in a decadent, buttery brown sugar glaze that caramelizes beautifully during baking. This gluten-free pineapple upside-down cake delivers on every promise of its original counterpart – the same incredible flavor, the same delightful texture, but entirely free from gluten. It’s a show-stopping centerpiece guaranteed to impress at any gathering, whether it’s a festive Easter brunch, a family potluck, or just a special weeknight treat. The best part? No one will ever suspect it’s 100% gluten-free!
For those navigating a gluten-free lifestyle, finding desserts that don’t compromise on taste or texture can often feel like a challenge. Many gluten-free baked goods can be dry, crumbly, or lack the authentic flavor of their wheat-based versions. But this recipe shatters those stereotypes, offering a profoundly satisfying experience that tastes just like the cherished original. Get ready to bake a dessert that will earn you rave reviews and requests for the recipe, proving that gluten-free can be just as, if not more, delicious.
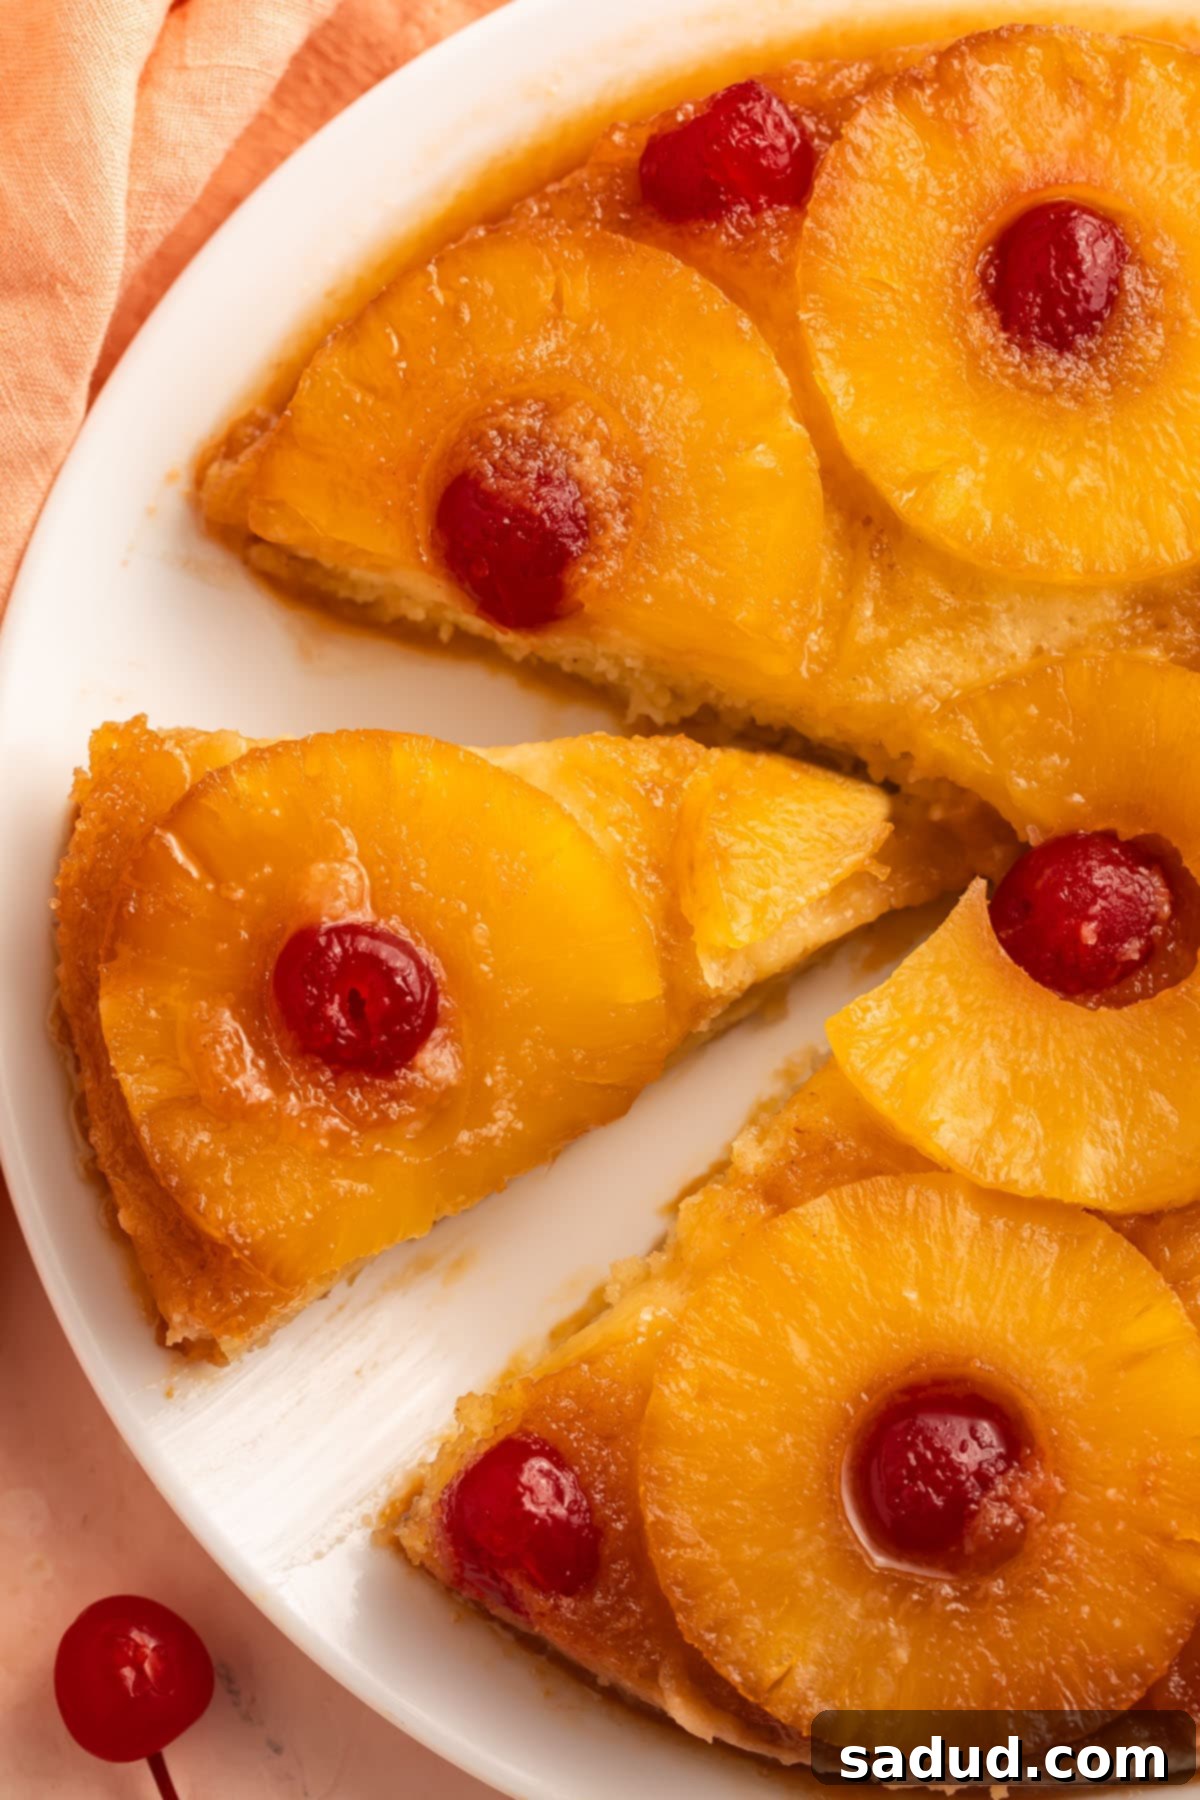
What Makes This Gluten-Free Pineapple Upside-Down Cake So Special?
- A Timeless Classic, Perfectly Reimagined: Pineapple upside-down cake holds a special place in culinary history, enchanting dessert tables for over a century. Its enduring popularity stems from its striking appearance and the delightful combination of sweet, tart, and buttery flavors. The original recipe, of course, was never gluten-free. Our version, however, faithfully captures the essence of this beloved dessert while making it accessible to everyone. We’ve meticulously tested and perfected this recipe to ensure it delivers the same nostalgic taste and irresistible texture you’d expect, without a trace of gluten. It’s a testament to how far gluten-free baking has come, allowing you to enjoy cherished classics without compromise.
- Absolutely Irresistible Flavor and Texture: Prepare your taste buds for an explosion of flavors! This cake is a symphony of contrasting and complementary notes. Imagine the bright, tangy burst of juicy pineapple slices, beautifully complemented by the sweet, slightly tart hint of vibrant maraschino cherries. This fruit topping is nestled in a rich, caramelized glaze of warm brown sugar and melted butter, which forms a divine, sticky-sweet coating once inverted. Beneath this glorious topping lies the cake itself – a tender, soft, and incredibly moist sponge. It strikes the perfect balance, being sweet enough to satisfy your cravings but not overly so, and rich without feeling heavy. Each bite offers a harmonious blend of fruit, caramel, and cake, creating a truly memorable dessert experience.
- Surprisingly Simple to Bake: Don’t let its stunning appearance intimidate you! Making this gluten-free pineapple upside-down cake is genuinely a breeze, even if you’re a novice baker. Many people assume gluten-free baking is complicated, but this recipe proves otherwise. We’ve simplified the process, focusing on readily available pantry staples and straightforward steps. My detailed instructions walk you through every stage, ensuring you achieve gorgeous, foolproof results every single time. From preparing the pineapple layer to mixing the batter and finally inverting the cake, each step is designed for clarity and success. You’ll be amazed at how easily you can create such an impressive dessert.
Essential Tips for a Perfect Gluten-Free Pineapple Upside-Down Cake
- This recipe is designed for a single 9-inch round cake, perfect for family dinners or smaller gatherings. If you’re looking to create a more elaborate presentation or serve a larger crowd, simply double the recipe. Bake two separate 9-inch cakes as instructed. Once cooled, carefully level the bottom (non-pineapple side) of one cake by trimming a thin layer off, then gently stack it on top of the other cake. This creates a beautiful, taller layer cake with double the deliciousness!
- Accurate flour measurement is crucial, especially in gluten-free baking. Always use the spoon-and-level method to measure your gluten-free flour. Instead of scooping your measuring cup directly into the flour bag (which can compact the flour and lead to using too much), use a spoon to lightly transfer the flour into your measuring cup. Once filled, use the back of a knife or a straight edge to level off the top, ensuring no excess flour. This technique prevents a dense, dry cake, a common pitfall in gluten-free baking.
- The freshness of your leavening agents makes a significant difference. Ensure you’re using fresh baking powder for the best results. Baking powder loses its potency over time, which can result in a flat, dense cake. If you’re unsure how old your baking powder is, it’s always best to err on the side of caution and purchase a new container. To quickly test its freshness, mix a teaspoon of baking powder with a few tablespoons of hot water; if it fizzes vigorously, it’s still good to use!
- Room Temperature Ingredients are Key: For a smooth, well-emulsified batter, make sure your butter, egg, and sour cream are at room temperature. This allows them to combine more easily and evenly, creating a lighter, fluffier cake texture. Take them out of the refrigerator about 30-60 minutes before you start baking.
- Don’t Overmix the Batter: Once you add the dry ingredients, mix just until everything is combined and no streaks of flour remain. Overmixing can develop the starches in gluten-free flour blends, leading to a tougher texture. A gentle hand will ensure a tender, moist crumb.
- Drain Pineapple Thoroughly: Patting the pineapple slices dry with paper towels is essential. Excess moisture can make your cake soggy on top and prevent the beautiful caramelization of the brown sugar glaze. Take a few extra minutes for this step – it’s worth it!
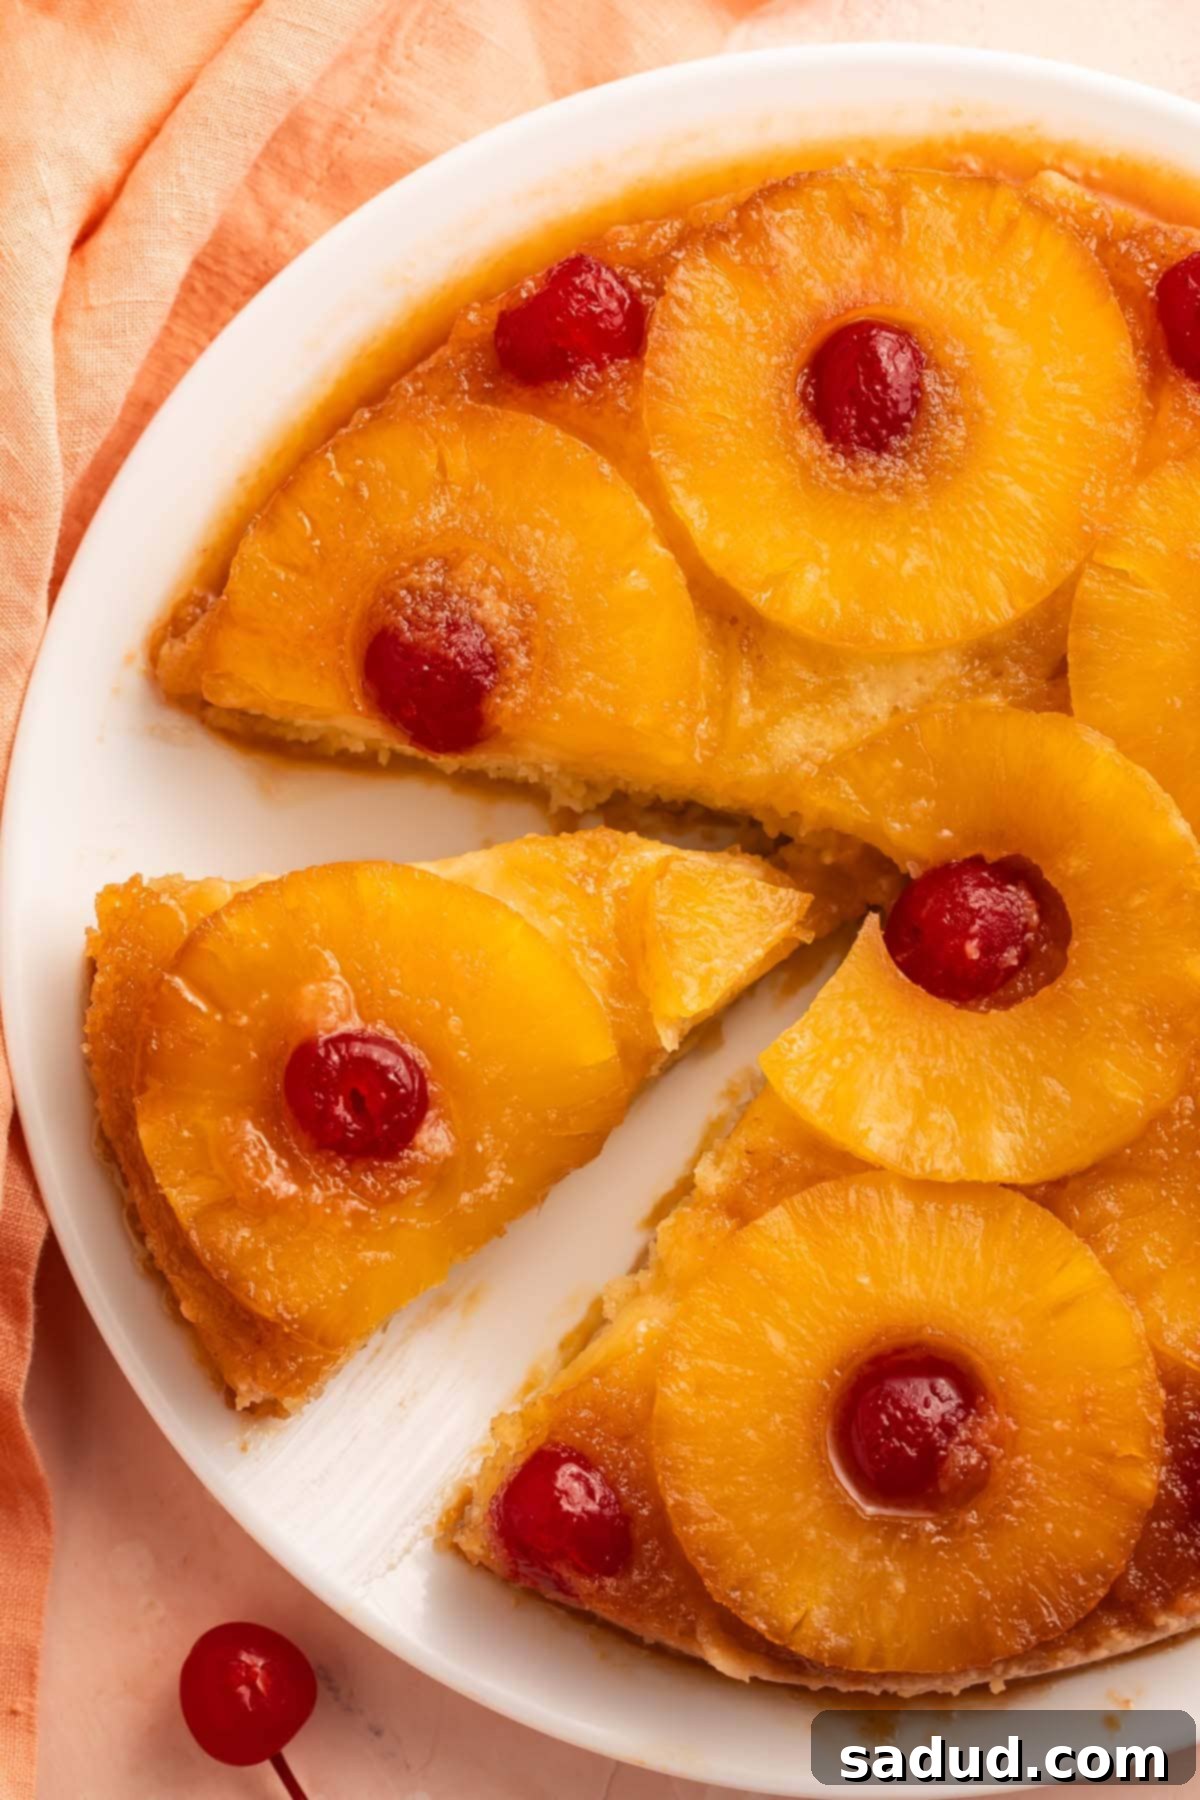
Why Choose Gluten-Free? Understanding the Benefits
For many, adopting a gluten-free diet is not a choice but a necessity due to conditions like celiac disease, a serious autoimmune disorder where consuming gluten leads to damage in the small intestine. Others experience non-celiac gluten sensitivity, which can cause digestive issues, fatigue, and other symptoms. Whatever the reason, finding delicious gluten-free alternatives for favorite foods is crucial for maintaining a healthy and enjoyable diet. This recipe ensures that classic dessert lovers don’t have to miss out on the joy of a pineapple upside-down cake, offering all the indulgence without any of the gluten-related concerns. Modern gluten-free flour blends and careful recipe development mean that giving up gluten no longer means giving up flavor or texture.
Serving Suggestions and Variations
This gluten-free pineapple upside-down cake is absolutely fantastic on its own, warm from the oven, allowing the buttery caramel and fruit to truly shine. However, for an extra touch of indulgence, consider serving it with a scoop of vanilla bean ice cream, a dollop of freshly whipped cream, or even a drizzle of extra caramel sauce. The cool, creamy accompaniment perfectly balances the warm, sweet cake.
Feeling adventurous? This recipe is also ripe for customization:
- Fruit Variations: While pineapple is classic, consider swapping out some or all of it for canned peach slices, apple slices (sautéed briefly first), or even a mix of berries for a different flavor profile.
- Spice It Up: A pinch of cinnamon, nutmeg, or even a tiny amount of ground ginger in the cake batter can add a wonderful warmth that complements the fruit.
- Nutty Crunch: Sprinkle a handful of chopped pecans or walnuts over the brown sugar mixture before adding the fruit for an added textural element and nutty flavor.
- Dairy-Free Option: To make this cake dairy-free, substitute unsalted butter with a high-quality plant-based butter alternative, milk of choice with dairy-free milk (almond, soy, or oat work well), and full-fat sour cream with a dairy-free sour cream alternative. Ensure your gluten-free flour blend is also dairy-free if necessary.
Storage and Make-Ahead Tips
This cake is best enjoyed the day it’s baked, especially while still slightly warm, to fully appreciate the gooey caramel topping. However, leftovers are still incredibly delicious and store well. Here’s how:
- Countertop: Store the cake, loosely covered with plastic wrap or in an airtight container, at room temperature for up to 2 days. The moisture from the pineapple helps keep the cake fresh.
- Refrigerator: For longer storage, you can refrigerate the cake in an airtight container for up to 4-5 days. Be aware that the caramel topping might firm up slightly when chilled.
- Freezer: To freeze, wrap individual slices or the entire cooled cake tightly in plastic wrap, then in aluminum foil. It can be frozen for up to 3 months. Thaw overnight in the refrigerator and bring to room temperature or gently warm before serving.
If you’re making this for an event, you can bake it a day in advance. Store it at room temperature and gently warm it in a low oven (around 250°F / 120°C) for 10-15 minutes before serving to bring out its fresh-baked aroma and soften the glaze.
More Sweet Treats You’re Sure to Love
- The Best EVER Gluten-Free Lemon Cake
- 4-Ingredient Banana Bread
- Gluten Free Oatmeal Chocolate Chip Cookies
- Orange Fluff Salad
- Keto Chocolate Mousse
- Gluten Free King Cake
- Homemade Fried Chicken Ice Cream
- Vegan Coconut Cream Pie
- Keto Red Velvet Cake
- Gluten Free Pecan Pie
- Perfect Vegan Pound Cake
- Carrot Cake with “Cream Cheese” Frosting (Gluten Free, Dairy Free)
- Gluten Free Mug Cake
- Vegan Oatmeal Cookies
If you loved this recipe as much as we did, don’t forget to leave us a review below. ★ Follow Easy Healthy Recipes on Pinterest, Facebook, and Instagram, too!
For more delicious recipes, visit our sister sites, 40 Aprons and Easy Cheap Recipes.
Gluten Free Pineapple Upside Down Cake
 Cheryl Malik
Print
SaveSaved!
Ingredients
For the Topping
- ¼ cup unsalted butter melted but not bubbling
- ⅔ cup packed brown sugar light or dark
- 8-10 pineapple slices 1 20-ounce can, drained well, slices patted dry
- 18 maraschino cherries
For the Cake Batter
- ¼ cup unsalted butter at room temperature
- 1 cup granulated sugar
- 1 teaspoon pure vanilla extract
- 1 large egg at room temperature
- 1 ⅓ cups gluten-free all-purpose flour must contain xanthan gum
- 2 teaspoons fresh baking powder see Notes
- ½ teaspoon salt
- ⅓ cup full-fat sour cream
- ⅔ cup milk of choice
Equipment
-
Oven
-
neutral-flavored cooking spray
-
9-inch round cake pan
-
stand mixer bowl or large mixing bowl
-
stand mixer or hand mixer
-
paddle attachment for stand mixer or beater attachments for hand mixer
-
Silicone spatula
-
toothpicks or butter knife
-
cake plate
Instructions
For the Pineapple Layer
-
Preheat oven to 350° Fahrenheit. Adjust oven racks as needed to allow cake pan to sit in center of oven. Spray 9-inch round cake pan with neutral-flavored cooking spray, making sure to cover bottom and sides of pan.
-
Pour ¼ cup unsalted butter (melted) into cake pan. Swirl and tilt pan to distribute butter across evenly across bottom of pan.
-
Sprinkle ⅔ cup packed brown sugar evenly over layer of melted butter.
-
Arrange 8-10 pineapple slices around bottom of pan, placing one ring in center of pan, then placing remaining pineapple rings around center ring. Pineapple slices should touch but not overlap.
-
Arrange 18 maraschino cherries around bottom of pan, placing 1 maraschino cherry in center of each pineapple slice, then using remaining cherries to fill in any spaces between pineapple slices.
-
Set cake pan aside.
For the Cake Batter
-
Add ¼ cup unsalted butter (at room temperature) and 1 cup granulated sugar to mixing bowl. Using stand mixer or hand mixer, beat ingredients together on low speed 1 minute, then increase speed to medium.
-
Continue mixing ingredients until mixture is pale in color and fluffy, approximately 3 to 5 minutes. Be careful not to overmix ingredients. Pause mixer as needed and scrape down sides of bowl with silicone spatula.
-
After creaming butter and sugar, pause mixer and add 1 teaspoon pure vanilla extract and 1 large egg. Mix ingredients together until fully incorporated into creamy mixture. Pause mixer as needed and scrape down sides of bowl with silicone spatula.
-
Pause mixer and add 1 ⅓ cups gluten-free all-purpose flour, 2 teaspoons fresh baking powder, and ½ teaspoon salt to mixing bowl. Mix ingredients together until fully incorporated, with no clumps of dry ingredients remaining. Pause mixer as needed and scrape down sides of bowl with silicone spatula.
-
Gradually add ⅓ cup full-fat sour cream and ⅔ cup milk of choice to mixing bowl, mixing constantly on medium-low speed until ingredients are incorporated and cake batter is thick and smooth. Pause mixer as needed and scrape down sides of bowl with silicone spatula.
To Bake the Cake
-
Carefully pour prepared cake batter into cake pan, covering pineapples and cherries completely. Use silicone spatula to smooth and spread cake batter evenly across pan.
-
Place cake pan in preheated oven. Bake cake 45 minutes.
-
After 45 minutes, check if cake is baked through by inserting toothpick vertically into center of cake then immediately removing toothpick. If toothpick is clean when removed from cake, remove cake pan from oven. If toothpick is covered in wet batter or cake crumbs, continue baking cake until toothpick is completely clean when removed.
-
When cake is baked through, carefully remove pan from oven and set aside. Let cake cool 10 to 15 minutes.
-
After 10 to 15 minutes, place cake plate face-down over top of cake pan. Place one hand on top of cake plate and place other hand under bottom of cake pan. In one motion, press cake plate and cake pan together while flipping cake plate and cake pan over. Cake plate should now be face-up with cake pan face-down on top of plate.
-
Tap bottom and sides of cake pan with hands or handle-end of butter knife, then slowly and carefully lift cake pan up and away from cake. Cake should release from pan easily, with pineapple-cherry layer on top side of cake.
-
Allow cake to cool on cake plate, uncovered, 10 minutes.
-
After 10 minutes, slice cake and serve as desired.
Notes
- Measuring Flour: Use the spoon-and-level method to ensure you don’t use too much flour, which is especially important for gluten-free baking to maintain moisture.
- Baking Powder: While most baking powder is naturally gluten-free, some brands may have cross-contamination risks due to manufacturing processes. For complete peace of mind, always look for baking powder that is explicitly labelled “gluten-free.”
Nutrition Information
Number of total servings shown is approximate. Actual number of servings will depend on your preferred portion sizes.
Nutritional values shown are general guidelines and reflect information for 1 serving using the ingredients listed, not including any optional ingredients. Actual macros may vary slightly depending on specific brands and types of ingredients used.
To determine the weight of one serving, prepare the recipe as instructed. Weigh the finished recipe, then divide the weight of the finished recipe (not including the weight of the container the food is in) by the desired number of servings. Result will be the weight of one serving.
