Walking Taco Casserole: The Ultimate Easy & Customizable Frito Pie for Any Occasion
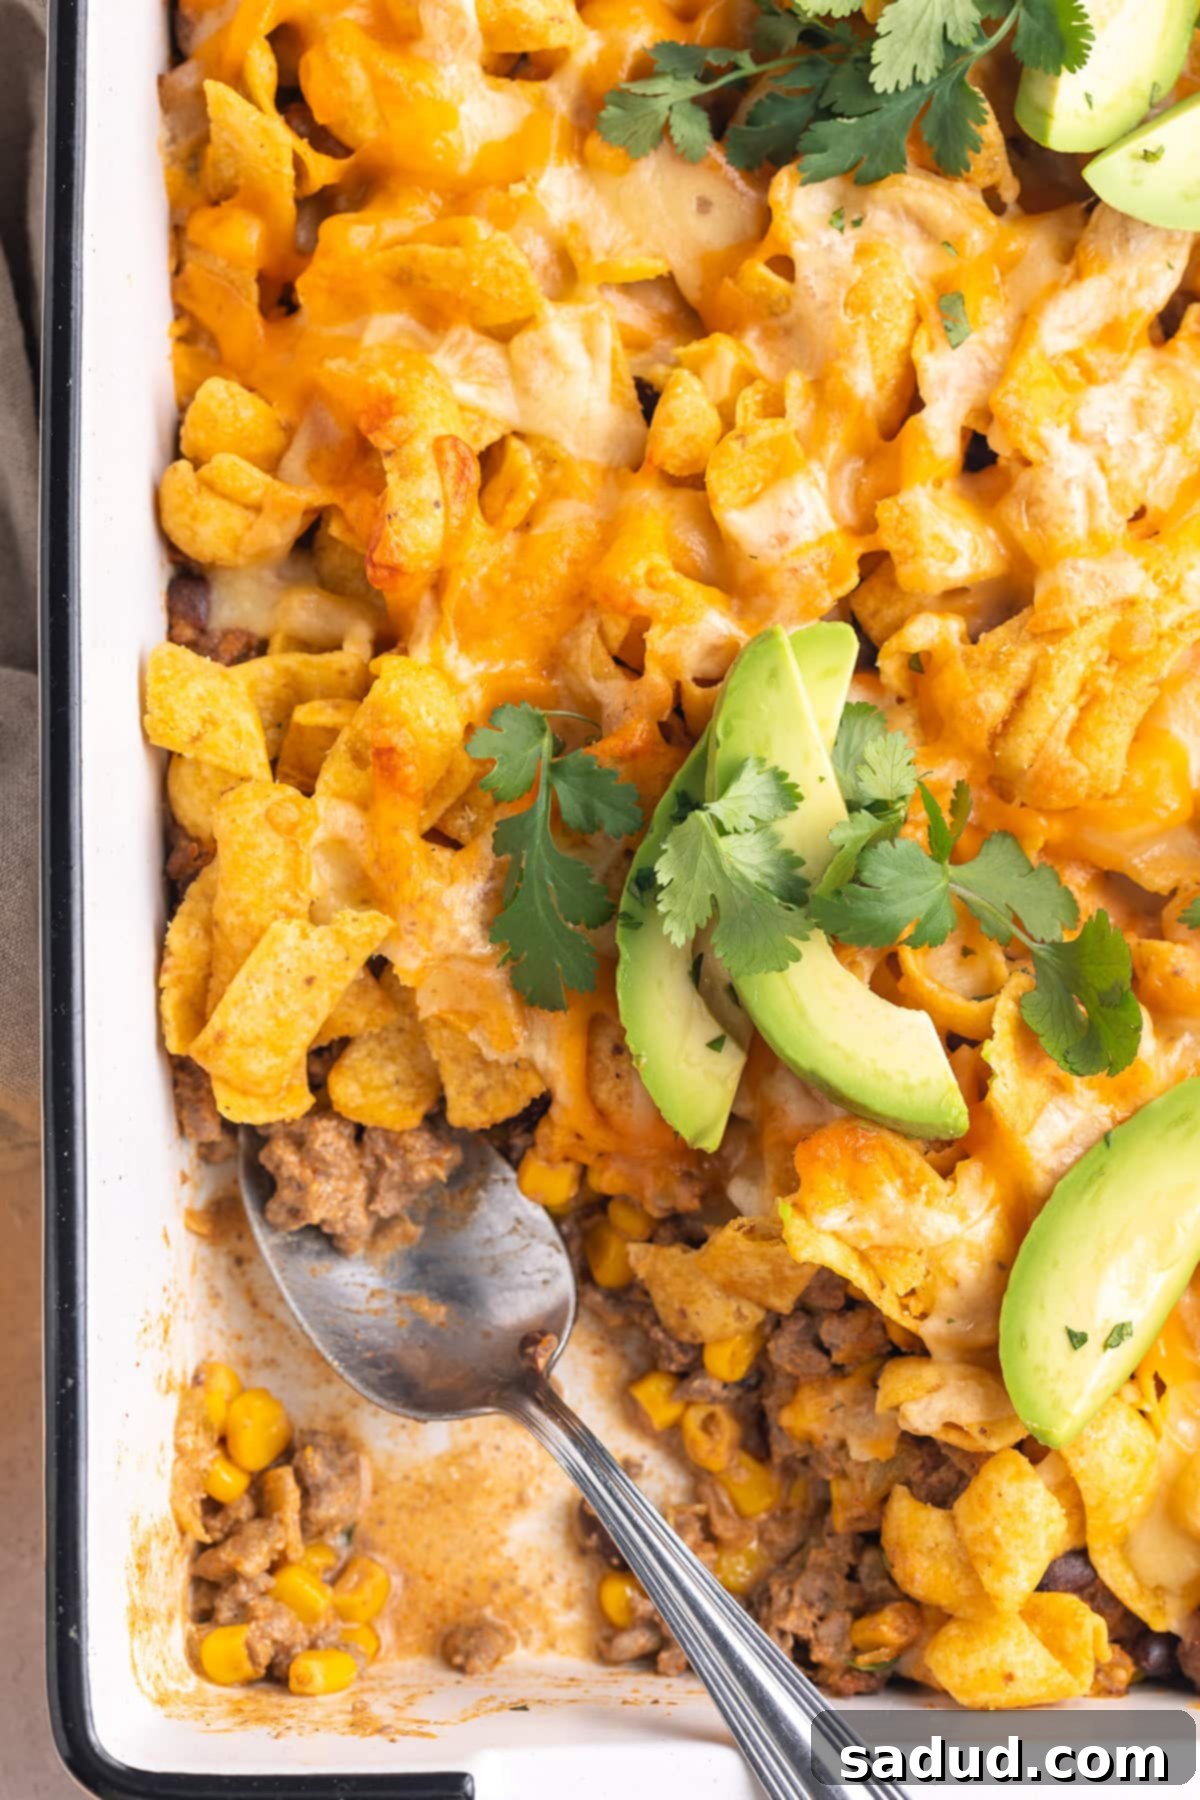
Say hello to your new favorite weeknight dinner and crowd-pleaser: the Walking Taco Casserole! Also affectionately known as Frito Pie Casserole, this incredibly satisfying dish takes all the beloved flavors and textures of a classic taco night and transforms them into a convenient, baked casserole. Imagine seasoned ground beef (or your protein of choice) layered with hearty beans and corn, enveloped in a creamy sauce, all topped with a generous crunch of Frito corn chips and a blanket of gooey, melted cheese. It’s a complete meal that’s ready to impress in roughly 30-40 minutes from start to finish, making it an ideal choice for busy families, casual gatherings, or a fun twist on traditional taco Tuesdays.
This recipe is designed for maximum flavor with minimal effort. It brings together a symphony of textures – the tender meat, the soft beans, the crisp corn, and the unmistakable crunch of Fritos – all harmoniously balanced by savory spices and rich, melted cheese. The beauty of this casserole lies in its adaptability; it’s a canvas for your culinary creativity. Whether you’re looking for a quick family dinner or an impressive dish for a potluck, the Walking Taco Casserole delivers big on taste and ease, ensuring everyone leaves the table happy and full.
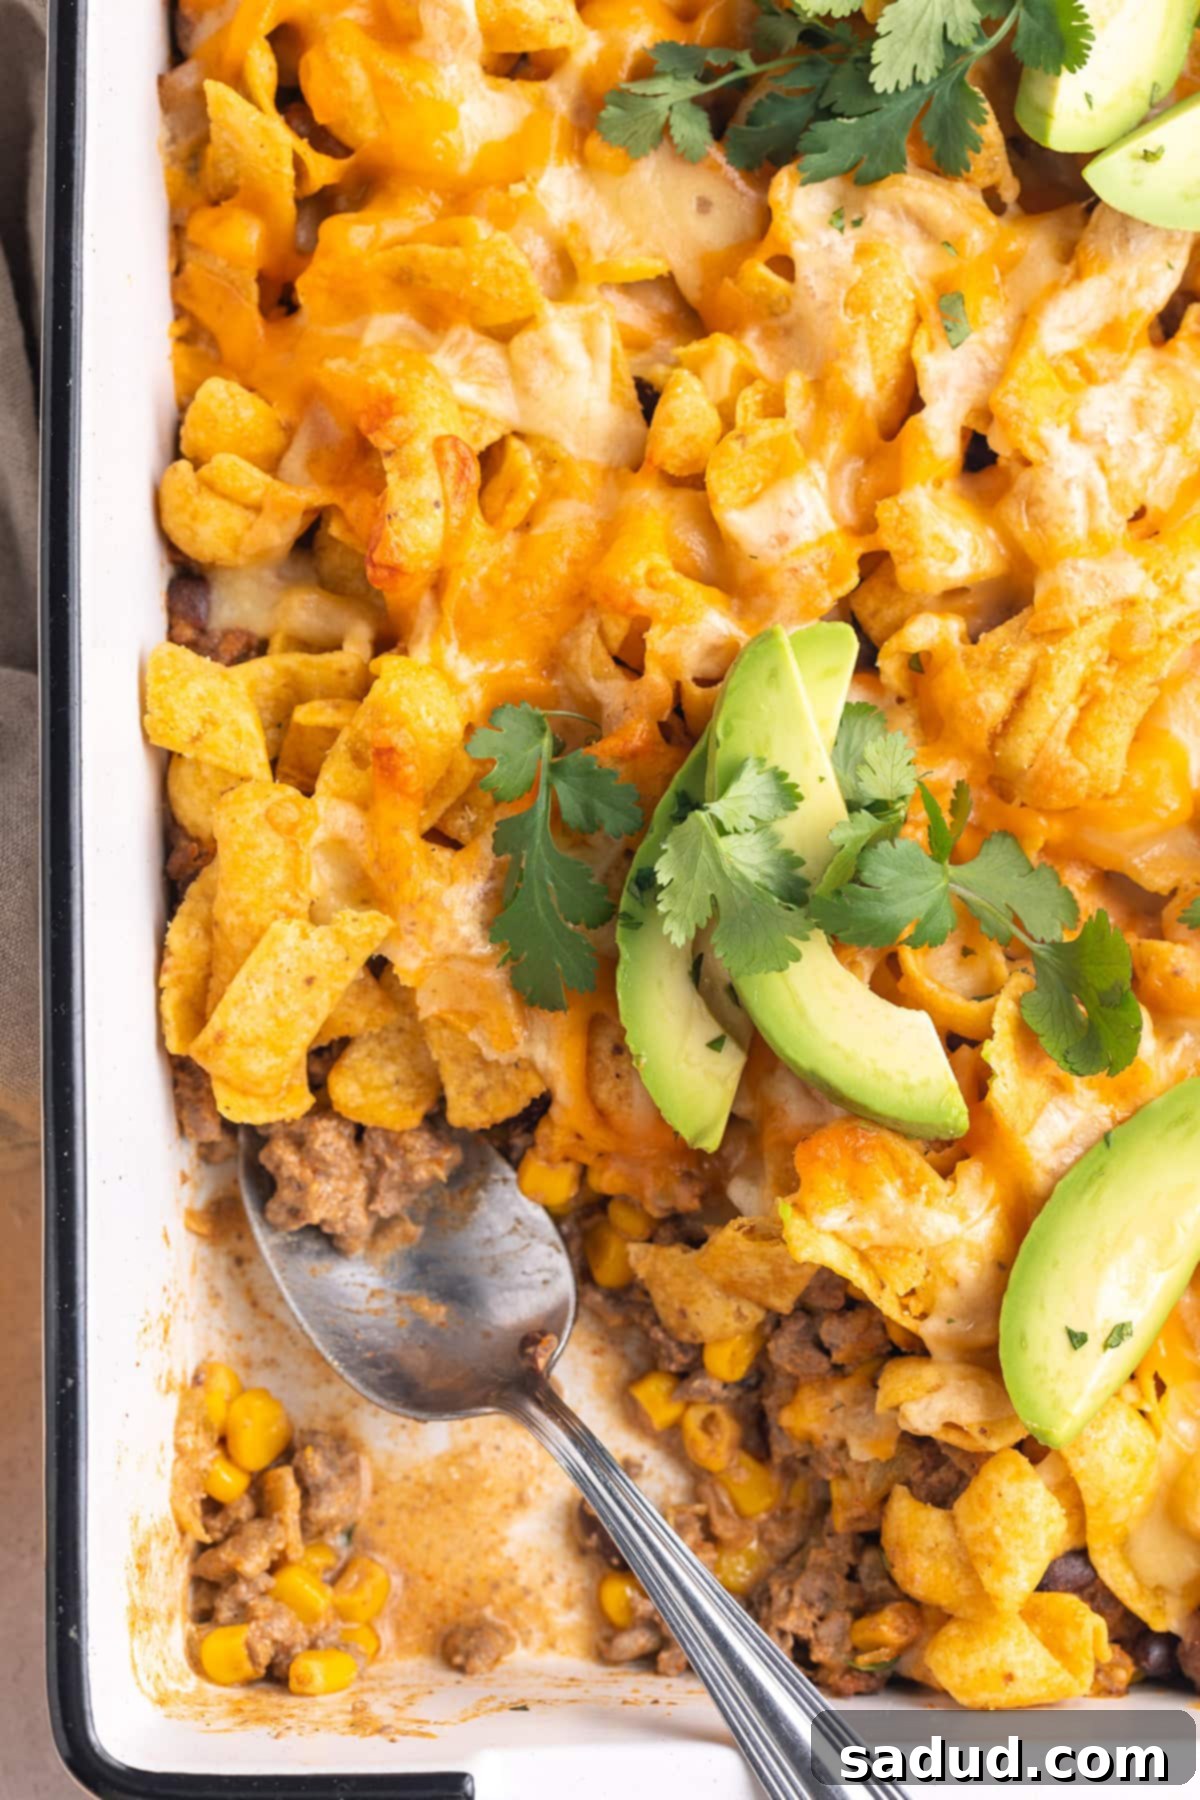
🌮 Why This Walking Taco Casserole Recipe is a Must-Try
- Effortless & Fun Taco Night Twist: This walking taco casserole (or Frito pie casserole, as some know it) is a brilliant, super fun, and incredibly easy way to shake up your usual taco night routine. Forget the mess of crumbling taco shells and dropped fillings; this casserole neatly packages all those delicious flavors into one scoopable, fork-friendly dish. It’s packed with savory taste and offers endless customization possibilities, making it a hit for every palate.
- Fully Customizable Flavor Profile: The versatility of this dish is one of its greatest strengths. You can serve it alongside delightful homemade salsa, a rich copycat Chipotle guacamole, or a luxurious restaurant-style queso. Want to amp up the heat? Add some sliced jalapeños, a dash of your favorite hot sauce, or a pinch of cayenne pepper to the meat mixture. For fresh toppings, consider chopped tomatoes, black olives, vibrant sliced avocado, a drizzle of refreshing chimichurri ranch, or a sprinkle of fresh cilantro. Literally anything goes, allowing you to tailor each serving to individual preferences.
- Deconstructed Convenience: At its heart, this is a masterful deconstruction of crunchy tacos, reimagined in a single casserole dish. Anyone who has ever struggled with a loaded crunchy taco knows the inevitable outcome: a delicious, but messy, explosion of toppings. With this Frito pie casserole, the “taco shells” (Fritos) are already broken up and perfectly integrated into the layers, ready for you to dive in with a fork. It’s a brilliant way to enjoy all the crunch and flavor without the usual cleanup, cutting out the “middleman” of a fragile taco shell.
- Perfect for Feeding a Crowd: Whether you’re hosting a game day party, a casual family dinner, or a potluck, this casserole scales up beautifully. It’s inherently a dish that satisfies many, and its simple preparation means you can focus more on your guests and less on complex cooking. Plus, it holds up well on a buffet, making it a reliable choice for larger gatherings.
- Speed and Simplicity: From start to finish, this Walking Taco Casserole can be on your table in under an hour, with active prep time often less than 20 minutes. This makes it an ideal choice for busy weeknights when you need a hearty, flavorful meal without spending hours in the kitchen. The minimal ingredient list and straightforward steps make it approachable for cooks of all skill levels.
👩🏼🍳 Chef’s Essential Tips for the Best Walking Taco Casserole
- Serving and Storing Leftovers: While a walking taco casserole is truly at its peak when served fresh, the leftovers are definitely worth saving! To keep them for later, transfer the cooled casserole to an airtight container and refrigerate for up to 3-4 days. For reheating, the oven is your best friend. Cover the casserole loosely with foil and bake at 300°F (150°C) until heated through, then remove the foil for the last few minutes to help the chips regain some crispiness. Microwaving is an option for quick reheating, but it will result in softer chips.
- Elevate Flavor with Frito Varieties: Don’t limit yourself to classic original corn chips! For an added layer of flavor and excitement, experiment with the wide array of Fritos varieties available. Spicy Jalapeño Fritos can introduce a delightful kick, while Chili Cheese Fritos will deepen the savory, cheesy notes of the casserole. Even the Honey BBQ twists could offer an interesting sweet and smoky contrast, especially if you opt for shredded pork or chicken instead of ground beef. Choosing a flavored Frito chip can significantly enhance the overall profile of your walking taco casserole.
- Optimizing Your Meat Mixture: For the ground beef, ensure you drain any excess fat after browning to prevent a greasy casserole. If using a leaner ground beef (90/10 or higher), you might not need to drain much. For an even more complex flavor, consider adding a dash of smoked paprika, cumin, or a pinch of chili powder to your taco seasoning mix. Alternatively, swap out ground beef for ground turkey, chicken, or even a plant-based crumble for a lighter or vegetarian version.
- Room Temperature Sour Cream is Key: When adding sour cream to the warm meat mixture, ensure it’s at room temperature. This prevents it from seizing or creating a chunky texture, ensuring a smooth, creamy consistency throughout the filling. If your sour cream is cold, gently warm it in the microwave for 15-20 seconds before stirring it in.
- Layering for Success: To ensure every bite is perfectly balanced, spread the ground beef mixture evenly across the bottom of your baking dish. This creates a solid, flavorful base. When adding the Fritos, distribute them in a single, even layer to maximize crunch. Finally, sprinkle the shredded cheese generously and evenly over the chips, ensuring complete coverage for that irresistible melted top.
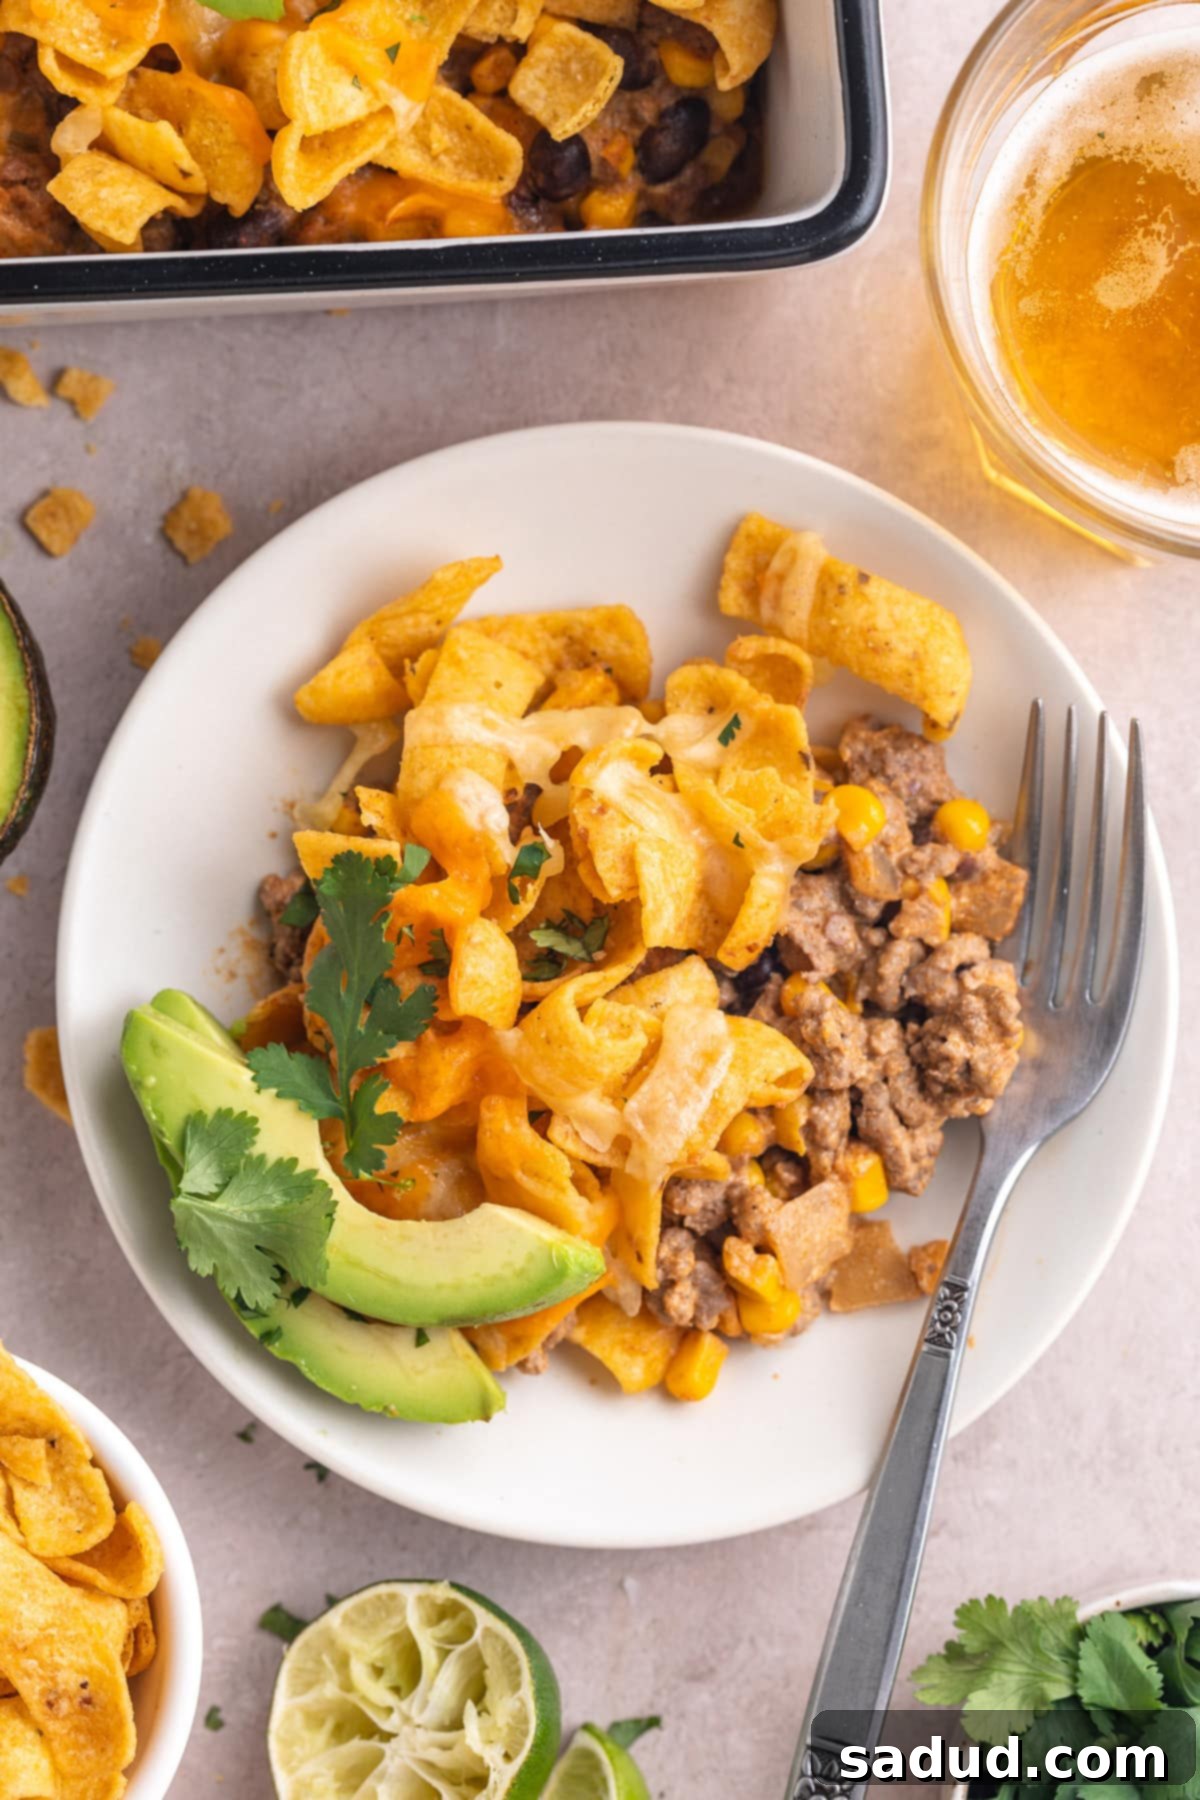
- Don’t Skimp on Toppings: While the casserole itself is fantastic, the toppings truly make the “walking taco” experience. Offer a diverse spread of toppings like extra sour cream, fresh salsa, guacamole, chopped cilantro, diced onions, pickled jalapeños, or even a sprinkle of crumbled cotija cheese. These additions not only add flavor but also provide fresh, vibrant contrasts to the rich, baked layers.
🌯 More Delicious Mexican Dishes You’ll Love
- Canned Tuna Nachos
- Carnitas Burrito
- Tuna Tostadas
- John Wayne Casserole
- Shrimp Quesadilla
- Chile Relleno Burrito
- Slow Cooker Carnitas
- Burrito Suzio
If you loved this recipe as much as we did, don’t forget to leave us a review below. ★ Follow Easy Healthy Recipes on Pinterest, Facebook, and Instagram, too!
For more delicious recipes, visit our sister sites, 40 Aprons and Easy Cheap Recipes.
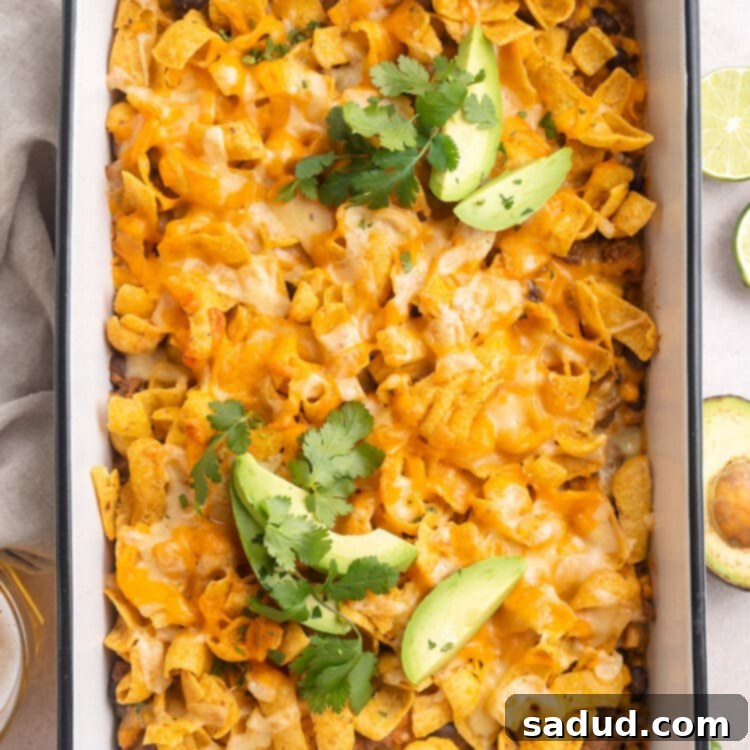
Walking Taco Casserole
 Sam Guarnieri
Print
SaveSaved!
Ingredients
For the Walking Taco Casserole
- 1 tablespoon neutral oil avocado oil, olive oil, etc
- 1 pound lean ground beef
- 1 large yellow onion chopped, approximately 2 cups
- salt to taste
- 1 1-ounce packet taco seasoning
- 1 15-ounce can black beans drained, rinsed
- 1 15-ounce can corn kernels drained, rinsed
- 1 4-ounce can diced green chiles
- 1 cup sour cream at room temperature
- 3 cups Fritos original corn chips
- 3 cups shredded Mexican cheese
Suggested Toppings (All Optional)
- sour cream
- avocado slices
- chopped cilantro
- diced tomatoes or pico de gallo
- salsa
- queso
Equipment
-
Oven
-
Stovetop
-
Large skillet
-
Large wooden spoon
-
9×13 baking dish
Instructions
-
Preheat oven to 350° Fahrenheit (175°C). Prepare your 9×13 baking dish by lightly greasing it or spraying with non-stick spray, ensuring easy cleanup later.
-
Heat a large skillet over medium heat on your stovetop. Once the skillet is warm, add the neutral oil and gently swirl or tilt the pan to distribute the oil evenly across the surface. Continue heating the pan until the oil is hot and shimmering, indicating it’s ready for cooking.
-
When the oil is hot, add the lean ground beef, chopped yellow onion, and a generous pinch of salt to the skillet. Cook for 5 to 10 minutes, using a large wooden spoon to break up the ground beef into small pieces, until the meat is thoroughly browned and the onion has softened and become translucent. Drain any excess grease from the skillet if necessary.
-
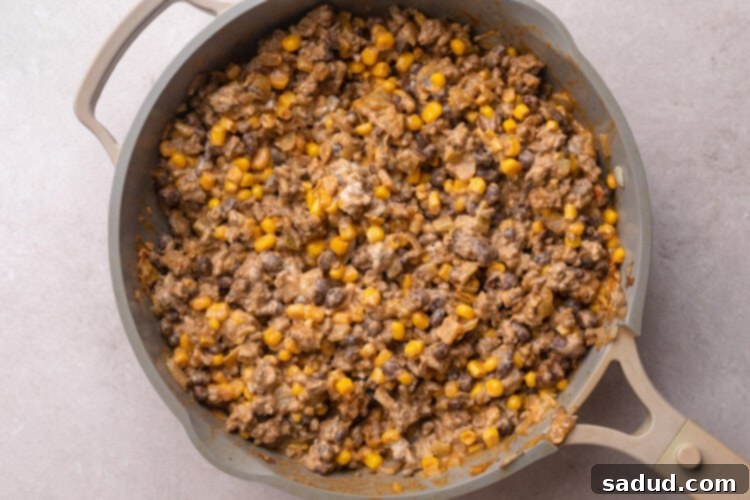
Once the ground beef is no longer pink and fully cooked, add the taco seasoning packet, drained and rinsed black beans, drained and rinsed corn kernels, diced green chilies, and room temperature sour cream to the skillet. Stir vigorously to combine all ingredients thoroughly. Cook the mixture for an additional 2 to 3 minutes, or until all ingredients are warmed through and the flavors have melded. Stir constantly to prevent any burning or sticking to the bottom of the pan.

-
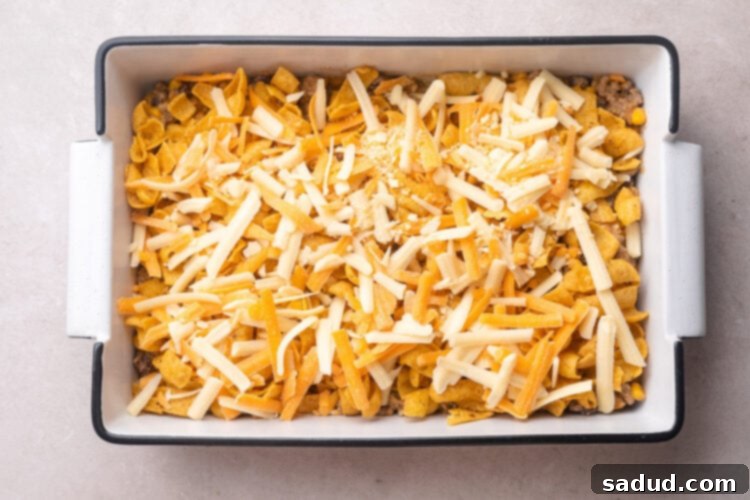
Carefully transfer the rich ground beef mixture into your prepared 9×13 baking dish. Using the back of your wooden spoon or a spatula, spread the mixture out evenly to cover the entire bottom of the baking dish, making sure to reach into all corners for a consistent layer. Next, top the savory ground beef layer with the Fritos original corn chips, spreading them out as evenly as possible. Finally, sprinkle the shredded Mexican cheese generously and evenly over the chips, creating a delicious crust when baked.

-
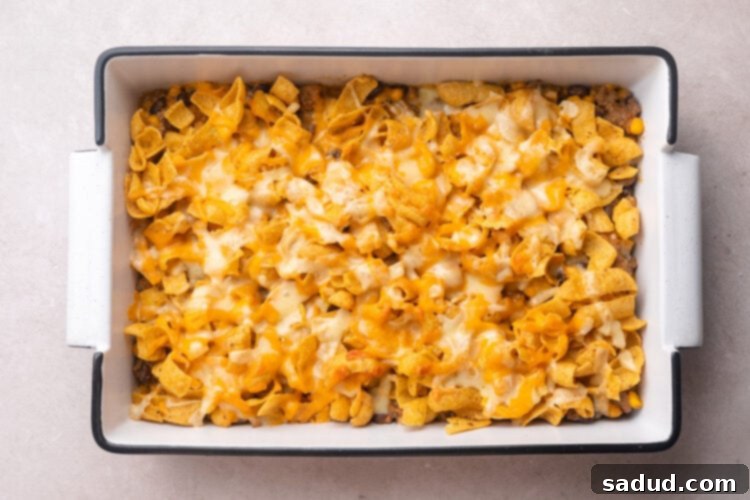
Place the baking dish into the preheated oven. Bake, uncovered, for 15 to 20 minutes, or until the shredded cheese is completely melted, golden, and bubbly. Keep a close eye on the casserole during the last few minutes to ensure the cheese doesn’t burn and the Fritos don’t get overly crispy.

-
Once the cheese is perfectly melted and bubbly, carefully remove the baking dish from the oven and set it aside on a wire rack. Let the casserole stand for 3 to 5 minutes to allow it to set slightly, making for easier serving. Then, divide it into your preferred portions, topping generously with additional sour cream, fresh avocado slices, chopped cilantro, and/or salsa if desired. Serve warm and enjoy your delicious Walking Taco Casserole!
Notes
- Make it Dairy Free: To create a delicious dairy-free version of this walking taco casserole, simply substitute regular shredded Mexican cheese with your favorite dairy-free shredded cheese blend. For the sour cream, opt for a high-quality dairy-free sour cream alternative. Many excellent plant-based options are now available that will provide the same creamy texture and tangy flavor without any dairy.
- To Reheat from Frozen: For best results, thaw your frozen walking taco casserole in the refrigerator overnight. Once thawed, cover the 9×13 baking dish tightly with aluminum foil and bake in a preheated 350°F (175°C) oven for approximately 15 minutes. After this initial baking, remove the foil and continue to bake for another 15-20 minutes, or until the cheese is melted and bubbly and the casserole is heated through. This method helps the chips regain some of their crispness.
- Make Ahead Option: You can prepare the meat and bean mixture a day or two in advance. Cook it as directed in steps 2 and 3, then cool completely and store in an airtight container in the refrigerator. When ready to bake, spread the chilled mixture into the baking dish, top with Fritos and cheese, and bake as instructed, adding an extra 5-10 minutes to the baking time to ensure it heats through evenly.
- Vegetarian Adaptation: For a delightful vegetarian version, simply swap the ground beef for an equal amount of plant-based ground crumble. You can also add extra black beans, pinto beans, or lentils to boost protein and fiber. Ensure all other ingredients, including taco seasoning and sour cream, are vegetarian-friendly.
- Spice Level Adjustments: The heat level in this casserole is mild to moderate thanks to the taco seasoning and green chilies. If you prefer a spicier dish, consider adding a pinch of red pepper flakes to the meat mixture, using a “hot” variety of taco seasoning, or topping individual servings with pickled jalapeños or a drizzle of sriracha. For less heat, choose a mild taco seasoning.
Nutrition Information
Number of total servings shown is approximate. Actual number of servings will depend on your preferred portion sizes.
Nutritional values shown are general guidelines and reflect information for 1 serving using the ingredients listed, not including any optional ingredients. Actual macros may vary slightly depending on specific brands and types of ingredients used.
To determine the weight of one serving, prepare the recipe as instructed. Weigh the finished recipe, then divide the weight of the finished recipe (not including the weight of the container the food is in) by the desired number of servings. Result will be the weight of one serving.
