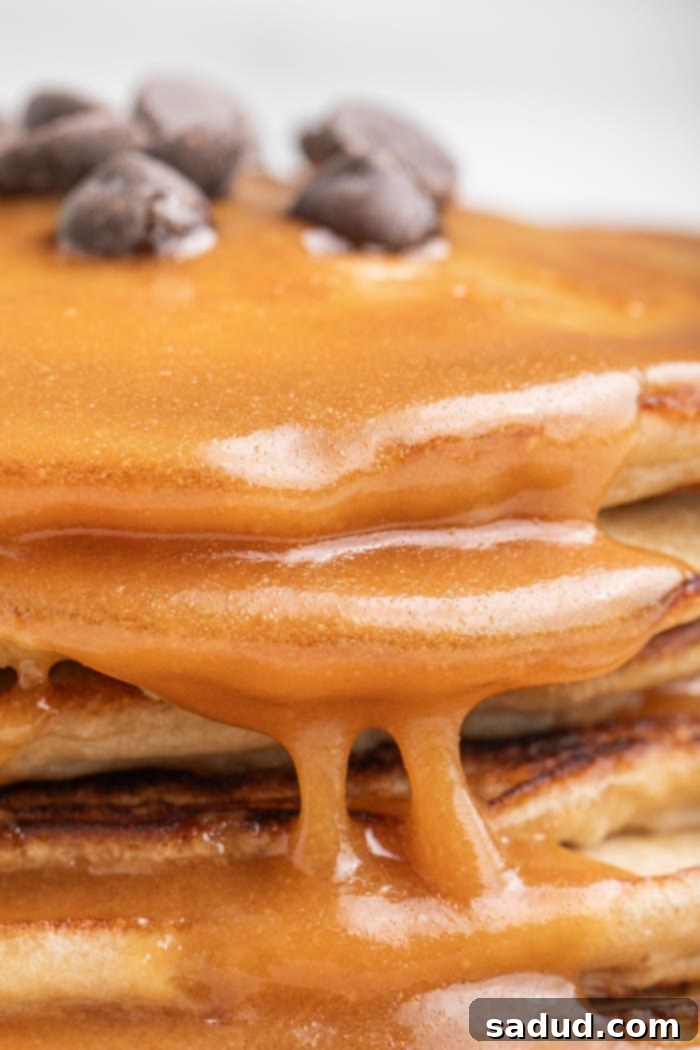
Easy Homemade Peanut Butter Maple Syrup: Your Ultimate Delightful Topping
Imagine a topping so rich, so creamy, and so utterly delectable that it transforms your everyday breakfast or dessert into an extraordinary culinary experience. This isn’t just maple syrup, and it’s certainly more than just peanut butter. It’s a harmonious fusion, a luscious blend of classic sweetness and nutty indulgence: our incredibly easy homemade peanut butter maple syrup. Velvety smooth and bursting with flavor, this irresistible concoction promises a taste of pure bliss with every single drop. Whether drizzled generously over fluffy pancakes, golden waffles, or decadent sundaes, prepare for a taste sensation that will have you craving more.
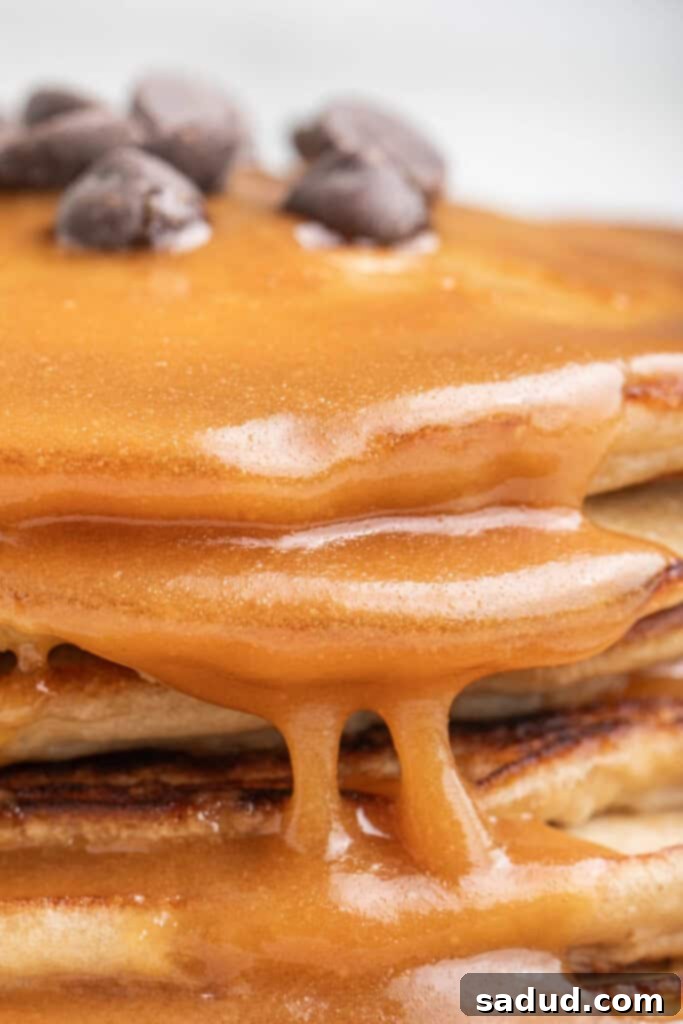
Why You’ll Absolutely Love This Peanut Butter Maple Syrup Recipe
- Unbeatable Flavor Fusion: This isn’t just two ingredients mixed; it’s a culinary alchemy! The robust sweetness of maple syrup perfectly complements the salty, creamy depth of peanut butter, creating a flavor profile that is both familiar and exciting. It’s a comforting taste that reminds you of childhood, elevated to gourmet status.
- Effortlessly Simple: In a world of complex recipes, this one stands out for its sheer simplicity. With just two staple ingredients and two straightforward steps, you can create a luxurious topping in mere minutes. No fancy equipment, no elaborate techniques—just pure deliciousness made easy.
- Beyond Breakfast: While it’s an undisputed champion on pancakes and waffles, the versatility of this homemade peanut butter maple syrup knows no bounds. Think outside the breakfast plate! Drizzle it over ice cream, spread it on toast, stir it into oatmeal, or even incorporate it into baking. The possibilities are truly endless, making it a fantastic addition to your culinary repertoire.
- Customizable Consistency: Whether you prefer a thick, almost spreadable consistency or a smoother, more pourable syrup, this recipe allows for easy adjustments. A little more heat or a touch more maple syrup can alter the texture to perfectly suit your preference, giving you control over your ideal topping.
- Quick Satisfaction: Got a sudden craving for something sweet and decadent? This peanut butter maple syrup comes together in less than 5 minutes, making it the perfect quick fix for desserts, snacks, or spontaneous breakfast treats. Immediate gratification guaranteed!
- A Healthier Alternative (When Mindful): When made with real maple syrup and natural peanut butter, this homemade syrup can be a more wholesome option compared to highly processed store-bought syrups laden with high-fructose corn syrup and artificial flavors. It allows you to control the quality of ingredients you consume.
Understanding Your Ingredients: The Key to Perfection
While this recipe is incredibly simple, the quality of your two core ingredients can significantly impact the final taste and texture of your peanut butter maple syrup. Choosing wisely ensures the best possible outcome.
- Maple Syrup: We wholeheartedly recommend using real maple syrup. Its distinct, rich, and complex flavor profile provides a depth that artificial syrups simply cannot replicate. Real maple syrup comes in different grades (Golden, Amber, Dark, Very Dark) with varying intensities of flavor. For this recipe, an Amber or Dark grade will offer a beautiful balance, allowing the maple notes to shine alongside the peanut butter. If you’re in a pinch, or prefer a less intense maple flavor, you could use a high-quality pancake syrup, but be aware that the overall richness will be different.
- Peanut Butter: For that perfectly creamy and smooth texture that coats everything deliciously, we suggest using creamy peanut butter. Natural peanut butter (where oil separates) works wonderfully, but ensure you stir it very well before measuring to achieve an even consistency. If you only have conventional peanut butter, that’s fine too! For a fun twist, you can even experiment with crunchy peanut butter for added texture, though it won’t be as smooth. Keep an eye on ingredients here – choose brands with minimal added sugars and oils for the purest peanut flavor.
How To Make This Irresistible Peanut Butter Maple Syrup: A Two-Step Wonder
Creating this magical topping is astonishingly easy. Follow these two simple steps to unlock a world of flavor!
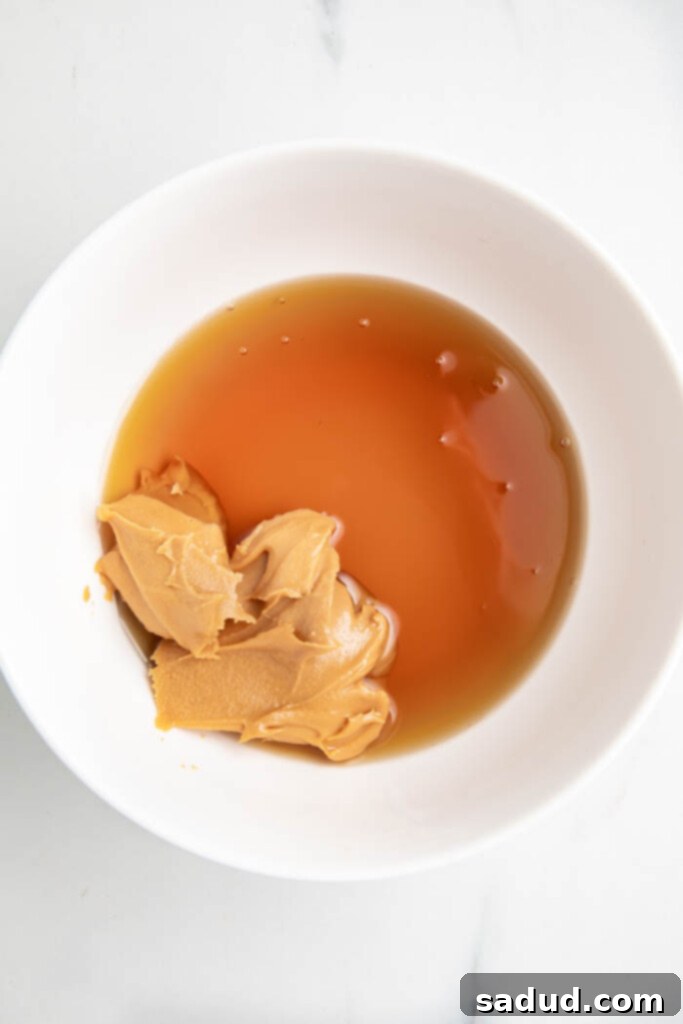
- Combine Both Ingredients in a Bowl: Begin by measuring out your real maple syrup and creamy peanut butter. Place both ingredients into a microwave-safe bowl. At this stage, they might appear stubbornly separate, but don’t worry – the magic is about to happen! A medium-sized bowl is ideal to allow for vigorous whisking without spills.
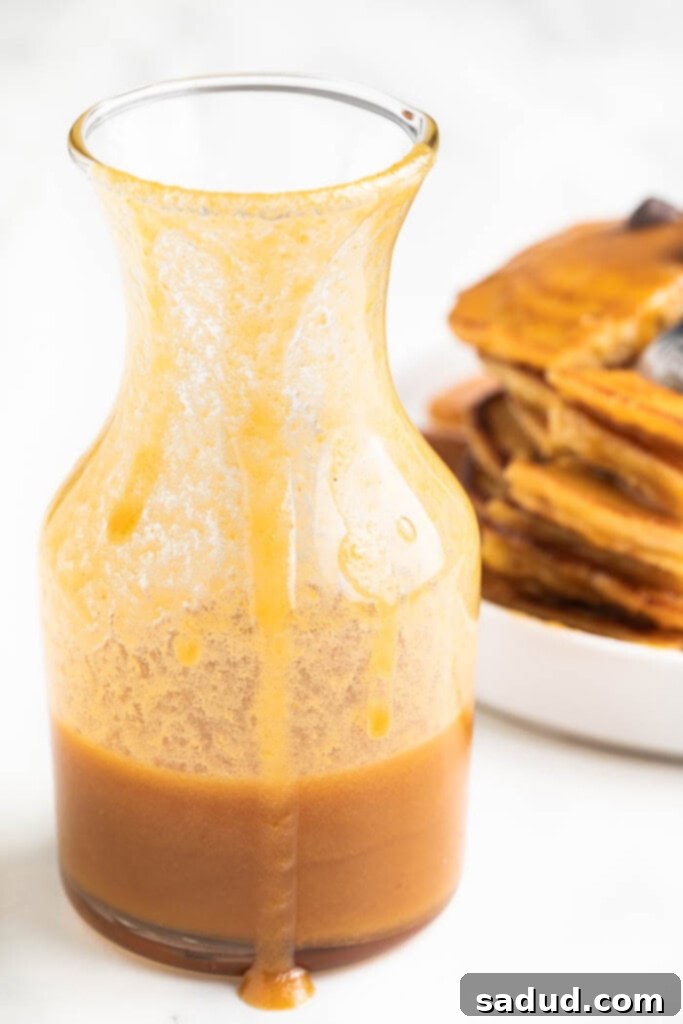
- Heat in Microwave in 30-Second Intervals, Whisking Well: This is where the transformation occurs. Place the bowl in your microwave and heat on high for 30 seconds. Carefully remove the bowl (it might be warm!) and whisk the mixture thoroughly. At first, it might seem reluctant to combine, but as the peanut butter warms and softens, it will start to emulsify with the maple syrup. Return it to the microwave for another 30-second interval, then whisk again. Repeat this process until the syrup is perfectly smooth, creamy, and evenly combined. The mixture should be warm and easily pourable. For most microwaves, this usually takes about 2-3 intervals, or 60-90 seconds total, but individual microwave wattages can vary.
Chef’s Expert Tips for the Perfect Batch
Even the simplest recipes can benefit from a few insider tips. Here’s how to ensure your peanut butter maple syrup turns out perfectly every time:
- Mind Your Microwave’s Power: Every microwave is different! While our syrup typically requires 2 intervals of 30 seconds to achieve that smooth, whiskable consistency, yours might need more or less. Start with 30-second bursts and whisk after each one. It’s better to heat gradually than to overheat and risk scorching or separation. The goal is to warm the peanut butter enough to soften and blend, not to boil the syrup.
- Embrace Real Maple Syrup: As mentioned, for an unparalleled depth of flavor, we definitely prefer this recipe with real maple syrup. The complex sweetness of pure maple syrup provides a much richer base than artificial varieties, creating a truly gourmet experience. If you use a fake syrup, the taste will still be good, but it won’t have the same nuanced richness.
- Don’t Skip the Whisking: Thorough whisking is crucial! It ensures the peanut butter fully incorporates into the maple syrup, preventing separation and creating that desirable creamy texture. If you notice any stubborn lumps, keep whisking – a fork can also work in a pinch for breaking up thicker peanut butter.
- Adjust Consistency to Your Liking: If your syrup seems too thick after heating, add a tiny splash more maple syrup (a teaspoon at a time) and whisk thoroughly. If it’s too thin, you can try heating it for another 15-20 seconds to thicken it slightly, though it’s generally best enjoyed when it’s easily pourable yet still rich.
- Storage and Reheating: Store any leftover peanut butter maple syrup in an airtight container in the refrigerator for up to a week. When ready to use again, it will likely be very thick. Simply reheat it in the microwave in 15-20 second intervals, whisking after each, until it returns to its desired pourable consistency.
- Serving Temperature: This syrup is best served warm. The warmth enhances its pourable nature and really brings out the rich aromas of both the peanut butter and maple.
Creative Ways to Indulge: Serving Suggestions
While a classic pairing with pancakes and waffles is undeniable, this peanut butter maple syrup is a game-changer for so many other dishes. Get ready to elevate your culinary creations!
- Breakfast Staples: Beyond pancakes and waffles, try it on French toast, crepes, or even oatmeal and overnight oats for a decadent morning boost.
- Dessert Dreams: Drizzle generously over vanilla ice cream, chocolate sundaes, or even apple pie for an unexpected twist. It’s also fantastic on baked goods like brownies, blondies, or plain sugar cookies.
- Fruit Enhancer: A fantastic dip for sliced apples, bananas, or pears. The sweet and nutty combination perfectly complements fresh fruit.
- Snack Time Savior: Swirl it into plain Greek yogurt, spread it on toast or English muffins, or use it as a filling for sweet sandwiches.
- Beverage Booster: Add a tablespoon or two to your morning coffee or latte for a sweet, nutty flavor profile that will perk up your day.
- Baking Ingredient: Incorporate a small amount into your favorite cookie or muffin batter for an extra layer of flavor and moisture.
Frequently Asked Questions (FAQs)
Here are some common questions about making and enjoying your homemade peanut butter maple syrup:
- Can I use crunchy peanut butter? Yes, absolutely! While creamy peanut butter yields a smooth syrup, crunchy peanut butter will add a delightful textural element. The heating process will soften the peanut pieces, but they will still provide a pleasant crunch.
- Can I use sugar-free maple syrup? You can, but be aware that the taste and consistency might differ. Sugar-free syrups often have a thinner consistency and a different flavor profile. Adjust the heating time and whisking to achieve the desired thickness.
- How long does this syrup last? When stored in an airtight container in the refrigerator, your homemade peanut butter maple syrup will stay fresh for up to 7 days.
- Can I make this on the stovetop instead of the microwave? Yes! If you prefer, you can gently heat the maple syrup and peanut butter in a small saucepan over low heat, stirring continuously until smooth and combined. Be careful not to let it boil vigorously.
- Why did my syrup separate after cooling? This can happen, especially with natural peanut butter or if not thoroughly whisked. Don’t worry, it’s easily fixed! Simply reheat the syrup in the microwave (or stovetop) and whisk vigorously until it’s smooth and re-emulsified.
- Can I use other nut butters? Yes! Feel free to experiment with almond butter, cashew butter, or even sunflower seed butter for a delicious variation. Each will impart its unique flavor profile, so have fun exploring!
More Delicious Recipes You’ll Love
- Mango Pineapple Smoothie
- Fluffy Gluten-Free Pancakes
- 3 Ingredient Peanut Butter Cookies
- Vegan Cookie Dough
- Peanut Butter Overnight Oats
- Almond Flour Banana Bread
We truly hope you adored creating and indulging in this incredibly simple yet utterly delicious homemade peanut butter maple syrup as much as we did! It’s a testament to how two simple ingredients can create something truly spectacular. We’d be thrilled if you could show your love by giving us a star ★ rating below, and don’t forget to follow us on Instagram for daily inspiration! For an abundance of more delicious and healthy recipes, be sure to explore our sister site, 40 Aprons.
If you loved this recipe as much as we did, don’t forget to leave us a review below. ★ Follow Easy Healthy Recipes on Pinterest, Facebook, and Instagram, too!
For more delicious recipes, visit our sister sites, 40 Aprons and Easy Cheap Recipes.
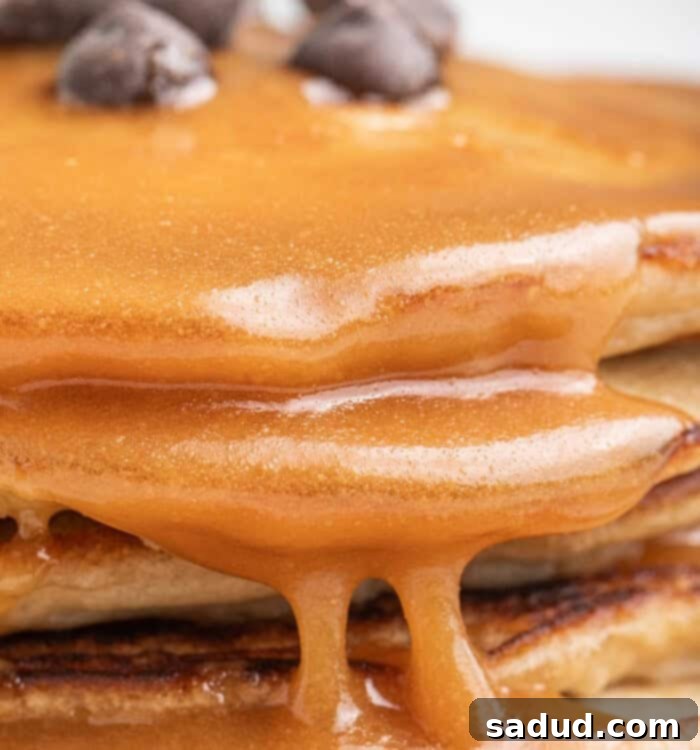
Peanut Butter Maple Syrup
Print
SaveSaved!
Ingredients
- ½ cup real maple syrup
- ¼ cup creamy peanut butter natural or conventional
Instructions
-
In a microwave-safe bowl, combine the maple syrup and creamy peanut butter.
-
Heat the mixture in the microwave in 30-second intervals. After each interval, remove the bowl and whisk vigorously until smooth and fully combined. Repeat until the syrup is warm, creamy, and pourable (usually 2-3 intervals).
Notes
- Microwave times vary! Our syrup only took 2 intervals of 30 seconds to heat and become easy to whisk, for a total of 1 minute. Yours may take longer or less, based on your microwave’s wattage.
- For the best flavor, we definitely prefer this recipe with real maple syrup. However, you can use artificial syrup in a pinch, though the flavor profile will differ.
- Storage: Store any leftover syrup in an airtight container in the refrigerator for up to 7 days. Reheat gently in the microwave in 15-20 second bursts, whisking well after each, until it reaches your desired consistency.
Nutrition Information
Number of total servings shown is approximate. Actual number of servings will depend on your preferred portion sizes.
Nutritional values shown are general guidelines and reflect information for 1 serving using the ingredients listed, not including any optional ingredients. Actual macros may vary slightly depending on specific brands and types of ingredients used.
To determine the weight of one serving, prepare the recipe as instructed. Weigh the finished recipe, then divide the weight of the finished recipe (not including the weight of the container the food is in) by the desired number of servings. Result will be the weight of one serving.
