Homemade Paleo Strawberry Marshmallows: Easy, Gut-Healthy, and Delicious Treats!
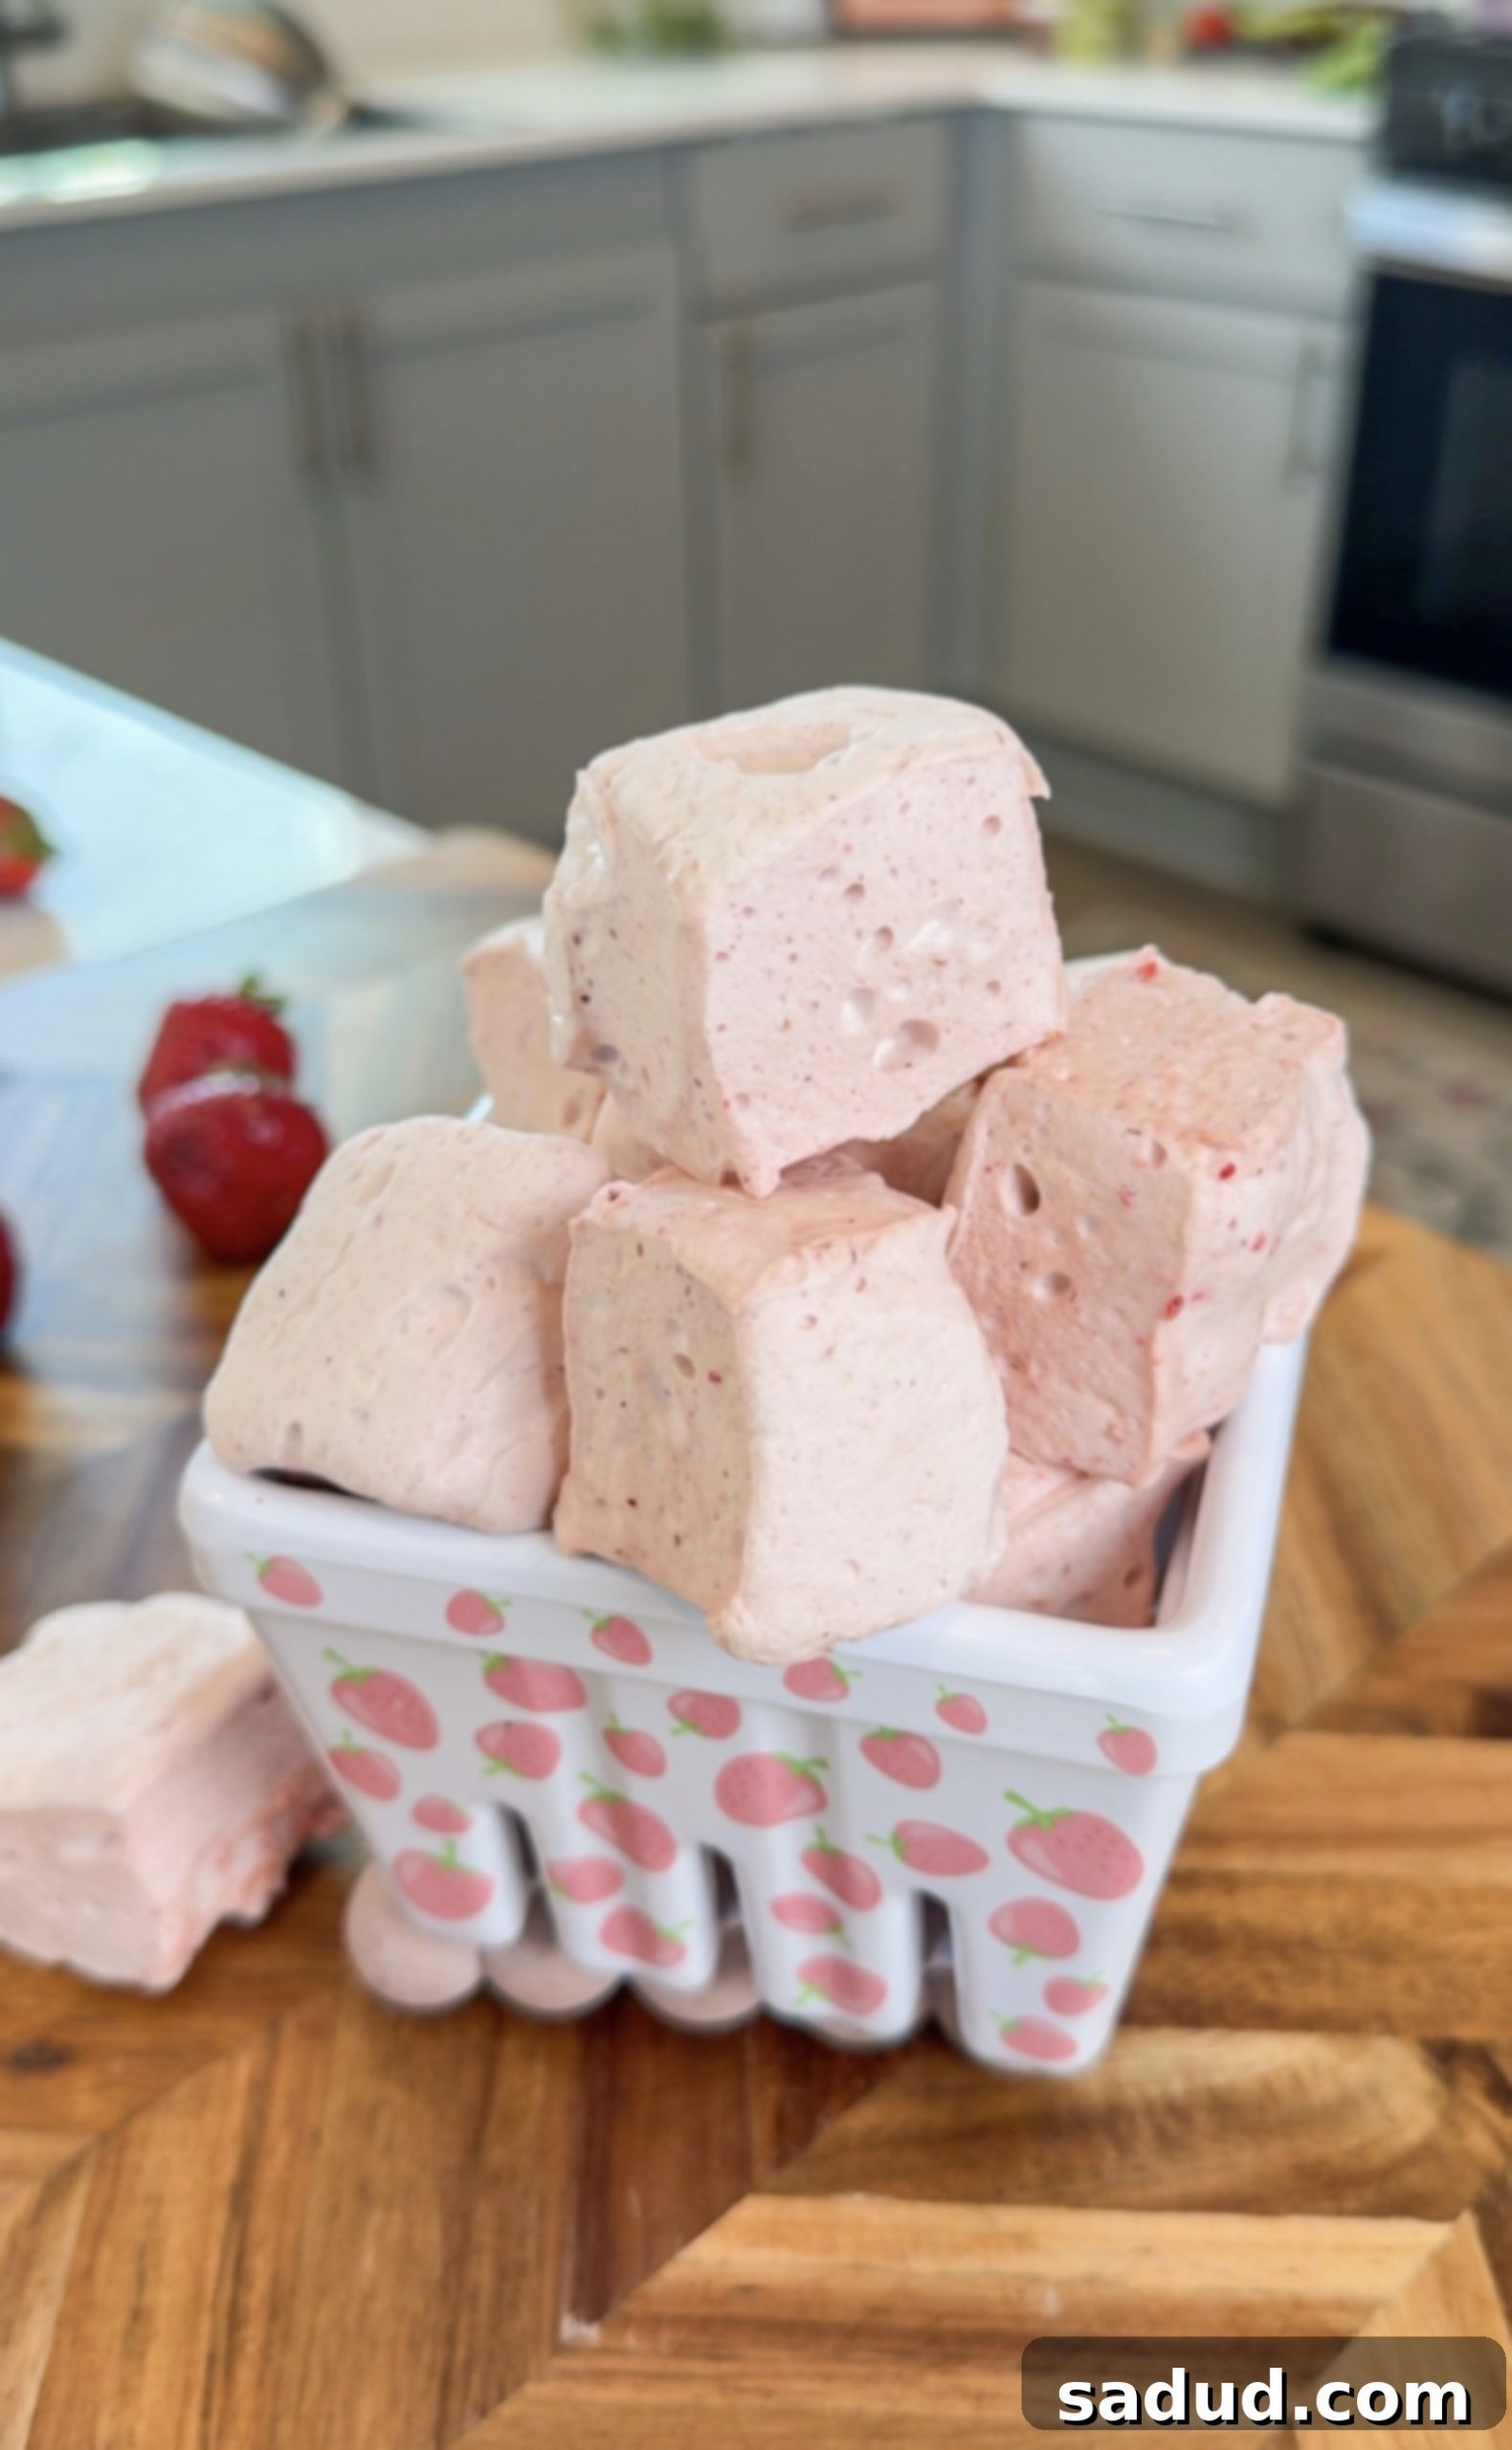
Prepare to fall in love with these homemade Paleo Strawberry Marshmallows! They’re surprisingly simple to make, taste incredibly fresh, and offer fantastic gut-healthy benefits. Unlike conventional store-bought options that are often loaded with high-fructose corn syrup and artificial flavors, these delightful treats are naturally sweetened with honey or maple syrup, making them a much lower-sugar alternative. Despite being healthier, they maintain that perfectly fluffy, fruity, and wonderfully meltable texture we all crave.
Whether you’re melting them into a steaming mug of hot cocoa or matcha, enjoying them straight from the pan, dipping them in rich chocolate, or using them to create a healthier version of rice crispy treats, these paleo marshmallows are incredibly versatile. They’re not just a seasonal delight; their vibrant strawberry flavor and charming pink hue make them a perfect treat for summer strawberry season, Valentine’s Day, or any occasion that calls for a touch of sweet joy!
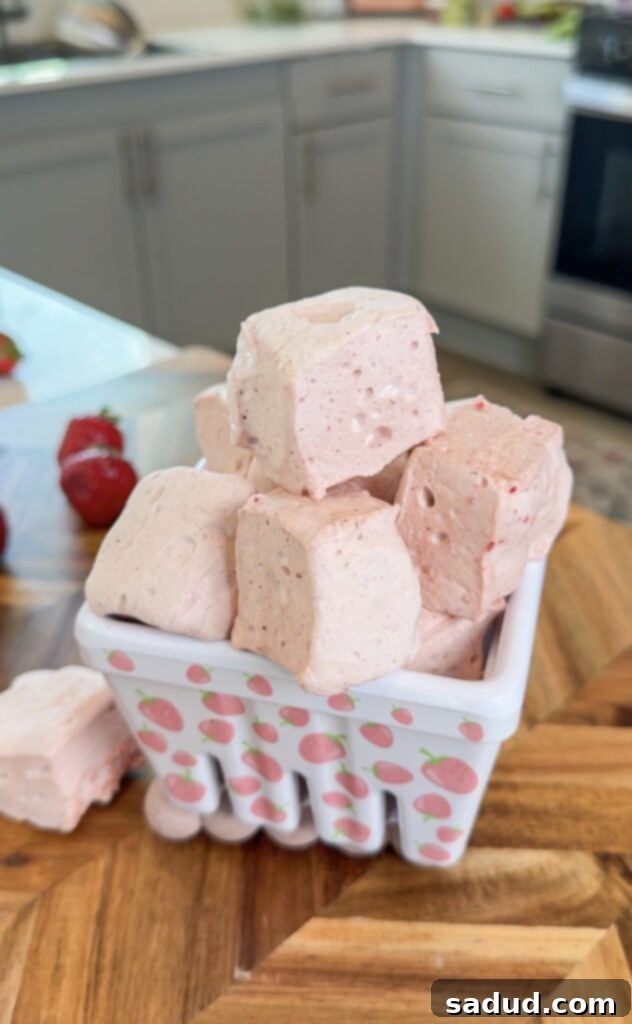
Why Choose Homemade Marshmallows? Beyond the Store-Bought
Once you experience the taste and texture of these homemade strawberry marshmallows, you’ll likely never look back at store-bought versions again. Commercial marshmallows, while convenient, typically contain a long list of questionable ingredients, most notably high fructose corn syrup, artificial flavors, and preservatives. These ingredients contribute to an overly sweet, artificial taste that simply can’t compare to the fresh, vibrant flavor of a homemade batch.
While store-bought marshmallows are known for their melting capabilities, perfect for S’mores, these homemade marshmallows without corn syrup deliver all that same gooey, melty goodness without any of the unwanted additives. What’s even better? Our recipe is completely dairy-free, gluten-free, grain-free, refined sugar-free, and corn-free, making them suitable for a wide range of dietary preferences and restrictions. This means you can indulge in your favorite marshmallow treats without compromising your health goals.
But the benefits don’t stop there. These aren’t just “less bad” marshmallows; they actually benefit your hair, skin, and nails and can actively aid in healing your gut lining! All of this goodness comes from just 4 simple ingredients and requires only about 15 minutes of active preparation time. Don’t let the idea of making marshmallows from scratch intimidate you; they are genuinely one of the easiest and most rewarding treats you can create in your kitchen!
The Power of Gelatin: More Than Just Fluff
The secret ingredient behind the incredible texture and profound health benefits of these marshmallows is high-quality, grass-fed gelatin. Gelatin is a protein derived from collagen, and it’s celebrated for its numerous health-boosting properties. By choosing a grass-fed variety, you ensure you’re getting the purest form, packed with amino acids that support your body from the inside out.
Specifically, gelatin is renowned for its ability to promote gut health. It helps to strengthen the gut lining, reduce inflammation, and improve digestion, which can alleviate symptoms for those with sensitivities. Beyond the gut, the collagen-rich profile of gelatin contributes significantly to the health and appearance of your hair, skin, and nails, giving them strength, elasticity, and a natural glow. So, every bite of these fluffy strawberry marshmallows isn’t just a delicious treat, but also a nourishing boost for your well-being!
How to Make Homemade Marshmallows Video
Why You’ll Adore This Paleo Marshmallow Recipe
- Gut-Healthy Goodness: These marshmallows are crafted with high-quality, grass-fed gelatin, a powerhouse ingredient known for its gut-healing properties. Enjoy a sweet treat that supports your digestive health.
- Naturally Sweetened & Protein-Rich: Forget refined sugars! We use natural sweeteners like honey or maple syrup, keeping the sugar content lower than traditional marshmallows. Plus, the gelatin adds a surprising boost of protein, making them a more satisfying snack.
- Perfectly Meltable: Just like your favorite store-bought brands, these homemade marshmallows melt beautifully. Whether in hot drinks or over a campfire, you’ll get that classic gooey texture.
- Ideal for Gifting: Homemade marshmallows make for an incredibly thoughtful and unique DIY gift. Package them in charming boxes or cellophane bags for birthdays, holidays, or as party favors.
- Versatile Treat: Beyond eating them plain, these marshmallows are fantastic in hot cocoa, a delightful pairing with matcha, or decadent when dipped in chocolate. The possibilities are endless!
- Healthier Sweet Snack: Looking for a better-for-you dessert option? These paleo marshmallows are free from dairy, gluten, grains, and corn, offering a guilt-free way to satisfy your sweet cravings.
- S’mores Upgrade: Take your summer S’mores to the next level! These bright, fruity marshmallows roast wonderfully, adding a delicious twist to the classic campfire treat.
- Lower Sugar Option: By controlling the sweeteners, you get a much lower-sugar option compared to the often overly sweet commercial varieties, allowing the natural strawberry flavor to shine.
Getting Started: Essential Equipment for Perfect Marshmallows
Making homemade marshmallows is quite simple, but having the right tools can make the process even smoother and more enjoyable. Here’s what you’ll need:
- Stand Mixer or Hand Mixer: While a stand mixer (like a KitchenAid) is highly recommended for the best and easiest results (it allows you to slowly drizzle in the syrup while it mixes), a powerful hand-held electric mixer can also do the trick. A stand mixer provides consistent whipping without requiring you to hold it, freeing up your hands for other steps. If using a hand mixer, ensure it’s robust enough for continuous whipping. This more affordable option is also a great choice if you’re looking for a good stand mixer.
- Spatula: Essential for scraping down the sides of the bowl and spreading the marshmallow mixture evenly into the pan.
- Square Baking Dish: A 9×9 inch pan is ideal for creating thicker, substantial marshmallows. However, if you prefer smaller, mini marshmallows, you can use a larger rectangular pan and simply cut them into smaller pieces.
- Small Saucepan: For boiling the sugar mixture to the correct temperature.
- Candy Thermometer (Optional but Recommended!): This tool helps ensure your sugar mixture reaches the perfect temperature (between 220-240°F), which is crucial for marshmallow consistency. While not strictly necessary (many successful batches are made without one), it does provide a precise and consistent result. Don’t worry if you don’t have one; we’ll provide notes in the recipe card on how to achieve the right temperature without it.
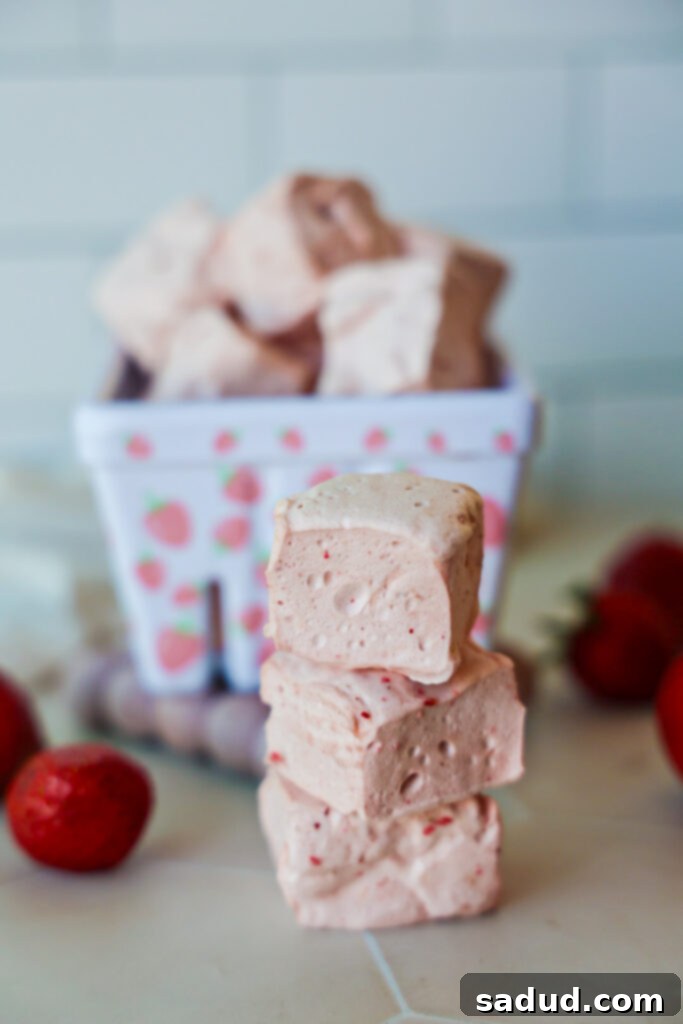
Key Ingredients for Your Strawberry Marshmallows
Our recipe uses simple, wholesome ingredients to create these delightful paleo marshmallows. Here’s a closer look at what you’ll need and why:
- Grass-Fed Gelatin: This is the star ingredient for both texture and health benefits. Not all gelatin is created equal, so to truly harness its gut-healing and beauty-boosting power, opt for a high-quality, grass-fed variety. We highly recommend Further Foods gelatin because it’s pasture-raised, grass-fed, non-GMO, and gluten-free. It’s excellent for supporting your gut lining and promoting stronger, healthier hair, skin, and nails. This is crucial for achieving that signature marshmallow bounce and chew.
- Natural Sweetener: You’ll use either honey or maple syrup to sweeten these marshmallows. Both are natural alternatives to refined sugar and high fructose corn syrup, providing a delicious depth of flavor. Choose your favorite, or experiment with a blend!
- Freeze-Dried Strawberries: These are absolutely essential for achieving that vibrant pink color and intense, natural strawberry flavor. You’ll need one 1.2 oz bag of freeze-dried strawberries, which will be blitzed in a blender until they form a fine powder. This powder distributes evenly through the mixture, ensuring no lumps and a consistent flavor. Strawberry powder is also a convenient substitute. If your bag is slightly smaller or larger (e.g., 1 oz), it’s generally fine. For an extra burst of strawberry, taste the fluffy mixture before setting and add a bit more if desired. Fresh or frozen strawberries will NOT work here, as their high water content would prevent the marshmallows from setting correctly.
- Baking Staples: A touch of Vanilla extract adds a classic marshmallow flavor depth, while a pinch of sea salt helps to balance the sweetness and enhance the overall taste.
Step-by-Step Guide: Crafting Your Fluffy Strawberry Marshmallows
The full recipe with precise measurements can be found in the recipe card at the bottom of this post, but here’s a detailed walkthrough to guide you to marshmallow perfection!
- Prepare the Gelatin: In the large bowl of your stand mixer (or a mixing bowl if using a hand mixer), combine 1/2 cup of cold water with the grass-fed gelatin. Give it a quick stir to ensure the gelatin is fully submerged, then let it sit undisturbed while you prepare the syrup. This process, known as “blooming,” allows the gelatin to absorb water and hydrate properly.
- Make the Sweet Syrup: In a small saucepan, combine the remaining water and your chosen sweetener (honey or maple syrup). Bring this mixture to a rolling boil over medium-high heat. Let it boil for approximately 10 minutes. If you have a candy thermometer, aim for the syrup to reach between 220-240°F (104-116°C). If you don’t have a thermometer, don’t worry! Boiling for a full 10 minutes at a good, steady boil is usually sufficient to reach the correct temperature. The goal is to reduce the water content and concentrate the sugar.
- Powder the Strawberries: While the syrup is boiling, add your freeze-dried strawberries to a blender or food processor. Blend them until they transform into a fine, lump-free powder. It’s crucial that there are no chunks remaining, as these would create an inconsistent texture in your marshmallows.
- Combine and Whip: Carefully remove the hot syrup from the heat. Attach the bowl containing the bloomed gelatin to your stand mixer, fitted with the whisk attachment. Start the mixer on a low speed, then slowly and steadily drizzle the hot sugar syrup into the gelatin mixture. Once all the syrup is added, immediately add the strawberry powder, vanilla extract, and a pinch of sea salt.
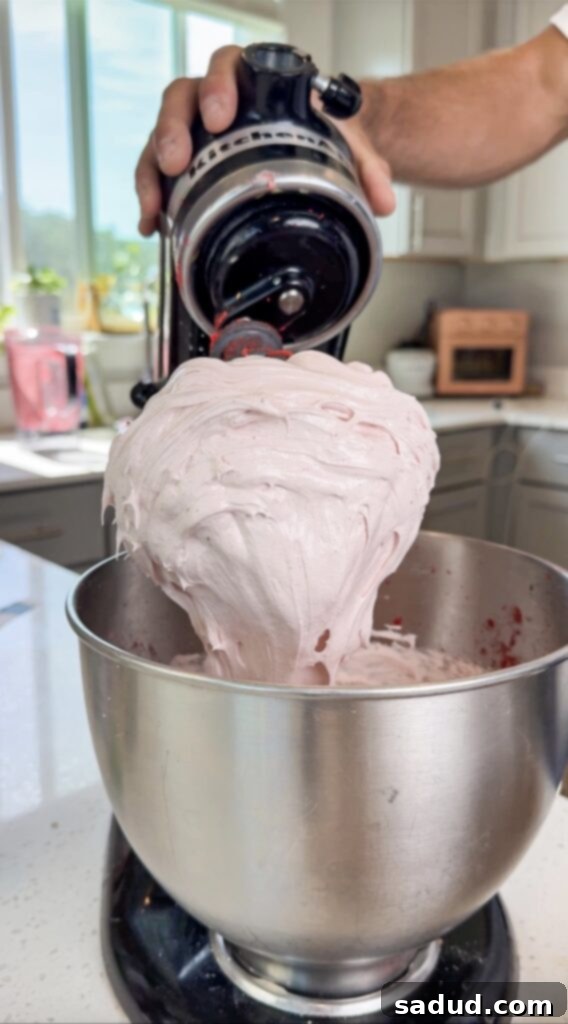
- Whip to Perfection: Increase the mixer speed to high and let it whip continuously. You’ll witness a magical transformation as the mixture triples in size, becoming incredibly thick, fluffy, and beautifully light pink. This usually takes about 5-6 minutes. Don’t be too stressed about over-whipping in this stage, but note that the mixture should be very thick and hold its shape on the whisk, yet still pourable from the bowl. If it becomes too stiff, it might be harder to spread evenly.
- Prepare Your Pan: While the marshmallows are whipping, line a 9×9 inch baking pan with parchment paper, leaving an overhang on the sides to make it easy to lift out later. Lightly grease the parchment paper for easy removal.
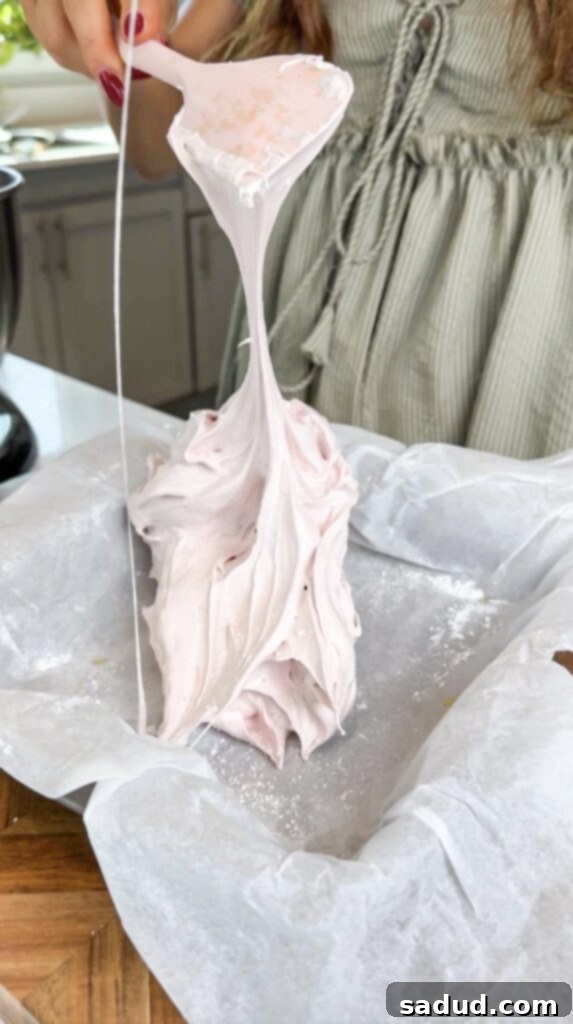
- Pour and Set: Once the marshmallow mixture is perfectly whipped, use a spatula to quickly scrape and pour it into the prepared pan. Work quickly, as the mixture will start to set as it cools. You can use the spatula to gently press and smooth the top, but a handy trick is to lightly wet your hands with water and use them to press the mixture firmly and evenly into the corners and flatten the surface – this is often easier than a spatula!
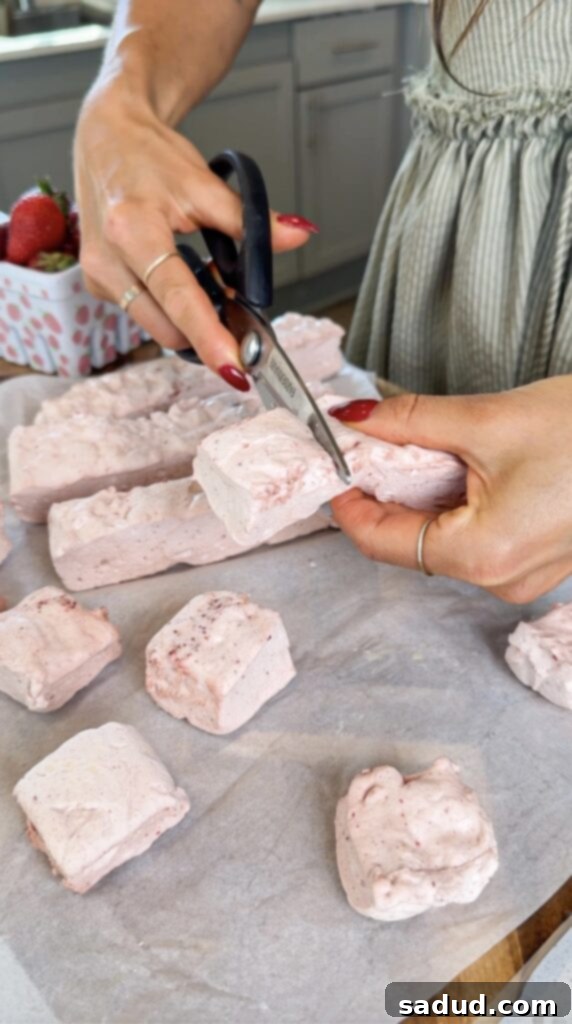
- Chill and Cut: Cover the pan and let it sit at room temperature for 30-60 minutes, or until the marshmallows are completely firm to the touch. Once set, lift the parchment paper from the pan and place the marshmallow slab on a cutting board. The easiest way to cut them into perfect squares is by using kitchen scissors, which prevents sticking better than a knife. Alternatively, a sharp, lightly oiled knife can also work.
-

The irresistible texture of homemade paleo strawberry marshmallows. -

A bowl full of freshly made paleo strawberry marshmallows. -

Perfectly cut, gut-healthy strawberry marshmallows ready to enjoy.
Creative Ways to Enjoy Your Paleo Strawberry Marshmallows
These homemade strawberry marshmallows are so delicious and versatile, you’ll find endless ways to enjoy them. Here are some of our favorite ideas:
- Elevate Your S’mores: Forget plain old marshmallows! Use these vibrant strawberry marshmallows to make classic S’mores. For a fun twist, try a “peanut butter and jelly” inspired S’more by pairing them with a peanut butter cup instead of traditional chocolate. The fruity sweetness is a game-changer!
- Perfect for Warm Beverages: Drop a few into your favorite warm drink. They melt beautifully into hot cocoa, adding a lovely strawberry note. Surprisingly, strawberries and matcha are a divine combination, so definitely try them in your next mug of warm matcha!
- Strawberry Rice Crispy Treats: Transform a classic childhood favorite into something extraordinary. Use these marshmallows to create healthier, naturally flavored strawberry rice crispy treats. The pink hue and fruity taste will make them an instant hit.
- Chocolate-Dipped Delights: For a quick and elegant dessert, dip your strawberry marshmallows in melted dark or white chocolate. Let the chocolate set, then store them in the freezer for a delightful frozen treat. The contrast of the soft marshmallow and crisp chocolate is irresistible.
- Thoughtful DIY Gifts: Homemade gifts are always special. Package these beautiful marshmallows in cute treat boxes, clear cellophane bags tied with a ribbon, or small jars. They make fantastic DIY birthday gifts, thoughtful Christmas presents, or unique party favors that your friends and family will adore.
- Marshmallow Pops: For a fun, kid-friendly (or adult-friendly!) option, gently push each marshmallow onto a lollipop or cake-pop stick. You can then dip these pops in chocolate and add sprinkles for an extra festive touch.
- Bake into Cookies: Get creative with your baking! You can add chopped strawberry marshmallows to your favorite chocolate chip cookie dough before baking, or use them to make special S’mores cookies.
Tips, Tricks, & Frequently Asked Questions (FAQ’s)
To ensure your marshmallow-making experience is a success, here are some helpful tips and answers to common questions:
- Tips for Cutting Marshmallows: The sticky nature of marshmallows can make cutting tricky. We’ve found that using clean, sharp kitchen scissors is the easiest method. Lightly oiling your scissors or a sharp knife with a neutral oil (like avocado or coconut oil) can also help prevent sticking. Alternatively, dusting your knife or hands with a bit of tapioca starch or arrowroot powder can make the process smoother.
- How to Make Marshmallows Without a Candy Thermometer: A candy thermometer provides precision, but it’s not strictly essential. The goal is for the sugar mixture to reach the soft-ball stage, typically around 220-242°F (104-116°C). If you don’t have a thermometer, simply bring the syrup to a strong, rolling boil and let it boil for at least 10 minutes. This duration usually ensures the syrup reaches the necessary temperature and consistency for the marshmallows to set properly.
- Can You Make Marshmallows Vegan? Yes, you absolutely can! Traditional marshmallows use animal-derived gelatin. For a vegan alternative, you can substitute gelatin with agar-agar powder, which is a plant-based gelling agent. The quantities and process will differ slightly. Here is a fantastic vegan marshmallow recipe that uses agar-agar if you’re looking for a plant-based option.
- Can You Make Strawberry Marshmallows with Fresh or Frozen Strawberries? Unfortunately, no. For this recipe, you MUST use freeze-dried strawberries or strawberry powder. Fresh or frozen strawberries contain a very high water content, which would prevent the marshmallows from setting correctly and result in a runny, sticky mess. Freeze-dried strawberries provide concentrated flavor and color without adding excess moisture, making them perfect for this recipe.
- Can You Roast Paleo Marshmallows? Absolutely! These homemade paleo marshmallows roast beautifully, just like their conventional counterparts. Their natural sweetness and fluffy texture create that perfect caramelized exterior and gooey interior when exposed to heat, making them ideal for campfires and S’mores.
- What if my mixture is too thick/thin after whipping? If your mixture is too thick and difficult to pour, it might have been slightly over-whipped or the syrup was boiled a bit too long. If it’s too thin and doesn’t hold its shape, the syrup might not have reached a high enough temperature. For the latter, sadly, there’s not much to salvage, but it will still taste delicious!
How to Store Your Paleo Strawberry Marshmallows
Proper storage is key to keeping your homemade marshmallows fresh and delicious. Store your strawberry marshmallows in an airtight container at room temperature. They should last for about 1-2 weeks. Avoid refrigerating them, as this can alter their texture and make them a bit too firm. If they start to get a little sticky, you can lightly dust them with a mixture of tapioca starch and powdered sugar (if you don’t mind a little extra sugar) before storing.
More Healthy Recipes to Try
If you loved these gut-healthy strawberry marshmallows, you’ll enjoy these other delicious and wholesome recipes:
- Gut-Healthy Homemade Fruit Gummies
- Raw Vegan Cinnamon Rolls (Erewhon Copycat!)
- Strawberry Frozen Yogurt Bites
- Strawberry Shortcake Ice Cream Bars (Vegan, Paleo)
- Dairy-Free Homemade Ice Cream Sandwiches
- Strawberry Almond Joy Bites
Paleo Strawberry Marshmallows (Gut Healing)
These healthy strawberry marshmallows are incredibly easy to make and even provide gut-healthy benefits! Sweetened with honey or maple syrup, they are lower in sugar than store-bought options but are still fluffy, fruity, & melt perfectly! These paleo marshmallows work great for hot cocoa or matcha, enjoy them straight up, dip them in chocolate, or use them to make healthier rice crispy treats!
Pin Recipe
20 mins
20 mins
Dessert, Snack
American
20
Ingredients
Gelatin mixture
- 3 tbsp gelatin
- 1/2 cup water
Syrup mixture
- 1 cup honey or maple syrup
- 1/2 cup water
- 1 tsp vanilla extract
Mix-in’s
- 1 1.2oz bag freeze dried strawberries
Instructions
-
In the bowl of your stand mixer, add the 1/2 cup water and gelatin. Give it a mix and let it sit while you make the syrup.
-
In a small pot, add the water and honey or maple syrup. Bring the mixture to a boil and let it boil for about 10 minutes. If you have a candy thermometer, you want it to reach between 220-240F. If you don’t have a thermometer, no stress. Letting it boil for 10 minutes at a high heat is usually enough!
-
In the meantime, add the strawberries to a blender and blend until powder form. You don’t want ANY lumps or chunks.
-
Remove the pot from the heat. Attach the bowl to your stand mixer with the whisk attachment. With it going on low, drizzle in the sugar water. Add in the strawberry powder, vanilla, and salt.
-
Allow the mixer to whip on high until the mixture triples in size and gets super thick and fluffy. This usually takes 2-3 minutes. Be careful to not over-whip or it’ll thicken too much & turn into what looks like “brains”. The mixture should have tripled in size and stick to the whisk when you remove it while still being pourable.
-
While the marshmallows are whipping, line a 9×9 pan with parchment paper. Once it’s done, use a spatula to pour the marshmallow mixture into the pan. You can use the spatula to press it in firmly and smooth them out, but I’ve found that wetting my hands with some water and using them is a bit easier.
-
Cover the pan and let it sit at room temperature for 30-60 minutes until they’re firm. Then cut into marshmallows (I like to use scissors to make it easiest!).
Video
gut healing recipes, gut health recipes, gut-healthy marshmallows, marshmallows without corn syrup, paleo marshmallows, strawberry marshmallows, healthy treats, homemade candy
