Effortless Toasted Grilled Cheese: Crispy Perfection Without the Stove!
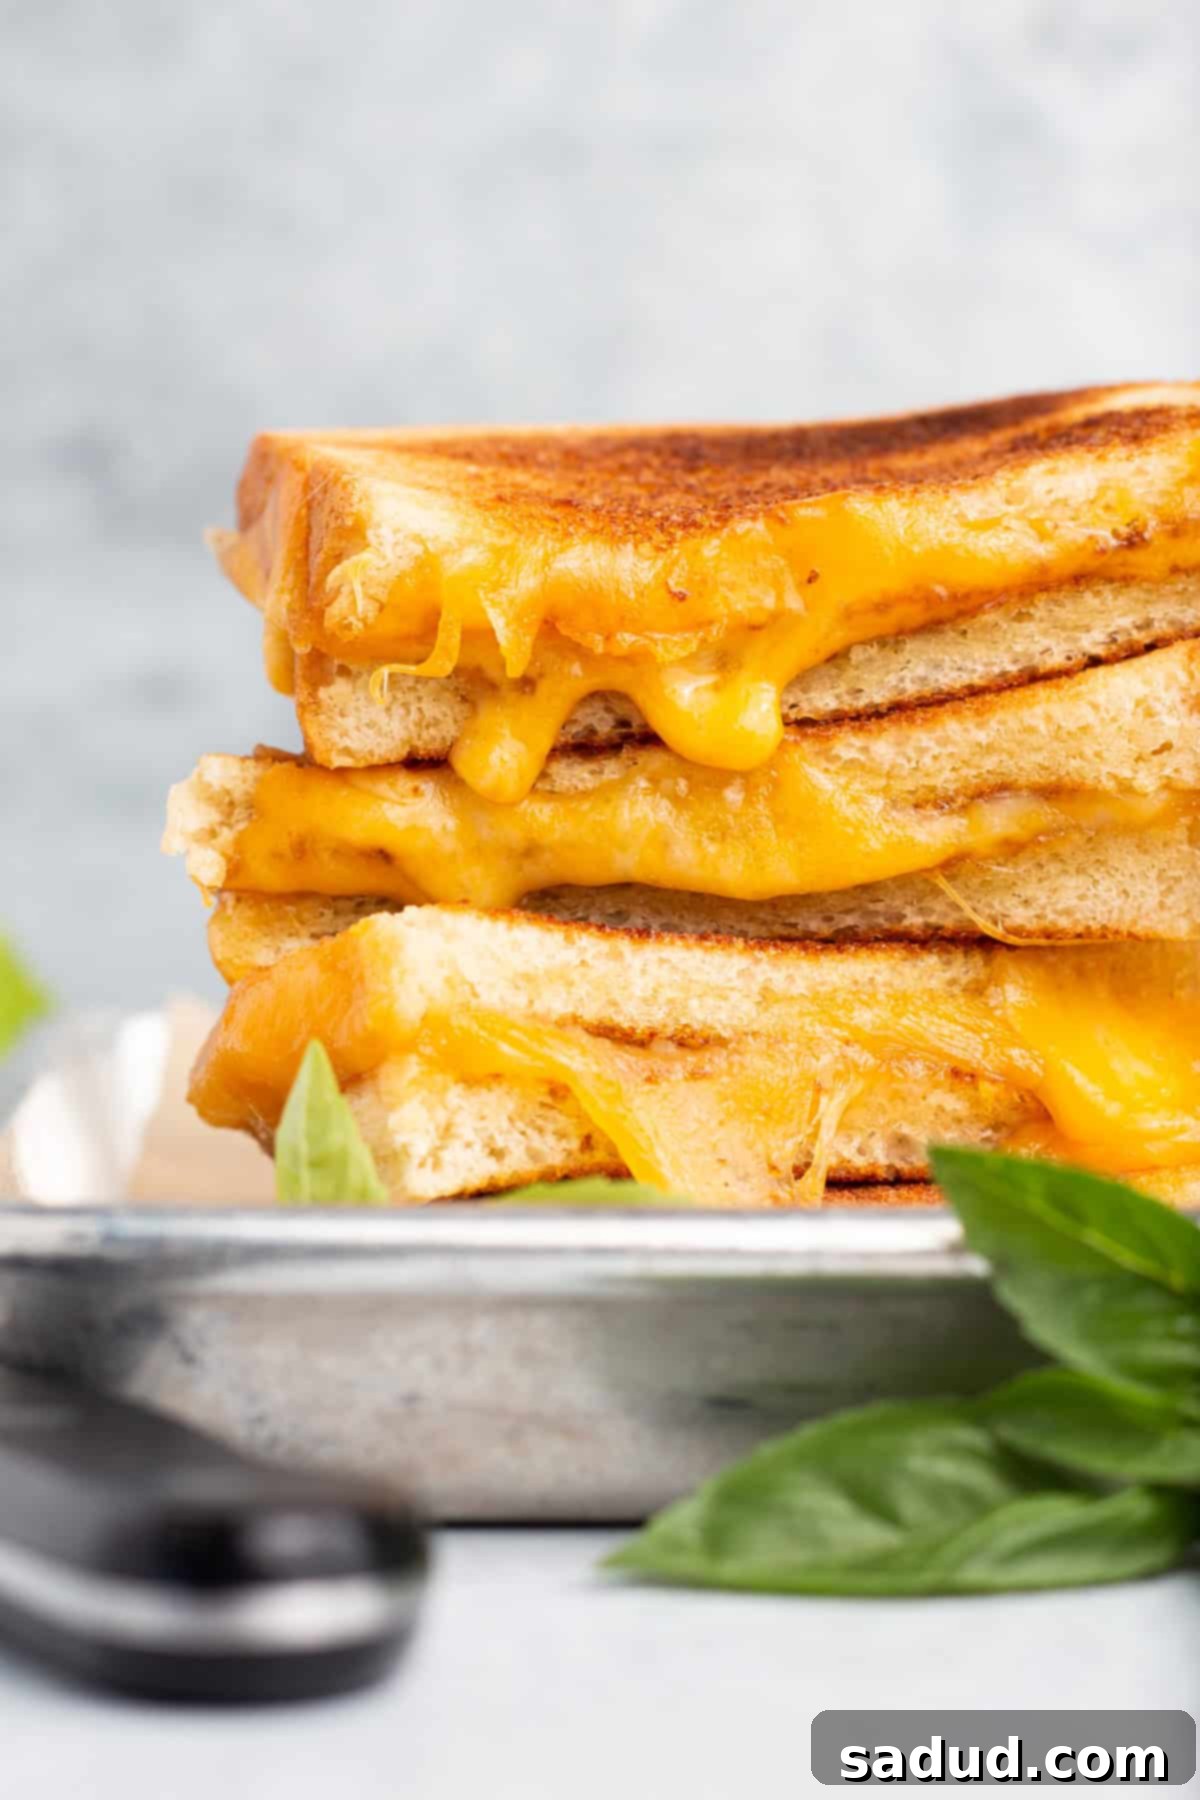
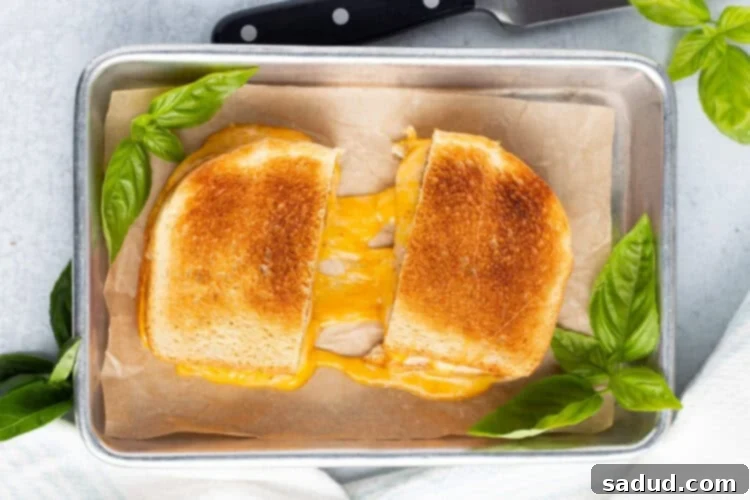
Say goodbye to greasy skillets and hello to the easiest, most satisfying grilled cheese sandwich you’ll ever make! This revolutionary toasted grilled cheese recipe combines the crispness of perfectly toasted bread with the ooey-gooey goodness of melted cheese, all prepared without ever turning on your stove. Forget the mess and the fuss; in just minutes, you can enjoy a delightfully hot, melty, and incredibly crispy grilled cheese that’s perfect for a quick lunch, a late-night snack, or simply whenever a craving strikes.

🍞 Why This Toasted Grilled Cheese Recipe is a Game-Changer
This method for making grilled cheese is truly remarkable, transforming a classic comfort food into an effortless culinary experience. Here’s what makes this recipe an absolute must-try for any grilled cheese enthusiast:
- Unbelievably Easy & Convenient: The simplicity of this toasted grilled cheese recipe is its greatest strength. You only need three core ingredients – bread, butter, and cheese – plus a toaster, a microwave, and a few damp paper towels. That’s it! There’s no need to monitor a hot pan, worry about burning your bread, or deal with a greasy cleanup afterward. It’s perfect for busy weeknights, dorm room cooking, or anyone looking for a quick, delicious meal with minimal effort. In just a few minutes, you’ll have a hot, perfectly crisp, and wonderfully melty sandwich ready to devour.
- The Perfect Texture Every Time: This technique masterfully achieves that ideal grilled cheese texture: beautifully crisp bread on the outside and wonderfully gooey, melted cheese on the inside. The toaster provides the crucial crunch, giving your sandwich that satisfying bite. The microwave, when used correctly with damp paper towels, creates a steamy environment that melts the cheese into a luscious, stringy perfection without drying out or overcooking the bread. It’s a harmonious blend of textures that will elevate your grilled cheese experience.
- Endlessly Customizable to Your Taste: While the basic recipe is fantastic on its own, it serves as an excellent canvas for customization. Once your cheese is perfectly melted, you can easily open up the sandwich and add your favorite extras. Think a couple of fresh tomato slices for a burst of acidity, savory deli meats like ham or turkey for added protein, crispy bacon for a smoky crunch, or even a sprinkle of fresh herbs. For best results, always add these extra fillings *after* the initial microwaving step to ensure they warm up nicely without interfering with the cheese melt. This flexibility ensures every sandwich is tailored exactly to your cravings.
- No Stove? No Problem! This recipe liberates you from traditional cooking methods. Whether you live in a small apartment without a full kitchen, a dorm room, or simply want to avoid the heat and mess of stovetop cooking, this no-stove grilled cheese is your new best friend. It’s a testament to how simple tools can create incredibly delicious results.
🧀 Chef’s Tips for the Ultimate Toasted Grilled Cheese
While this toasted grilled cheese is incredibly simple, a few expert tips can elevate it from good to absolutely perfect. Pay attention to these details for a truly exceptional sandwich every time:
- Choose Your Bread Wisely: The bread is the foundation of your grilled cheese, and the right choice makes all the difference. While any bread works, some are better suited for toasting and holding melty cheese. Consider using a good quality white bread, potato bread, or buttermilk bread for a classic soft interior and crisp exterior. Sourdough offers a delightful tangy flavor and a sturdy structure, while brioche provides a rich, buttery taste. Whole wheat bread is a great option for added fiber and a heartier texture. Experiment to find your personal favorite, as the bread contributes significantly to both flavor and texture.
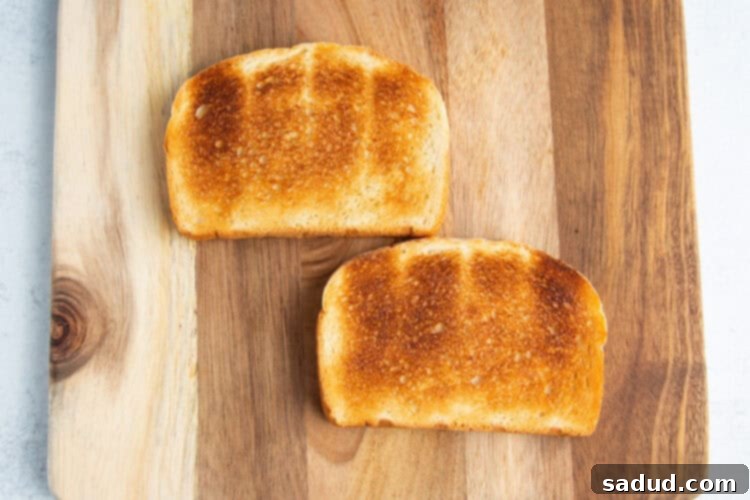
- Perfect Your Toast Level: The key to a crispy toasted grilled cheese lies in the toasting. Unlike a regular piece of toast, where you might prefer it barely golden, for this sandwich, you want your bread to have a noticeable crunch. This is where all the crispness comes from, as the microwave step is designed for melting, not crisping. Aim for a medium-dark toast – a deep golden brown, but not burnt. This ensures a sturdy, satisfyingly crisp texture that contrasts beautifully with the soft, gooey cheese inside. Use either a standard pop-up toaster or a toaster oven, whichever you have on hand, and don’t be afraid to give it a little extra time.
- The Art of Melting Cheese in the Microwave: The secret to perfectly melted, never-rubbery cheese in the microwave is the damp paper towel. This creates a steamy, humid environment that gently melts the cheese, preventing it from drying out or becoming tough.
- Start with Soft Cheeses: Softer, high-moisture cheeses like American, mild cheddar, Swiss, provolone, muenster, havarti, or mozzarella will melt more smoothly and consistently. Harder cheeses may not become as gooey. A blend of cheeses can also create a complex flavor profile.
- Microwave in Increments: Every microwave has different wattage and heating patterns. To avoid overcooking, start with just 30 seconds on full power. After 30 seconds, carefully check the sandwich. If the cheese isn’t as melty and gooey as you’d like, return it to the microwave for additional 10-second bursts, checking after each increment. This allows you to achieve perfect meltiness without turning your bread into a rock-hard disc.
- Handle with Care: Be extremely cautious when removing the sandwich from the microwave. The cheese will be very hot and can cause burns. Use tongs or a spatula if preferred, and always let it cool for a moment before taking a bite.
- Enhance with Flavor: Don’t just stop at butter! A light sprinkle of garlic powder, onion powder, or a pinch of dried herbs (like oregano or thyme) mixed into the softened butter before spreading can add an incredible depth of flavor. A tiny dash of black pepper also works wonders.
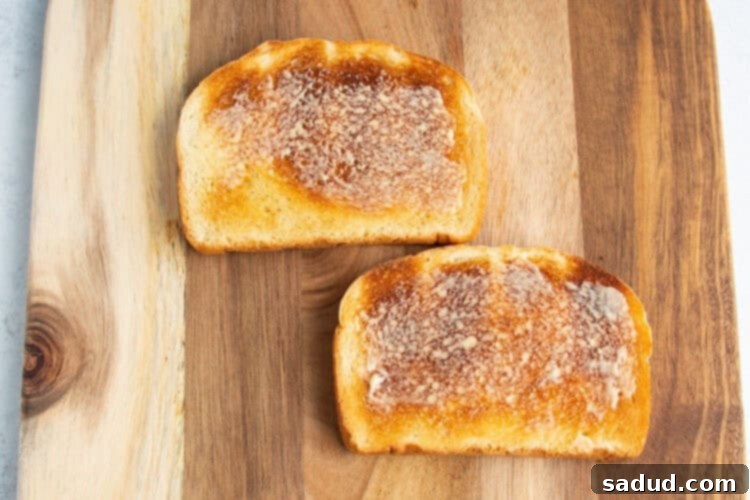
- Butter Application: Ensure the butter is softened, not melted, for easy and even spreading. A thin, even layer across one side of each slice of toasted bread is all you need to achieve that satisfying rich flavor and help the cheese adhere. You can also toast the bread first, then apply softened butter to both inner sides before adding cheese.

Try These Delicious Sandwiches Recipes Next
- Chicken Parm Sandwich
- Turkey Melt with Cheddar, Spinach, and Bacon
- Chicken Pesto Sandwich
- Chickpea Salad Sandwich
- BBQ Jackfruit Sandwiches
If you loved this recipe as much as we did, don’t forget to leave us a review below. ★ Follow Easy Healthy Recipes on Pinterest, Facebook, and Instagram, too!
For more delicious recipes, visit our sister sites, 40 Aprons and Easy Cheap Recipes.

Toasted Grilled Cheese (No Stove Needed)
 Cheryl Malik
Print
SaveSaved!
Ingredients
- 2 slices bread of choice e.g., potato bread, buttermilk bread, whole wheat bread, or sourdough for extra flavor.
- ½ tablespoon salted butter softened to room temperature for easy spreading.
- 3 slices cheese of choice Swiss, cheddar, muenster, havarti, provolone, or a mix for complex flavor.
- 1 pinch garlic powder optional, for an extra savory kick.
Equipment
-
Toaster or Toaster Oven
-
Microwave-safe plate
-
Paper towels
-
Water
-
Microwave
-
Butter knife or small spatula for spreading
Instructions
-
Toast Your Bread: Insert 2 slices of your chosen bread into your toaster or toaster oven. Toast the bread until it reaches a desired golden-brown crispness. Remember, this step provides all the crunch, so aim for a slightly darker toast than you might normally prefer. Once toasted, carefully transfer the bread to a microwave-safe plate.

-
Butter and Season: Lightly spread softened butter on one side of each piece of toast. The butter adds richness and flavor, mimicking the traditional grilled cheese taste. If you’re using garlic powder (or any other seasoning), sprinkle it evenly over the buttered sides for an extra layer of savory deliciousness.

-
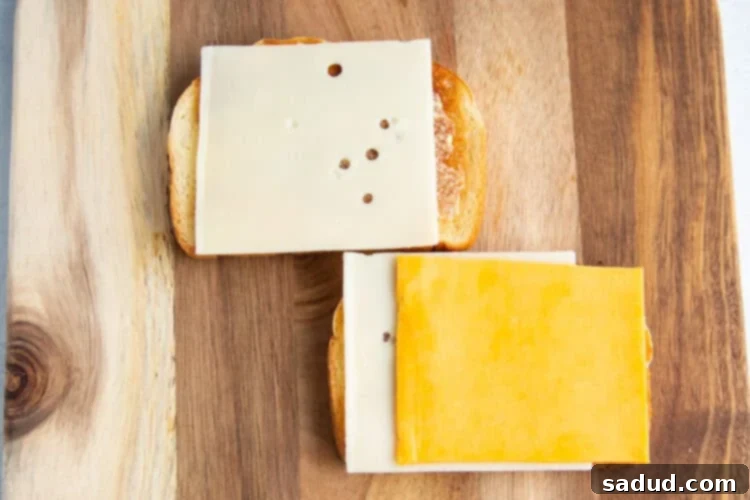
Assemble Your Sandwich: Arrange the slices of cheese on top of the buttered side of one piece of toast. Layer them evenly to ensure a consistent melt. Then, gently place the second piece of toast on top, with its buttered side facing down onto the cheese. This forms your classic grilled cheese sandwich structure, ready for melting.

-
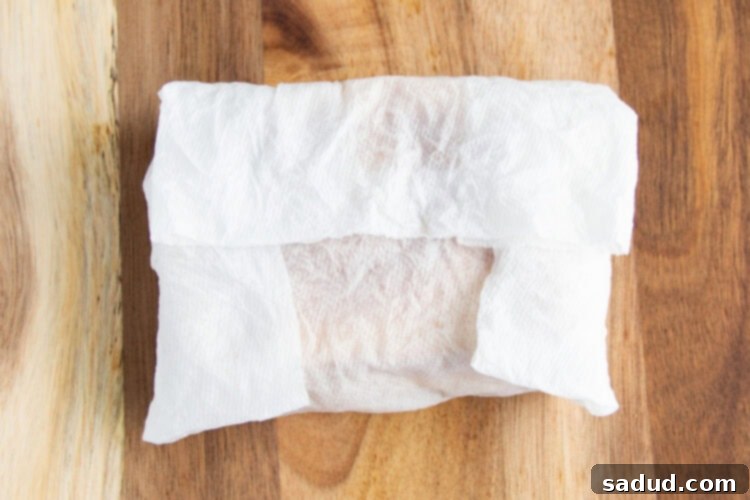
Prepare for Microwaving: Take 1-2 paper towels and wet them thoroughly under a tap. Gently wring out the excess water until the paper towels are damp but not dripping wet. The goal is to create steam, not soggy bread. Carefully spread these damp paper towels flat, then wrap your assembled cheese sandwich completely in them. This crucial step creates a humid environment in the microwave, ensuring the cheese melts perfectly without hardening the bread.

-
Microwave to Melt: Place the wrapped sandwich back on the microwave-safe plate, making sure the paper towel seam is underneath to keep the sandwich securely wrapped. Position the plate in the microwave and heat at full power for an initial 30 seconds.
-
Check and Continue Heating: After 30 seconds, carefully unwrap a corner of the sandwich and check the cheese. It should be visibly melted and gooey, and the bread should feel warm and slightly softened on the inside, while maintaining its crisp exterior. If the cheese isn’t as melted as you prefer, re-wrap the sandwich and return it to the microwave, continuing to heat in 10-second increments. Check the doneness after each burst until you achieve your desired level of melty perfection.
-
Serve Immediately: Once your cheese has reached peak meltiness, carefully remove the grilled cheese from the microwave. Unwrap it from the paper towels and serve immediately. Be aware that the sandwich, especially the cheese, will be very hot. Take caution when handling and with your first bite! Enjoy your perfectly crispy, incredibly melty, and effortlessly made toasted grilled cheese.

Notes
- Toast Level: As mentioned in the tips, if your usual preference is for lightly toasted bread, consider toasting it a bit longer for this recipe. The extra crispness provides a fantastic textural contrast to the soft, melted cheese, and it won’t get soggy in the microwave.
- Cheese Selection: For the best ooey-gooey results, opt for softer, easy-melting cheeses. Varieties like mild cheddar, Swiss, provolone, muenster, havarti, or even fresh mozzarella (though it can be a bit watery) work exceptionally well. Avoid very hard, aged cheeses as they tend to melt less smoothly in the microwave. Feel free to mix and match for a more complex flavor profile!
- Make it Gluten-Free: Simply substitute regular bread with your favorite gluten-free bread. Always double-check that your chosen cheese and butter do not contain any hidden gluten-containing ingredients, although this is rare for standard dairy products.
- Make it Low-Carb: For a low-carb version, select a low-carb or keto-friendly bread alternative. These are designed to mimic the texture of regular bread while keeping carb counts down.
- Make it Dairy-Free: This recipe is easily adaptable for dairy-free diets. Use a high-quality plant-based butter spread and your preferred brand of dairy-free cheese slices. Many dairy-free cheeses are specifically formulated to melt well, making this adaptation seamless.
- Adding Extra Fillings: If you’re adding ingredients like deli meat, cooked bacon, or sliced tomatoes, incorporate them *after* the initial microwaving step when the cheese is already melted. This prevents them from cooling the cheese or altering the melt time. Simply lift the top bread slice, add your desired fillings, and then close the sandwich before serving.
- Serving Suggestions: A toasted grilled cheese pairs wonderfully with a warm bowl of tomato soup, a fresh side salad, or a handful of crispy potato chips for an ultimate comfort meal.
Nutrition Information
Number of total servings shown is approximate. Actual number of servings will depend on your preferred portion sizes.
Nutritional values shown are general guidelines and reflect information for 1 serving using the ingredients listed, not including any optional ingredients. Actual macros may vary slightly depending on specific brands and types of ingredients used.
To determine the weight of one serving, prepare the recipe as instructed. Weigh the finished recipe, then divide the weight of the finished recipe (not including the weight of the container the food is in) by the desired number of servings. Result will be the weight of one serving.
There you have it – a simple yet ingenious way to achieve the perfect grilled cheese sandwich. This toasted grilled cheese recipe is a testament to the fact that comfort food doesn’t have to be complicated or messy. With just a toaster and a microwave, you can whip up a crispy, melty, satisfying treat in mere minutes. We hope you enjoy this easy, no-fuss method as much as we do. Don’t forget to experiment with different breads and cheeses, and share your delicious creations with us online!
