Juicy & Tender Grilled Turkey Breast with Herb Compound Butter: The Ultimate Holiday Centerpiece
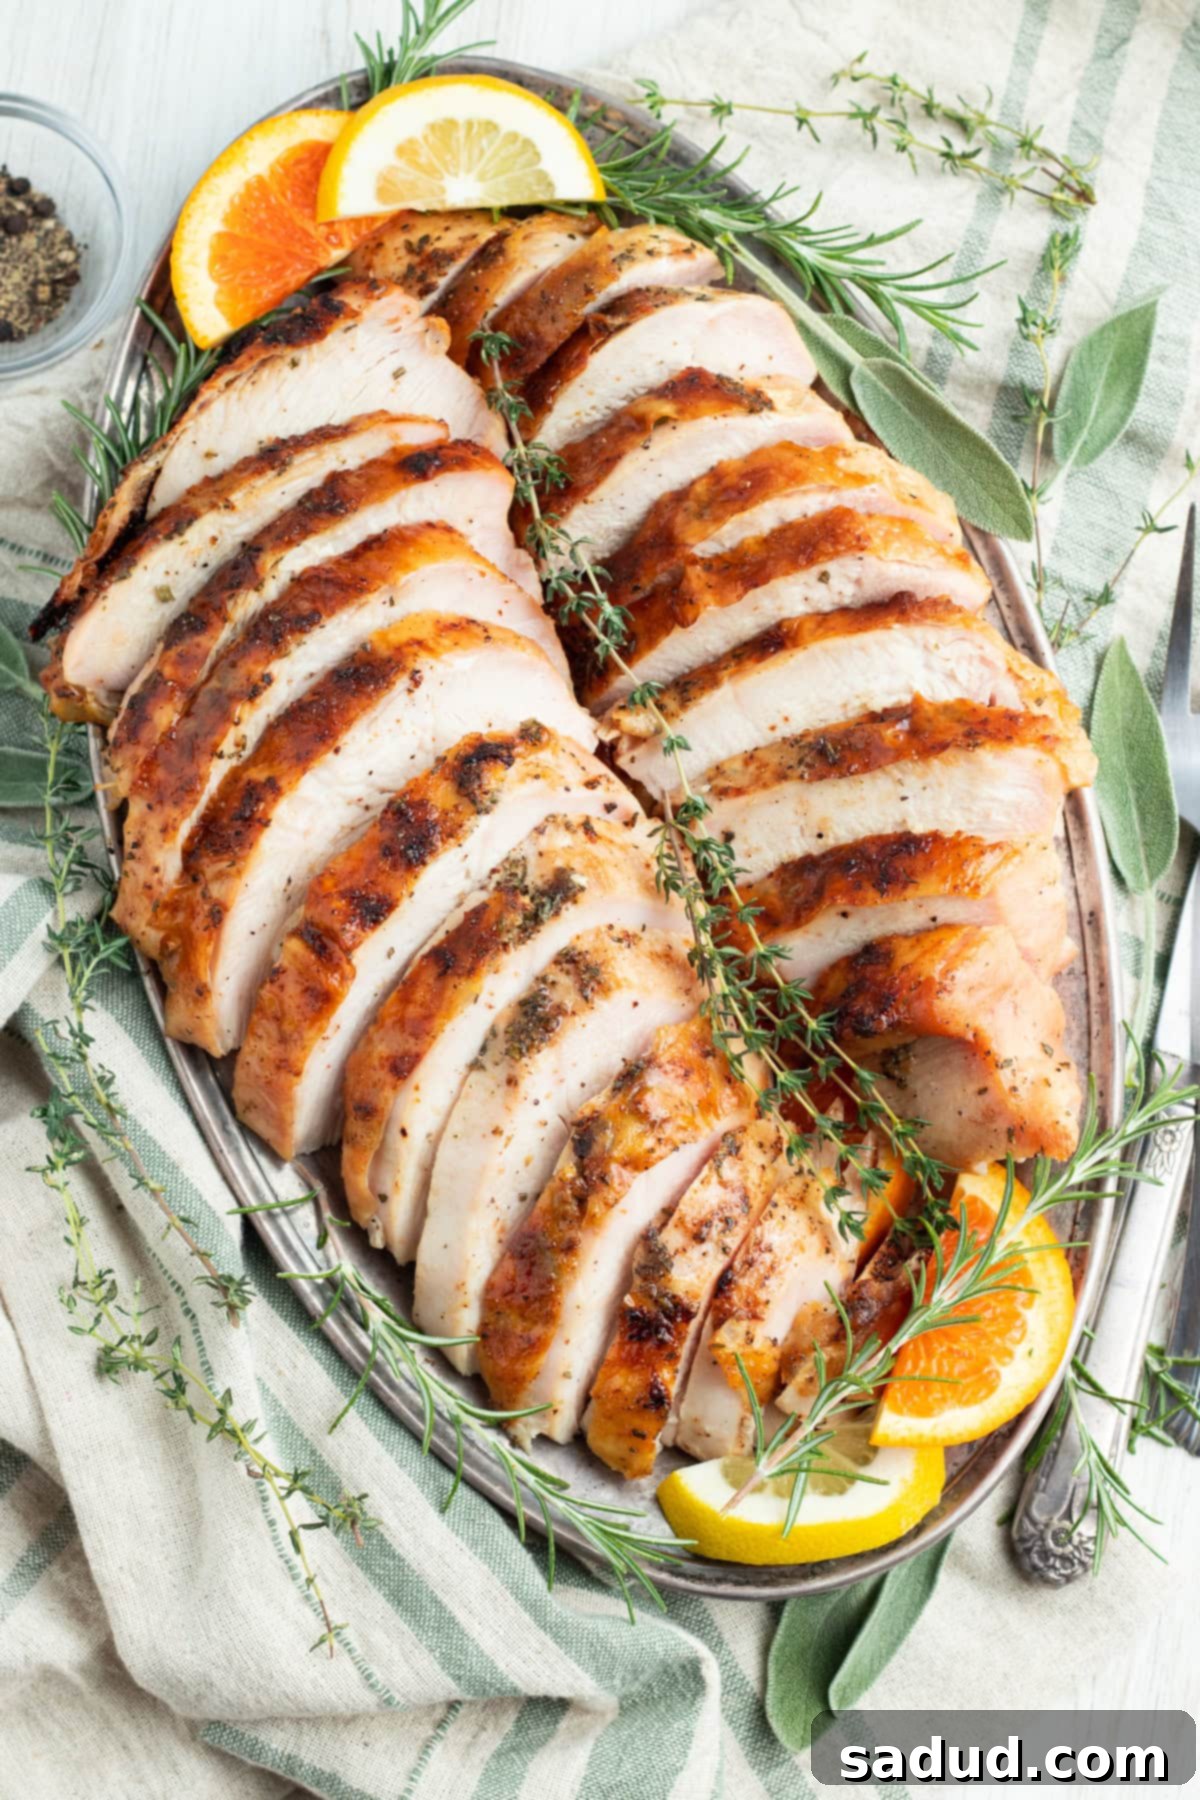
Prepare to elevate your holiday feast with this phenomenal recipe for tender, juicy grilled turkey breast. This method transforms a simple turkey breast into an unbelievable star entrée, allowing it to soak up incredible flavors from an earthy aromatic brine before being generously massaged with a rich, herbaceous compound butter. Grilling achieves a perfect balance of smoky flavor and a wonderfully crispy skin, all while keeping your oven completely free for all your essential side dishes and delectable desserts. It’s the ideal solution for anyone seeking a less conventional, yet equally delicious, alternative to a traditional roasted turkey, ensuring every bite is moist, flavorful, and unforgettable.
Why This Grilled Turkey Breast Recipe is a Must-Try
- Perfect for Holiday Dinners and Smaller Gatherings: Bone-in turkey breasts are truly fantastic options for holiday dinners, especially if you’re not keen on roasting an entire turkey or if you simply don’t need to feed a massive crowd. They cook significantly faster than a whole bird and yield a more manageable amount of meat, making them ideal for smaller family gatherings or intimate celebrations. Furthermore, if you *are* feeding a large group and want to guarantee you have plenty of turkey to go around without overwhelming your main oven, cooking a smaller bone-in turkey breast on the grill alongside your whole roast turkey is a brilliant strategy. It ensures everyone gets to enjoy perfectly cooked turkey, with less stress on your kitchen appliances.
- Unleash Incredible Smoky Flavor and Texture: Grilling your turkey breast is a fantastic way to introduce a delightful change of pace from the usual roasted bird. While roasting certainly has its merits, the grill imparts an incredible, nuanced smokiness that penetrates the meat, adding a layer of depth that’s hard to achieve otherwise. And when it comes to texture, this method truly shines. The brining process ensures the meat remains unbelievably tender and succulent from edge to edge, while the direct heat of the grill works wonders on the skin, rendering it beautifully golden and wonderfully crispy – a textural contrast that’s simply divine.
- Free Up Your Oven for Sides and Desserts: One of the most practical and often-overlooked benefits of grilling your turkey is the liberation of your oven. Holiday cooking often involves a complex logistical dance, juggling multiple dishes and oven temperatures. By cooking your turkey breast outdoors on the grill, you free up valuable oven space. This means you can bake your stuffing, casseroles, roasted vegetables, and pies simultaneously, or even get a head start on your desserts without any scheduling conflicts. This simple shift can dramatically reduce holiday kitchen stress, making your entire cooking process smoother and more enjoyable.
- Deeply Flavorful and Moist from Brine to Butter: This recipe leverages two key techniques to ensure maximum flavor and moisture: brining and compound butter. The aromatic brine infuses the turkey with savory notes and essential moisture, preventing it from drying out on the grill. The herbaceous compound butter, applied both under and over the skin, not only adds a rich, aromatic flavor but also contributes to that coveted crispy skin and keeps the meat exceptionally moist as it cooks. The combination of these steps results in a turkey breast that is bursting with flavor in every tender bite.
Chef’s Expert Tips for Grilled Turkey Perfection
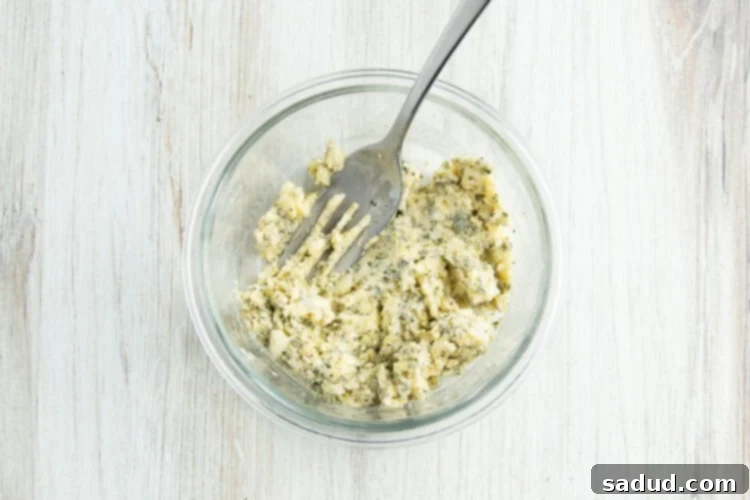
- Achieving the Perfect Compound Butter Consistency: For maximum ease and best results when massaging your compound butter into the turkey breast, it’s crucial that the butter is at room temperature. However, there’s a fine line: you want it pliable and soft enough to spread easily, but not so soft that it’s almost liquidy or completely melted. If your kitchen is particularly warm – a common scenario during bustling holiday preparations – keep this in mind. Butter that’s too soft will be messy and difficult to work with, making it hard to create those flavor pockets under the skin. Aim for a consistency that allows you to easily press and spread it with your fingers, yet still holds its shape.
- Strategic Butter Application Under the Skin: The magic of compound butter truly comes alive when applied directly to the meat, under the skin. Take your time with this step. Using your fingers, gently separate the skin from the meat in a few strategic areas without tearing or completely detaching the entire skin membrane. Create small, shallow pockets and carefully push the herbaceous butter mixture into these spaces. Distribute it as evenly as possible. This ensures that the meat itself absorbs the flavors and moisture from the butter as it cooks, leading to a much more succulent and flavorful result. Avoid peeling the skin off entirely, as it plays a crucial role in protecting the meat and crisping up beautifully.
- The Unsung Hero: Olive Oil in Compound Butter: Don’t be surprised or put off by the addition of both butter and olive oil to the compound butter mixture. While some might think adding oil alongside butter is unnecessary, I promise you, that tablespoon of high-quality olive oil has a very important job! Butter has a relatively low smoke point, meaning it can burn easily at the high temperatures inside a grill, leading to undesirable bitter flavors and a charred exterior. The olive oil helps to temper the butter, raising the overall smoke point of the mixture. This prevents the butter from burning too quickly, allowing it to melt slowly, baste the turkey, and contribute to that beautiful golden-brown, crispy skin without any burnt spots. Trust me, you absolutely do not want any part of your perfectly grilled turkey breast to burn.
- The Importance of Resting Your Turkey: Once your turkey breast reaches its ideal internal temperature, resisting the urge to slice into it immediately is crucial. Transfer the grilled turkey breast to a cutting board and loosely tent it with aluminum foil. Allowing the turkey to rest for at least 15-20 minutes lets the juices redistribute throughout the meat. If you slice it too soon, those precious juices will run out onto the cutting board, leaving you with a drier turkey. Resting ensures every slice remains incredibly juicy and tender.
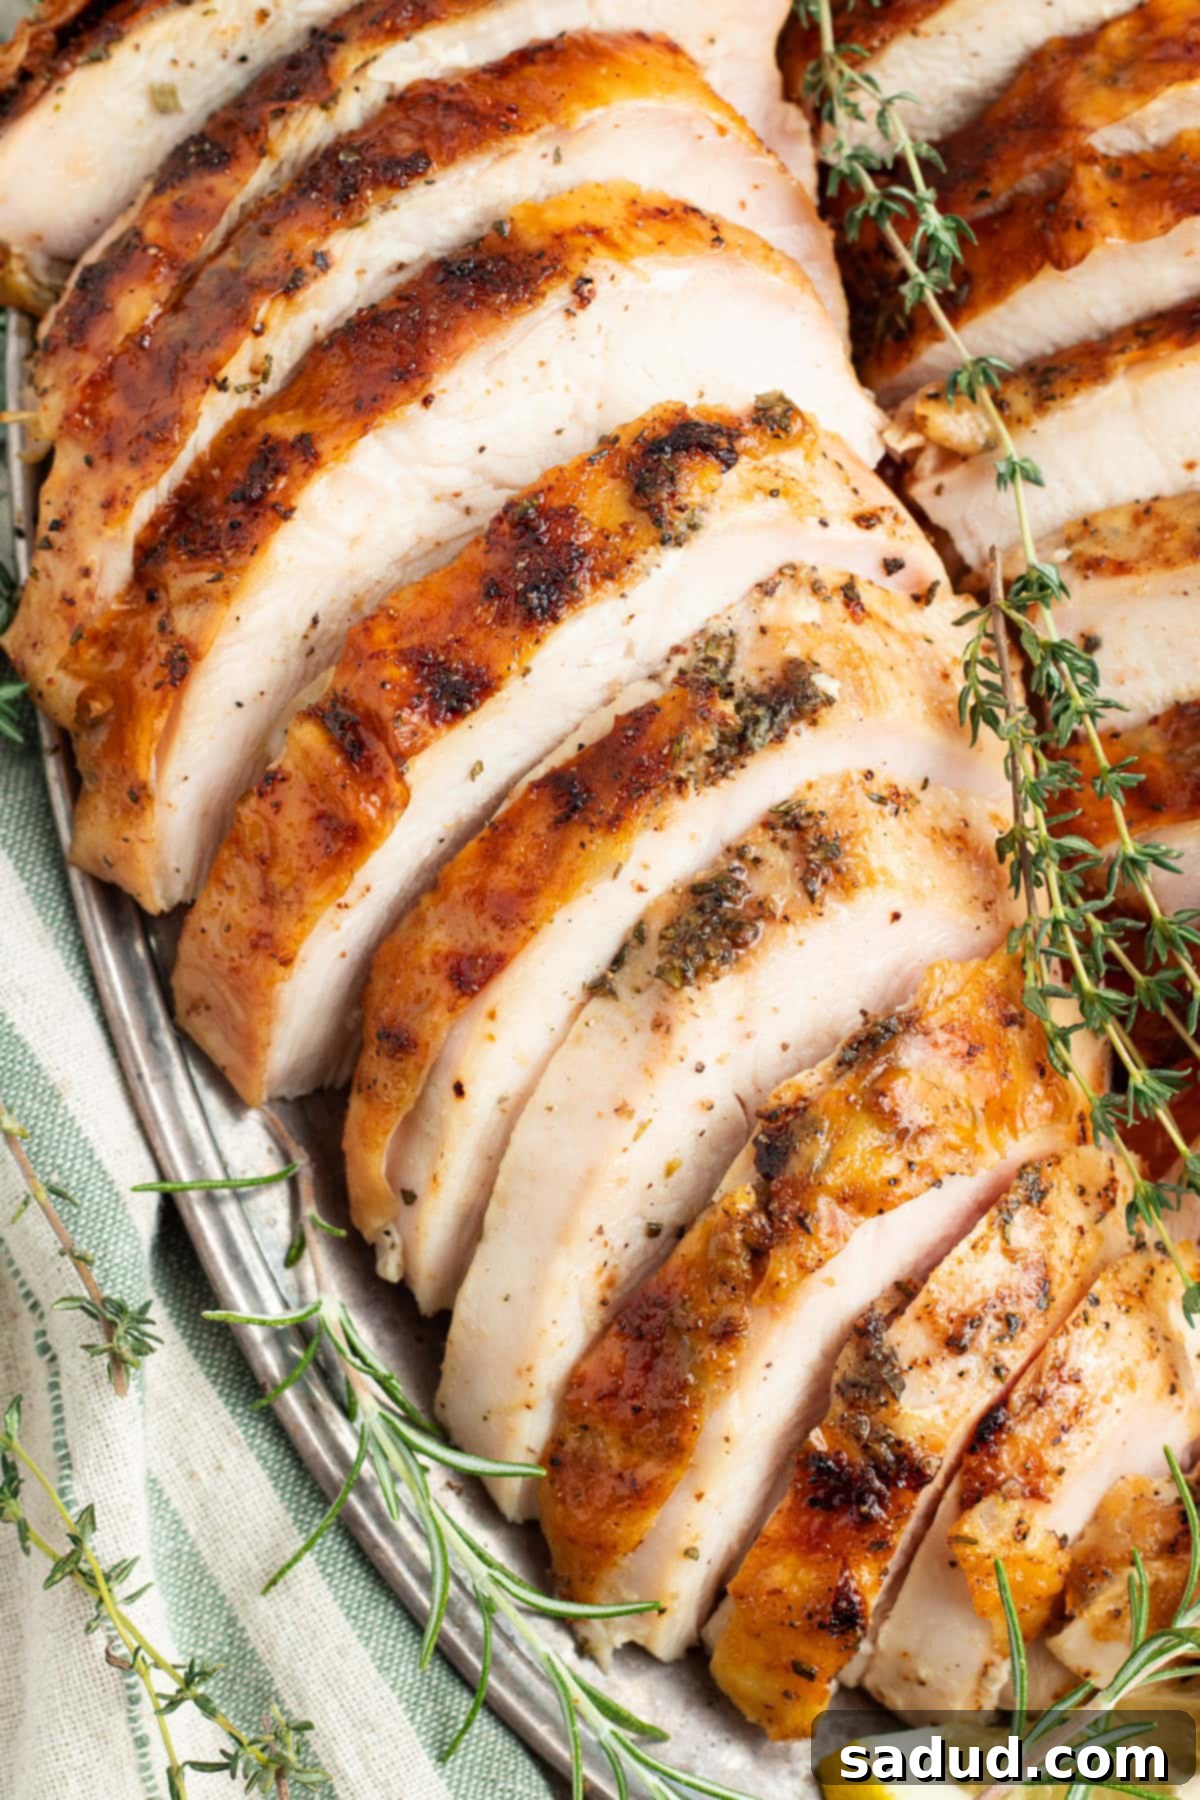
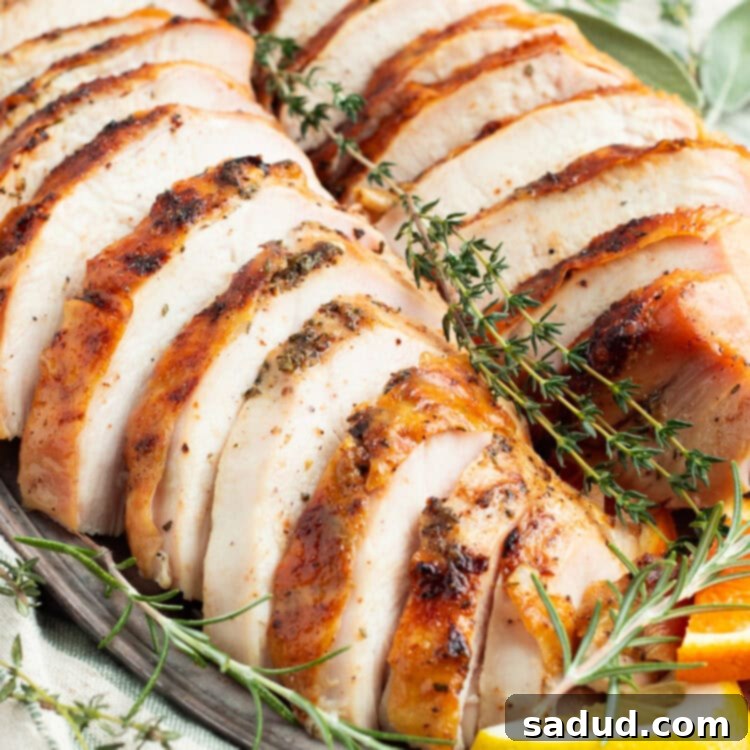
- Carving for Presentation and Tenderness: When it’s time to carve, a sharp knife is your best friend. Start by slicing along the breastbone to carefully separate the breast meat from the bone. Once separated, position your knife perpendicular to the meat and cut against the grain at a slight angle, aiming for ¼-inch to ½-inch thick slices, or your preferred thickness. Slicing against the grain shortens the muscle fibers, making each piece wonderfully tender and easy to chew.
More Delicious Turkey Recipes You’ll Love
- Turkey Spaghetti
- Turkey Melt with Cheddar, Spinach, and Bacon
- Bacon Wrapped Turkey Breast
- Turkey Stuffed Peppers
- Turkey Casserole
If you loved this recipe as much as we did, don’t forget to leave us a review below. ★ Follow Easy Healthy Recipes on Pinterest, Facebook, and Instagram, too!
For more delicious recipes, visit our sister sites, 40 Aprons and Easy Cheap Recipes.
Grilled Turkey Breast
 Cheryl Malik
Print Recipe
Save to GrowSaved!
Ingredients
For the Turkey Brine
- 9 cups cold water divided, plus more if needed to fully submerge the turkey
- ½ cup kosher salt or coarse sea salt
- ¼ packed cup brown sugar see Notes for Keto option
- ice cubes as needed to chill the brine
- 1 tablespoon whole black peppercorns
- 3 sprigs fresh rosemary
- 4 sprigs fresh thyme
- 2-3 bay leaves
- 3-4 fresh sage leaves
- 1 medium lemon halved
- 1 medium orange halved
For the Grilled Turkey Breast
- 1 4-7 pound bone-in turkey breast see Notes for thawing and pre-brined turkey
- 6 tablespoons unsalted butter at room temperature, but still firm
- 1 tablespoon high-quality olive oil helps prevent butter from burning
- 1 tablespoon finely chopped poultry herb blend store-bought or make your own with rosemary, sage, and thyme (see Notes)
- 1 teaspoon garlic powder
- ½ teaspoon onion powder
- ½ teaspoon freshly cracked black pepper
Equipment
-
Small saucepan for dissolving brine ingredients
-
Wooden spoon or whisk for stirring brine
-
Large food-safe container with lid or plastic wrap to cover, for brining turkey
-
Refrigerator for chilling brining turkey
-
Cutting board for prep and carving
-
Paper towels for patting turkey dry
-
2 small bowls for mixing and reserving butter
-
Fork or silicone spatula for mixing butter
-
Grill gas or charcoal, see Notes for indirect heat setup
-
Basting brush for applying reserved butter
-
Internal meat thermometer essential for food safety and perfect doneness
-
Aluminum foil for resting the turkey
-
Sharp knife for carving
Instructions
To Brine Turkey Breast
-
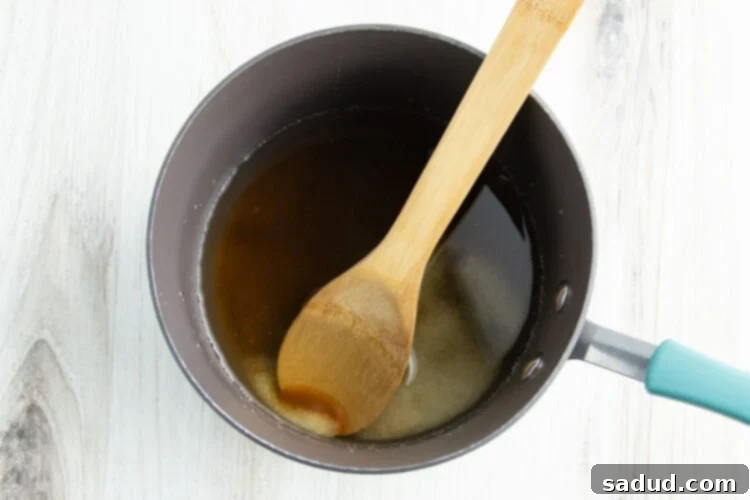
Begin by preparing your aromatic brine. Heat a small saucepan over medium-high heat. Once the saucepan is warm, add 3 cups of cold water. Stir in the ½ cup of salt and ¼ cup of packed brown sugar. Bring this mixture to a gentle boil, stirring continuously until the salt and sugar are completely dissolved into the water. This creates a concentrated flavor base for your brine. Once fully dissolved, remove the saucepan from the heat.

-
In a large, food-safe container (ensure it’s big enough to fully submerge your turkey breast), add the remaining 6 cups of cold water. Pour the hot salt and sugar mixture into this container and stir vigorously until everything is thoroughly incorporated and the brine is uniform. Depending on the size and shape of your container and turkey breast, you may need to add a little more cold water to guarantee the turkey will be completely covered.
-
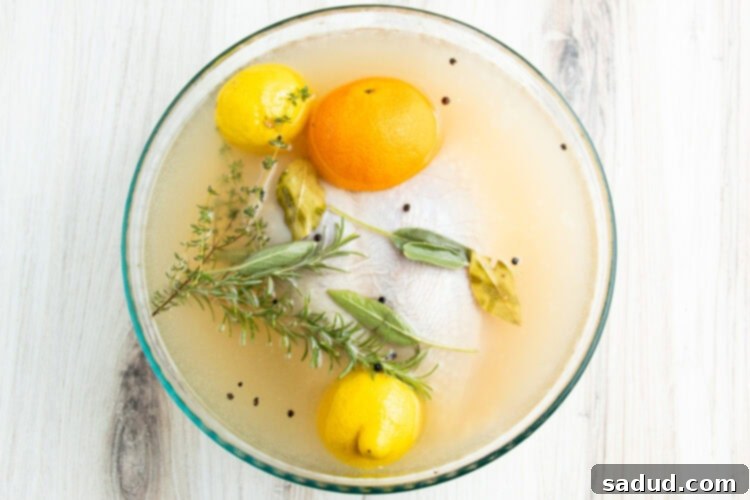
Crucially, the brine must be cooler than room temperature before adding the turkey. Add ice cubes as needed to quickly bring down the water temperature. Once chilled, gently stir in the whole peppercorns, fresh rosemary sprigs, fresh thyme sprigs, bay leaves, and fresh sage leaves for an earthy aromatic infusion. Squeeze the juice from one lemon half and one orange half directly into the container, then add the squeezed lemon and orange halves to the brine as well. Stir everything together once more to ensure the liquids and aromatics are well distributed.
-
Carefully place the turkey breast into the prepared brine bath, ensuring it is fully submerged. If it floats, you might need a plate or a small weight to keep it under the liquid. Cover the container securely with a lid or plastic wrap and transfer it to the refrigerator. Allow the turkey breast to brine for at least 6 hours to absorb maximum flavor and moisture, but no longer than 24 hours to prevent it from becoming overly salty.

To Grill Turkey Breast
-
When you’re ready to grill your turkey, start by preheating your grill to a medium-high temperature, aiming for approximately 375° to 400° Fahrenheit. While the grill heats, remove the container from the fridge and carefully discard the brine mixture and all aromatics. Rinse the turkey breast thoroughly under cold running water to remove any excess salt. Place the rinsed turkey breast on a clean cutting board or plate, then pat it completely dry with paper towels. A dry surface helps achieve that desirable crispy skin. Set aside.
-
In a small bowl, combine the 6 tablespoons of room-temperature unsalted butter, 1 tablespoon of high-quality olive oil, 1 tablespoon of the finely chopped poultry herb blend, 1 teaspoon of garlic powder, ½ teaspoon of onion powder, and ½ teaspoon of freshly cracked black pepper. Stir all these ingredients together thoroughly with a fork or silicone spatula until they are fully incorporated and form a uniform compound butter. Transfer about 1 tablespoon of this fragrant compound butter to a separate small bowl and set it aside; this will be used for basting later.

-
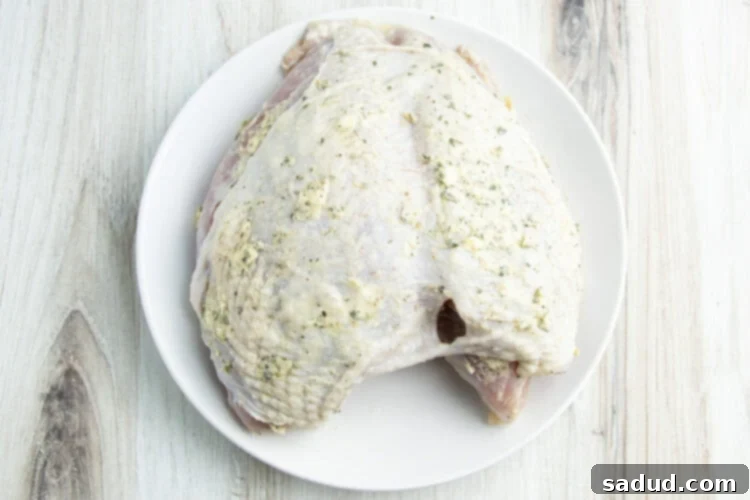
Now, it’s time to generously apply the compound butter to your turkey breast. Using your hands, gently massage the majority of the compound butter all over the turkey breast. Be sure to rub butter not only on top of the skin but also, and most importantly, *beneath* the skin. To do this, use your fingers to gently create a few strategic pockets between the skin and the meat, taking care not to completely break the skin membrane. Push ample amounts of butter into these pockets, spreading it evenly. This ensures the meat stays incredibly moist and absorbs maximum flavor. Avoid peeling the skin off of the turkey completely, as it helps protect the meat from drying out and provides a delicious crispy layer.

-
Once your grill is preheated, reduce the temperature to medium, aiming for a range between 325° to 375° Fahrenheit. Set up your grill for indirect heat. This means turning off the burners on one half of the grill, while leaving the burners on the other half turned on. For a 4-burner grill, for example, you would turn off the two middle burners, leaving the left and right side burners on. This creates a cooler zone where the turkey can cook gently without direct exposure to high flames. Refer to the Notes section for guidance on setting up other grill types for indirect heat.
-
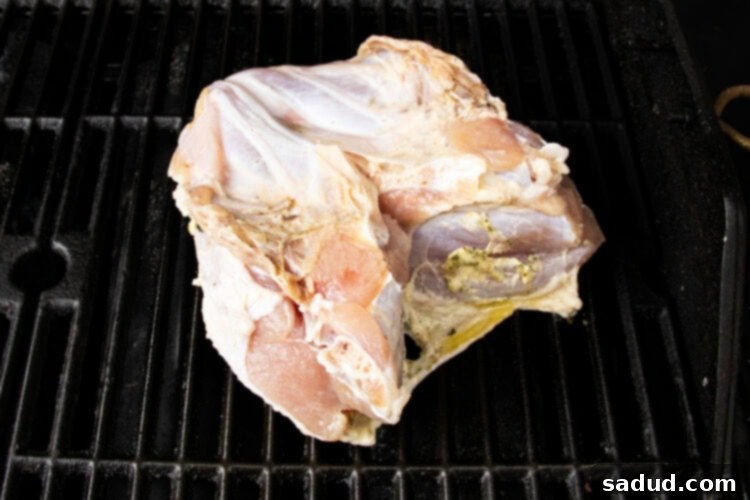
Carefully place the turkey breast skin-side down directly onto the grill grate, positioning it over the turned-off burners (the indirect heat side). Close the grill lid to allow the heat to circulate evenly and cook the turkey. Let it cook over indirect heat for approximately 40 minutes. It’s important to check the turkey periodically during this stage to ensure it isn’t burning or getting too dark, especially if your grill has hot spots.

-
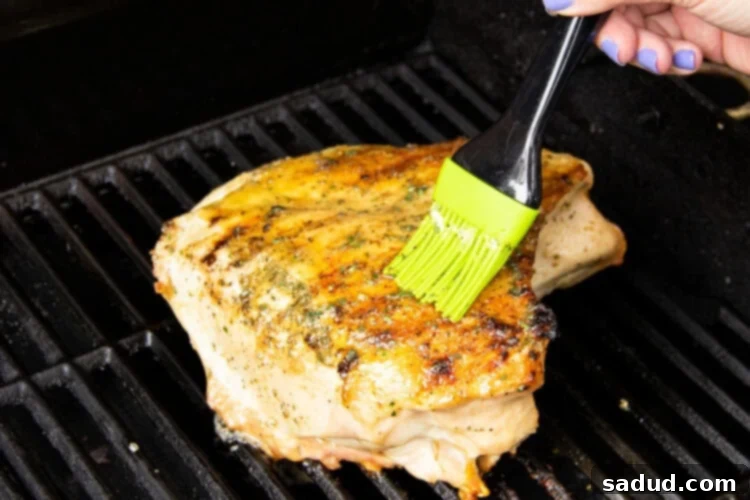
After 40 minutes of cooking, carefully flip the turkey breast over so it is now skin-side up. Using a basting brush, generously spread the reserved 1 tablespoon of compound butter over the crispy skin. This will add another layer of flavor and help achieve a beautiful golden-brown finish. Close the grill lid again and continue to cook for another 10 minutes.

-
After this 10-minute period, it’s time to check the internal temperature of the turkey breast using an internal meat thermometer. Insert the thermometer into the thickest area of the turkey, ensuring it doesn’t touch any bone. If the temperature does not yet read 160° Fahrenheit, close the grill lid and continue cooking for another 10 minutes. Repeat the temperature check as needed, cooking in 10-minute intervals, until the internal temperature reaches between 160° and 165° Fahrenheit. Remember: the actual cook time will vary depending on the specific size and thickness of your turkey breast, so rely on your thermometer, not just the clock. The temperature will rise a few degrees as it rests.
-
Once your turkey breast has reached the desired internal temperature, carefully remove it from the grill and transfer it to a clean cutting board. Cover the turkey loosely with aluminum foil (this is called “tenting”) and let it rest for at least 15 minutes. This crucial resting period allows the juices to redistribute throughout the meat, resulting in a more tender and juicy final product.
-
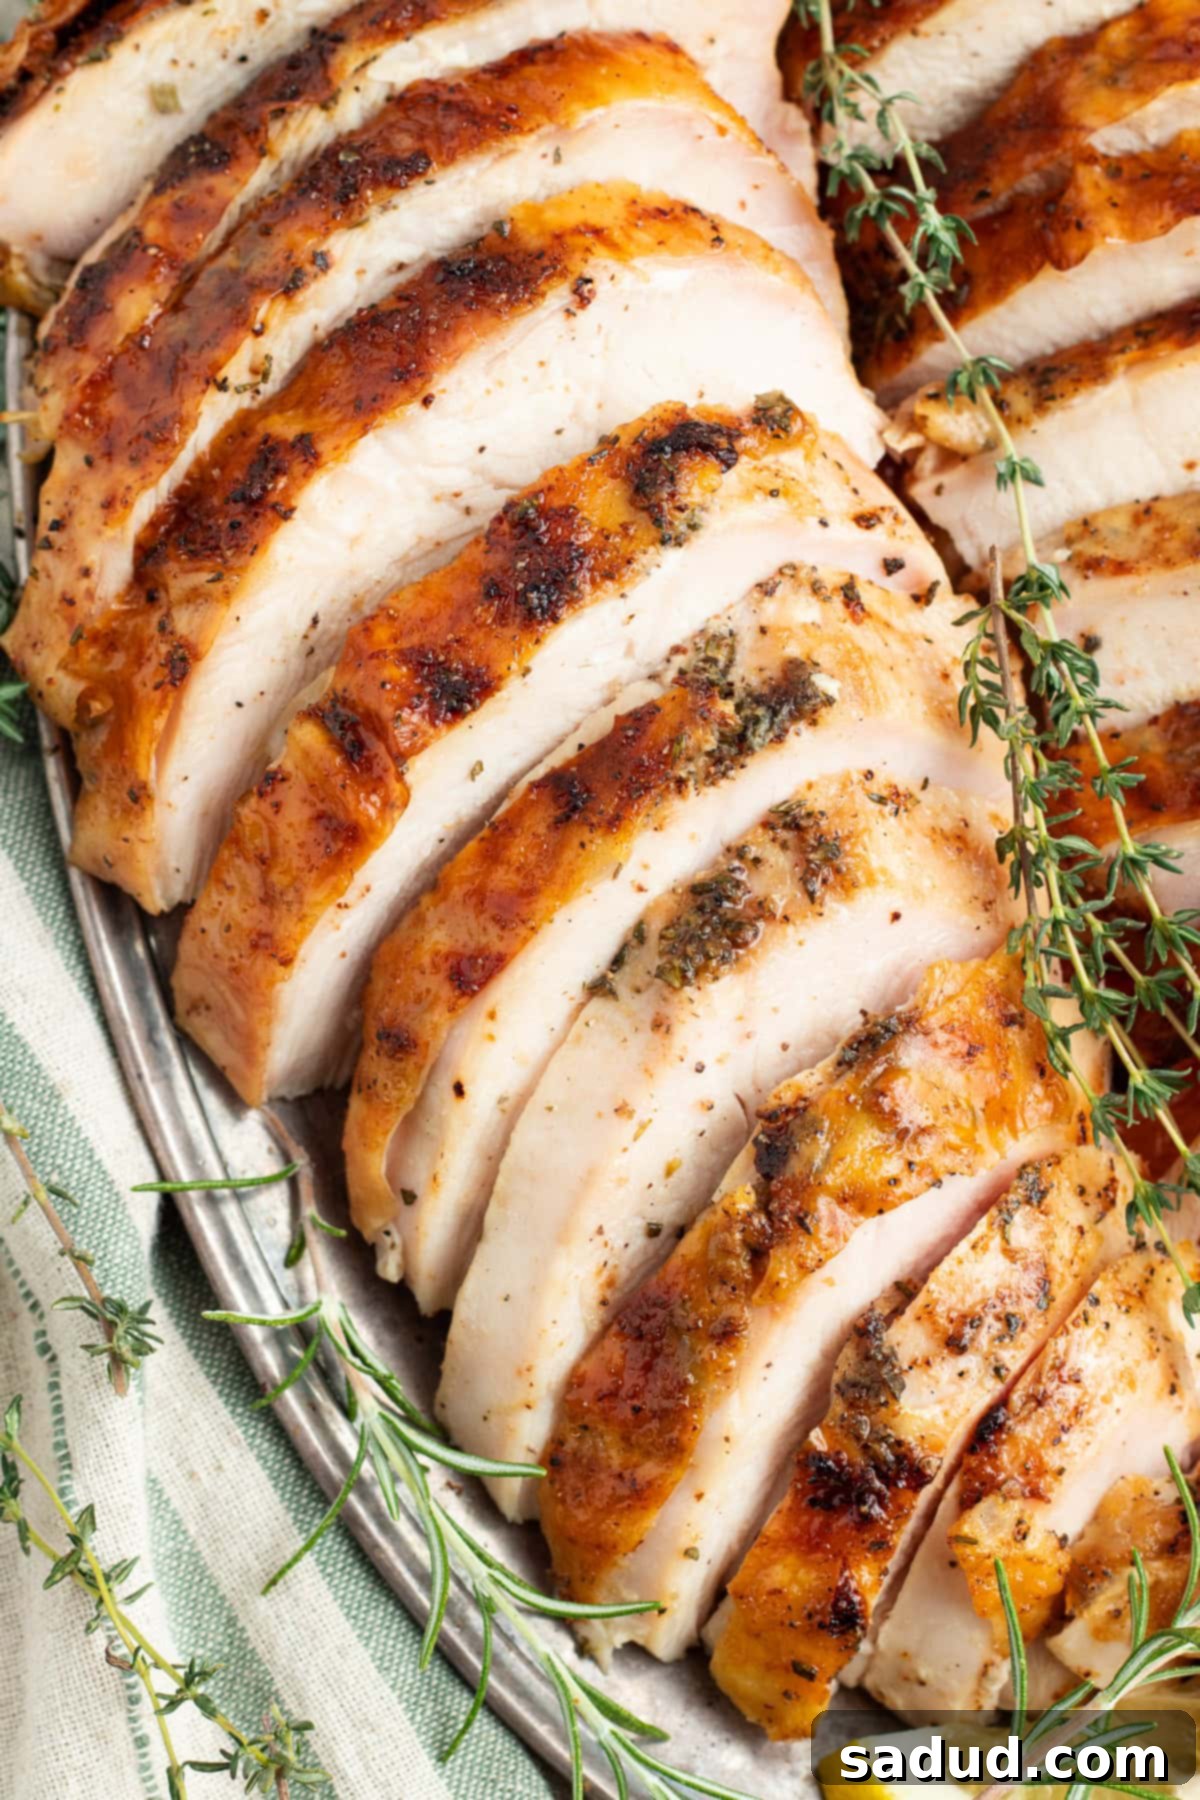
Immediately prior to serving, carve your perfectly grilled turkey breast. First, slice along the breastbone to separate the breast meat from the bone. Once the breast meat is separated, position your sharp knife perpendicular to the meat and cut at a slight angle, carving the breast meat into ¼-inch or ½-inch thick slices, as desired. Slicing against the grain ensures the most tender bites.
-
Serve the beautifully sliced grilled turkey breast immediately with your favorite holiday sides. Enjoy!
Notes
- Grill Setup for Indirect Heat: This recipe primarily utilizes indirect heat, which is key for preventing the turkey from burning while ensuring even cooking and a juicy interior. I successfully used a gas grill with 4 burners by turning off the two middle burners and cooking the turkey in the center. If you have a 3-burner grill, turn off the middle burner and place the turkey over it. For a 5 or 6-burner grill, turn off the central burners, leaving the outer ones on. If you’re using a charcoal grill, arrange the hot coals on one side of the grill and place the turkey on the opposite side. The goal is to create a zone where the turkey is not directly over the heat source.
- Choosing Your Turkey Breast: This recipe calls for a bone-in turkey breast, typically ranging from 4-7 pounds. If you purchase a kosher turkey or an already pre-brined turkey, you can absolutely skip the brining step in this recipe and proceed directly to seasoning and grilling your turkey. Make sure your turkey breast is fully thawed before beginning, if it was frozen. Thawing usually takes 1-2 days in the refrigerator. Unsure how large a turkey breast you need to feed your group? Consult this detailed guide for an easy formula to calculate portions.
- Customizing Your Herb Blend: If you can’t easily find a prepackaged poultry herb blend at your local grocery store, don’t worry! You can easily make your own. Simply purchase fresh sprigs of rosemary, sage, and thyme individually. Finely chop sprigs of each herb simultaneously until you have approximately 1 tablespoon of the combined, finely minced blend. This homemade blend will infuse your compound butter with wonderfully fresh and aromatic flavors.
- Making it Keto-Friendly: For those following a ketogenic diet or simply looking to reduce sugar intake, you can easily adapt this recipe. Instead of using brown sugar in the brine, substitute an equal amount of Brown Swerve or another erythritol-based brown sugar alternative. This will provide the necessary balance of flavor without adding significant carbohydrates.
- Using a Meat Thermometer is Essential: For food safety and optimal tenderness, always rely on an accurate internal meat thermometer. Turkey is safely cooked when it reaches an internal temperature of 165°F (74°C). However, for larger cuts like a turkey breast, many chefs recommend removing it from the heat when it reaches 160°F (71°C), as it will continue to cook and rise to 165°F (74°C) during the resting period (carryover cooking). This helps prevent overcooking and ensures a juicy result.
Nutrition Information
Number of total servings shown is approximate. Actual number of servings will depend on your preferred portion sizes.
Nutritional values shown are general guidelines and reflect information for 1 serving using the ingredients listed, not including any optional ingredients. Actual macros may vary slightly depending on specific brands and types of ingredients used.
To determine the weight of one serving, prepare the recipe as instructed. Weigh the finished recipe, then divide the weight of the finished recipe (not including the weight of the container the food is in) by the desired number of servings. Result will be the weight of one serving.
