The Ultimate Chile Relleno Burrito: A Crispy, Cheesy Mexican Fiesta in Every Bite
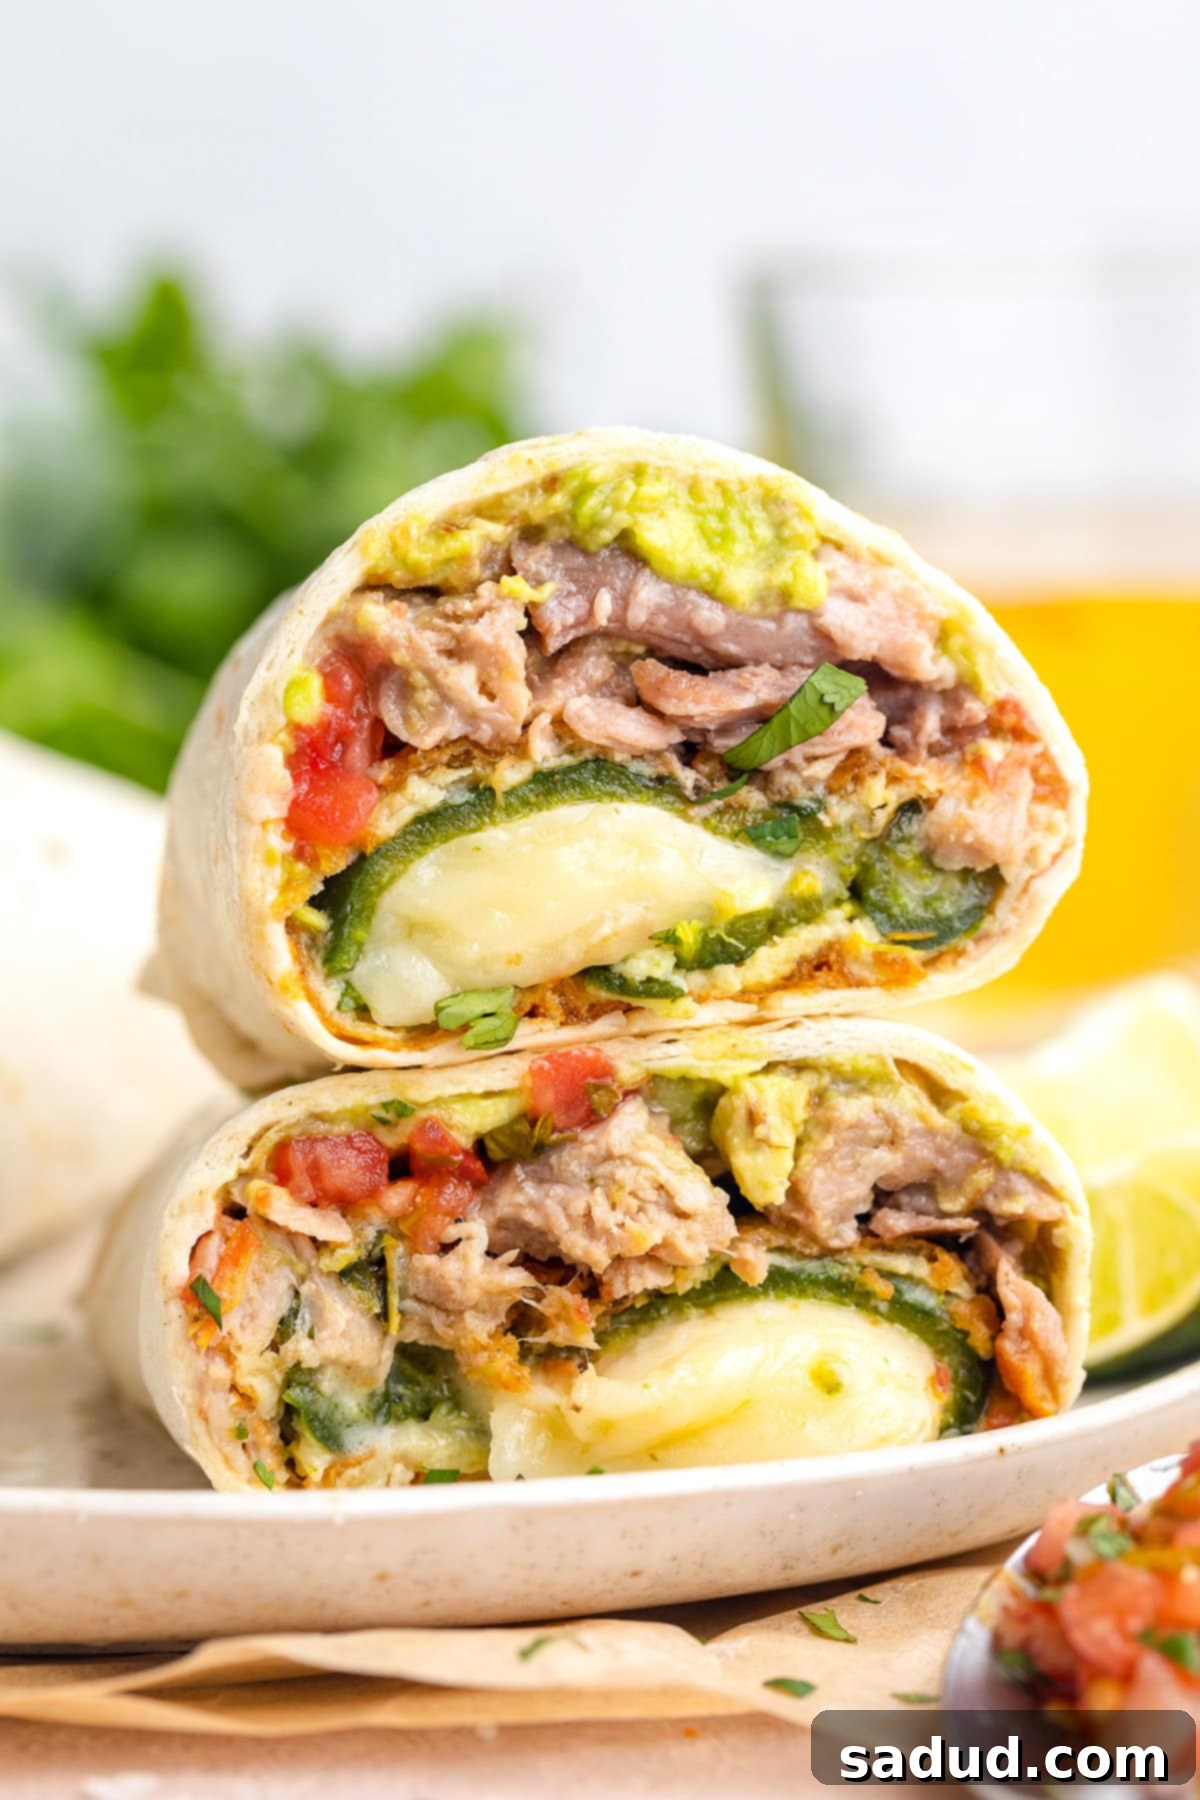
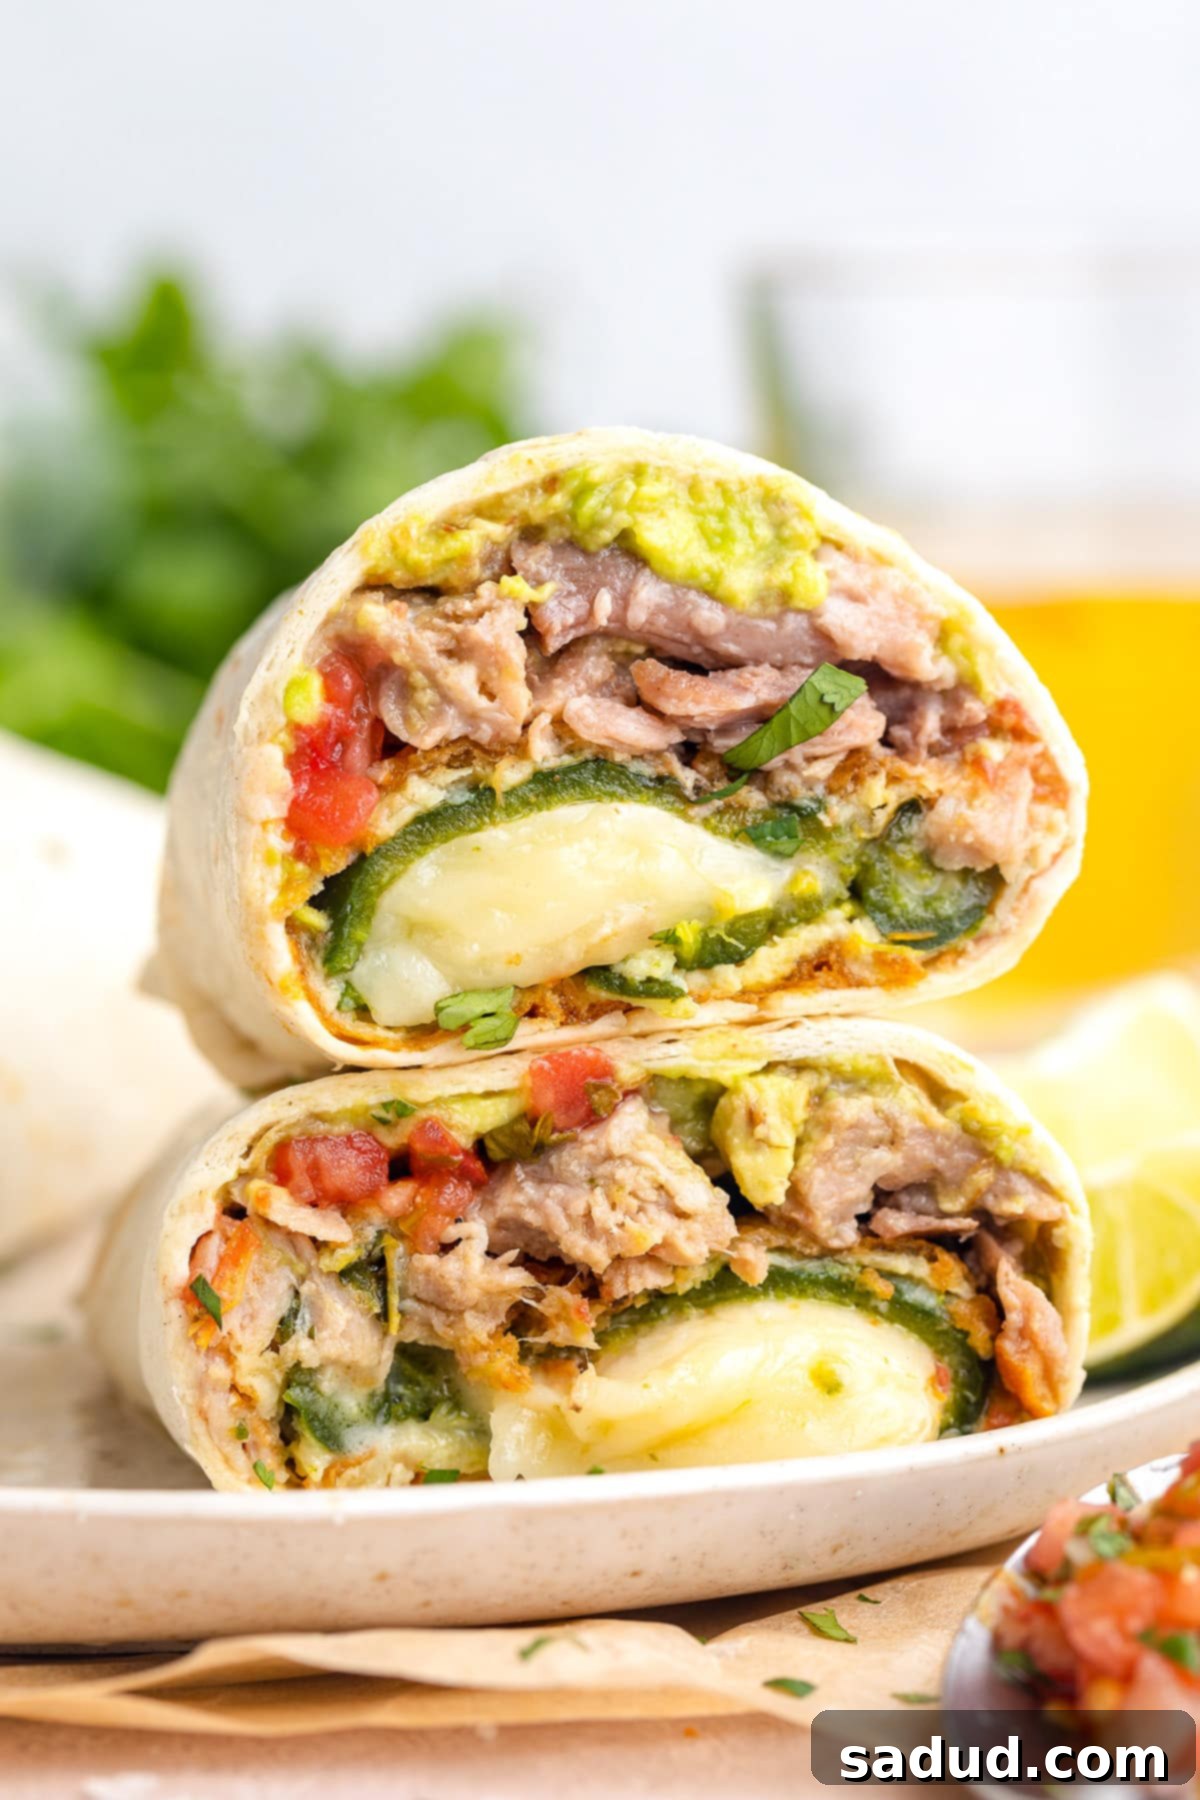
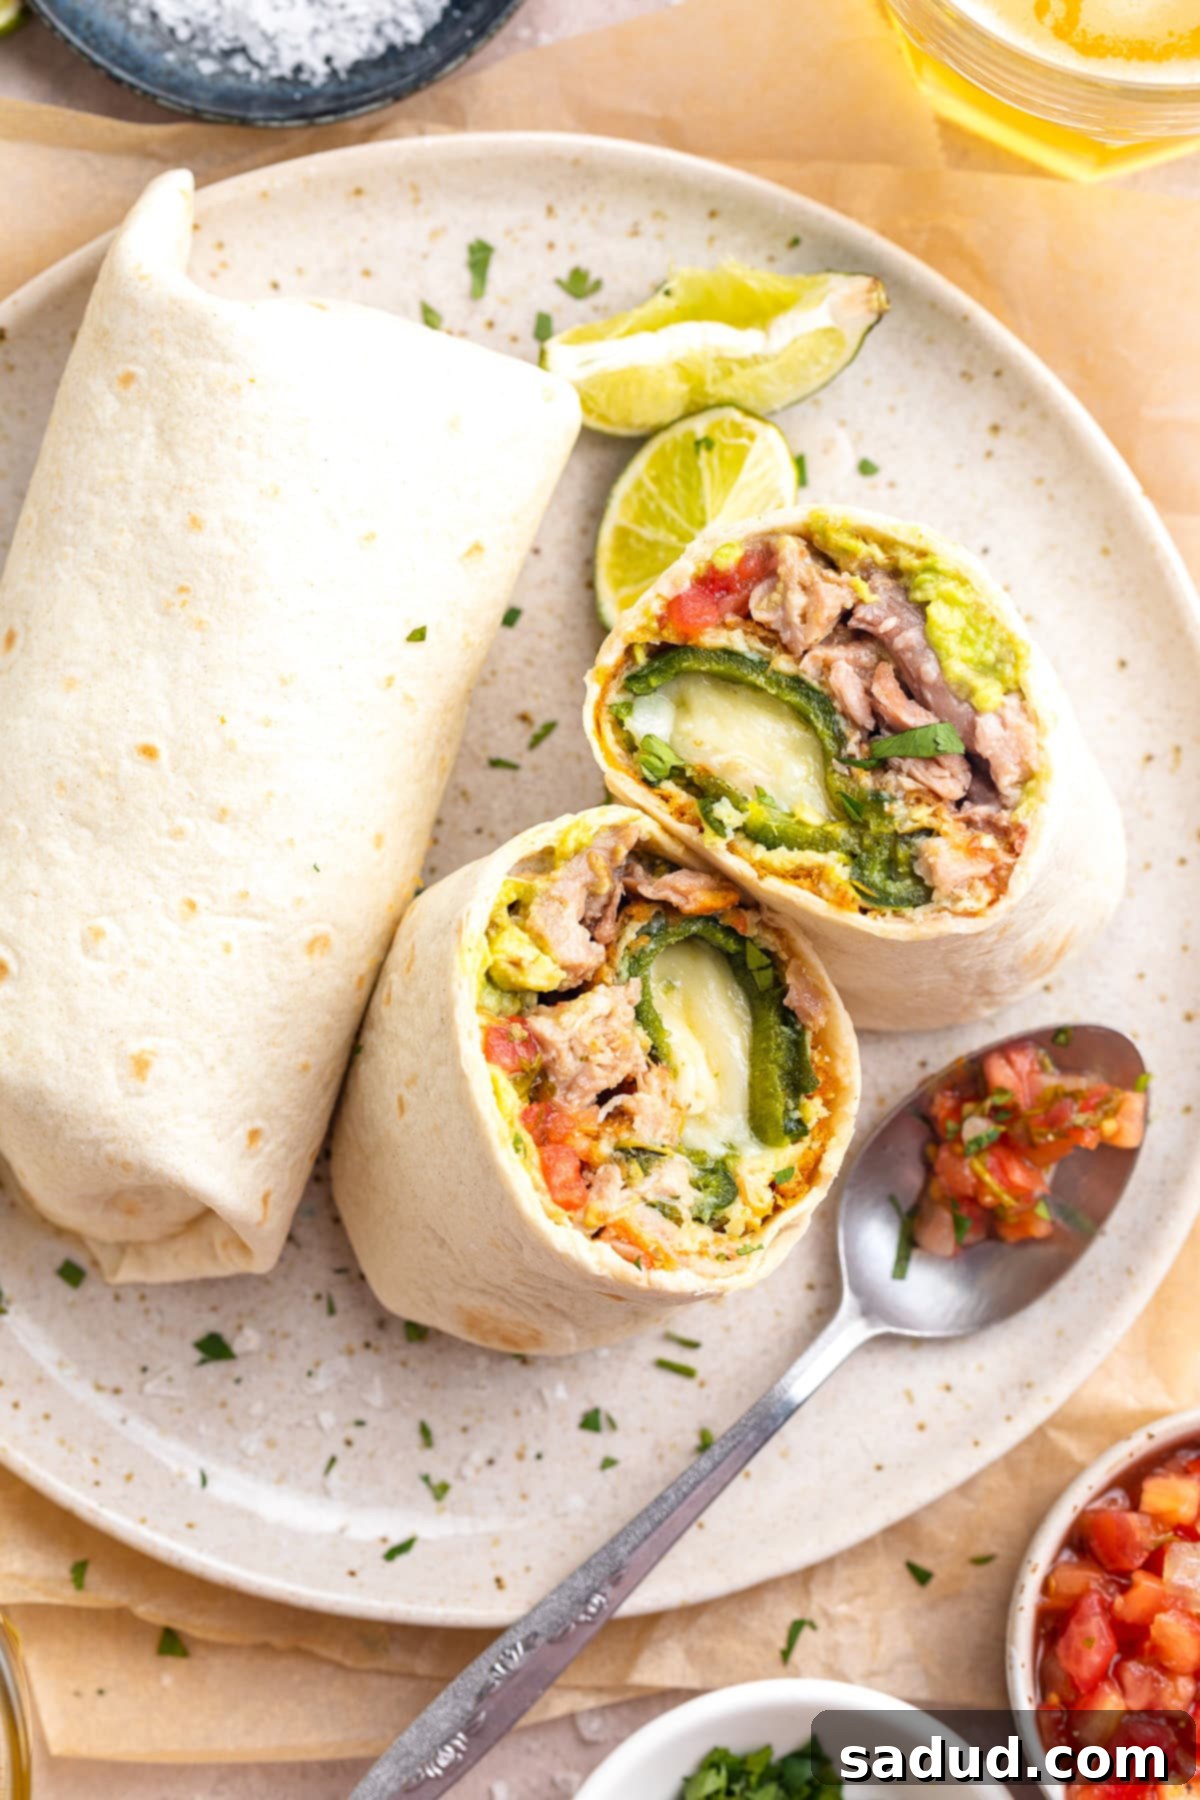
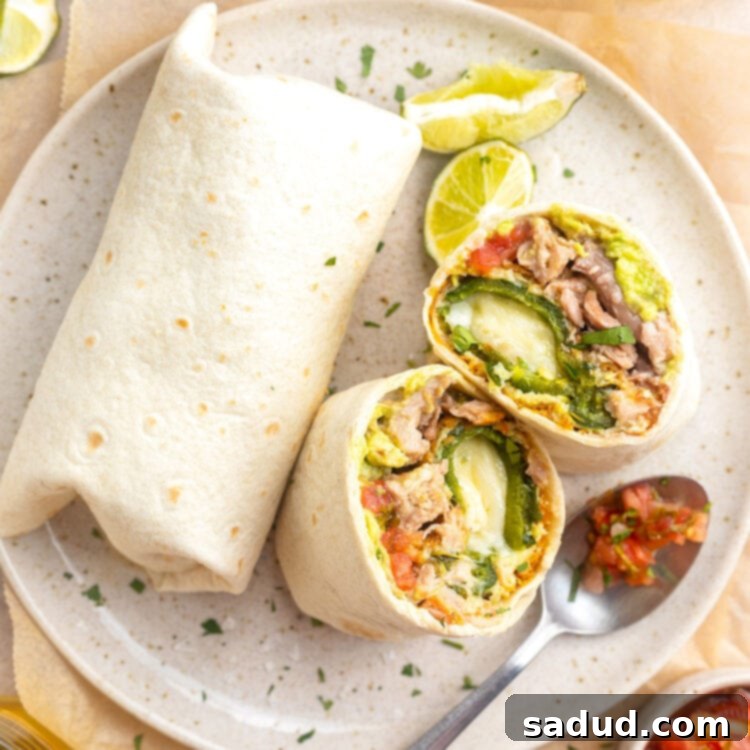
Prepare yourself for a culinary journey with this incredible chile relleno burrito – a next-level recipe that masterfully combines a classic Mexican staple with the convenience of a handheld meal. Imagine a perfectly roasted poblano pepper, generously stuffed with melty cheese, then enveloped in a light, crispy batter and pan-fried to golden perfection. Now, picture that flavorful chile relleno nestled within a warm flour tortilla, alongside a vibrant, quick homemade guacamole, savory shredded carnitas, and fresh pico de gallo. This isn’t just a burrito; it’s a symphony of textures and flavors, promising a cheesy, satisfying, and utterly delicious experience that will elevate your weeknight dinner or weekend brunch.
🌯 Why This Recipe is an Absolute Must-Try
- A chile relleno burrito is precisely as magnificent as it sounds – a truly delicious, generously stuffed burrito built around an exquisite chile relleno. For those unfamiliar, a chile relleno features a poblano pepper that is meticulously roasted until its skin is beautifully blistered and smoky. It’s then carefully peeled and stuffed with a generous amount of savory cheese. Finally, the stuffed pepper is expertly breaded and pan-fried to achieve a delightful golden-brown and slightly crunchy exterior. This unique preparation infuses the classic burrito with an unparalleled depth of flavor and an incredibly satisfying texture that is simply unbeatable. The smoky heat of the poblano, combined with the gooey cheese and crispy coating, transforms a simple burrito into an extraordinary meal.
- Don’t let the name “chile relleno” intimidate you; while it might sound more involved than your average burrito, rest assured – the effort is profoundly rewarding, and it’s surprisingly easy to achieve! If you’re comfortable breading and pan-frying dishes like chicken tenders or onion rings, then mastering the chile relleno component of this burrito will be well within your grasp. We’ll walk you through each step, ensuring you achieve that perfect crispy exterior and gooey cheesy interior. This recipe proves that you don’t need to be a gourmet chef to create a truly impressive and authentic Mexican-inspired dish right in your own kitchen.
- This burrito offers a remarkable balance of fresh and hearty elements. The cool, creamy guacamole and bright pico de gallo provide a refreshing contrast to the rich, savory carnitas and the warm, spicy chile relleno. Each bite delivers a burst of different flavors and textures, making it an incredibly dynamic and exciting meal. It’s truly a complete package, offering protein, vegetables, and carbohydrates all wrapped up in one convenient, flavorful package.
👩🏼🍳 Expert Chef’s Tips for Success
- Unleash your creativity with fillings! While this recipe is fantastic as written, it’s highly adaptable to your taste preferences. Another beloved variation of a chile relleno burrito is a breakfast-inspired take, featuring fluffy scrambled eggs, savory breakfast potatoes or crispy hashbrowns, and your choice of crispy bacon or spicy chorizo. For this specific recipe, you could easily replace the shredded carnitas with tender shredded salsa chicken, succulent grilled steak, or even seasoned ground beef. To bulk it up and add more texture, consider incorporating creamy pinto beans or rich refried black beans, aromatic cilantro-lime rice (or for a low-carb option, cilantro-lime cauliflower rice), crisp shredded lettuce, fresh cilantro, or even a dollop of sour cream or crema. The possibilities are endless! If you’re looking for a lighter option, simply ditch the flour tortilla and transform it into a vibrant burrito bowl by layering your ingredients over a bed of rice or greens, topped with your glorious chile relleno.
- When selecting poblano peppers, I always aim for the largest ones I can find. This allows me to generously stuff them with more cheese, ensuring every bite is gooey and satisfying. Larger peppers also tend to be easier to handle during the roasting and breading process. However, if large peppers aren’t available, don’t fret! Any size poblano will work wonderfully. Simply adjust the amount of cheese you stuff inside, ensuring it doesn’t overflow. The key is to use what’s accessible and enjoy the process.
- Proper frying technique is essential for a crispy chile relleno. When you’re pan-frying the breaded peppers, it’s crucial not to overcrowd your skillet. Frying in batches ensures consistent heat and allows the peppers to crisp up evenly without steaming. More importantly, make absolutely sure your oil is adequately hot before introducing the peppers. If the oil is too cool, the chile relleno breading will unfortunately absorb excess oil, resulting in a greasy, soggy coating rather than the desired golden-brown crispness. A simple test: dip the handle of a wooden spoon into the hot oil; if small bubbles rapidly form around it, your oil is ready. Maintain a consistent medium-high heat throughout the frying process for best results.
- For the best burrito-rolling experience, consider warming your flour tortillas slightly before filling. This makes them much more pliable and less prone to tearing, allowing for a tighter, more secure wrap. You can warm them briefly in a dry skillet over medium heat, microwave them for a few seconds, or wrap them in a damp paper towel and microwave. This small step makes a significant difference in the final presentation and integrity of your burrito.
🥘 More Delicious Mexican-Inspired Recipes You’ll Love
- Carnitas Burrito
- Canned Tuna Nachos
- Hearty Mexican Chili
- Zesty Shrimp Quesadilla
- Slow Cooker Paleo Carnitas
- Flavorful Chimichurri Rice
- Classic Burrito Suizo
If you loved this recipe as much as we did, don’t forget to leave us a review below. ★ Follow Easy Healthy Recipes on Pinterest, Facebook, and Instagram, too! Your support helps us create more delicious content!
For more delicious and inspiring recipes, be sure to explore our sister sites, 40 Aprons and Easy Cheap Recipes.
Chile Relleno Burrito
 Sam Guarnieri
Print
SaveSaved!
Ingredients
For the Perfectly Crispy Chile Relleno
- 4 large poblano peppers approximately 4 ounces each, for optimal stuffing
- 8 ounces Monterey Jack cheese cut into 1-ounce strips, or a similar good melting cheese
- 1 cup all-purpose flour
- 3 large eggs
- neutral oil such as avocado oil, olive oil, or vegetable oil for frying
For the Zesty Guacamole
- 2 large ripe avocados pit and skin removed
- ½ tablespoon freshly squeezed lime juice juice from approximately half of one fresh lime
- salt to taste, enhances all the flavors
For Assembling the Burritos
- 4 10-inch or 12-inch large flour tortillas warmed for easy rolling
- ½ cup fresh pico de gallo for a burst of freshness
- 2 cups cooked, shredded carnitas or substitute with cooked, seasoned shredded chicken for a lighter option
Essential Equipment
-
Broiler
-
large baking sheet
-
Aluminum foil
-
large plate
-
Paper towels
-
Wire cooling rack
-
Large bowl
-
Cold water
-
ice
-
Tongs
-
Cutting board
-
Sharp knife
-
shallow bowl or plate for dredging
-
Large mixing bowl or stand mixer bowl for egg whites
-
Small bowl
-
Large skillet with high sides, or a sturdy large pot for frying
-
Hand mixer or stand mixer for beating eggs
-
Small mixing bowl
-
Fork
-
clean, flat work surface
Step-by-Step Instructions
Prepare Your Workspace for Success
-
Preheat your broiler to high. If necessary, adjust your oven racks so that the peppers will be positioned approximately 8 inches beneath the heating element for even charring.
-
Line a large baking sheet completely with aluminum foil. This will make cleanup much easier after roasting. Set the prepared baking sheet aside.
-
Cover a large plate with 2-3 layers of paper towels to absorb excess oil later. Place a wire cooling rack directly over this plate and set it aside.
-
Fill a large bowl with cold water and a generous amount of ice. This ice bath is crucial for quickly cooling the roasted peppers. Set this aside.
Roasting and Preparing the Poblano Peppers
-
Arrange all 4 poblano peppers on the foil-lined baking sheet. Ensure they are not stacked or overlapping, leaving sufficient space between each pepper to allow for even roasting on all sides.
-
Carefully place the baking sheet under the preheated broiler. Broil for approximately 5 minutes, or until the pepper skins appear dark brown and nicely charred on top. Using tongs, carefully remove the baking sheet from the oven and flip each pepper over so the charred side faces down.
-
Return the baking sheet to the oven and continue to broil the peppers for another 2 to 3 minutes, or until all sides are uniformly dark brown and charred. This charring helps loosen the skin for easier peeling and adds a smoky depth of flavor.
-
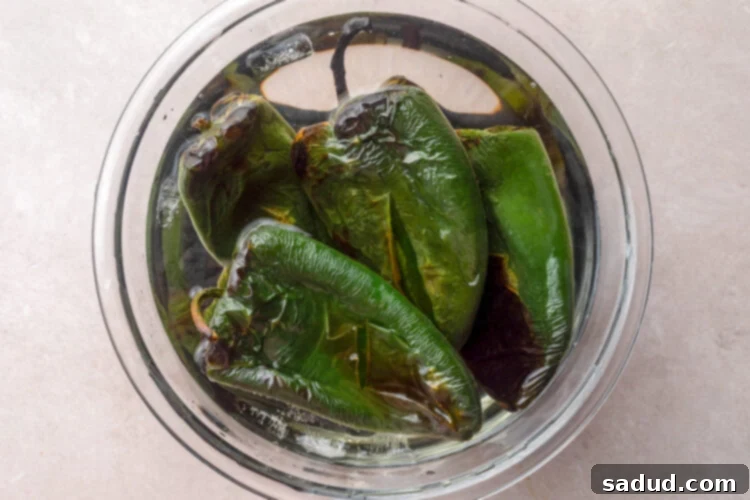
Promptly remove the baking sheet from the oven. Immediately transfer the hot, charred peppers to the prepared bowl of ice water. Submerge the peppers completely in the ice bath until they are thoroughly cooled. This stops the cooking process and further aids in skin removal.

-
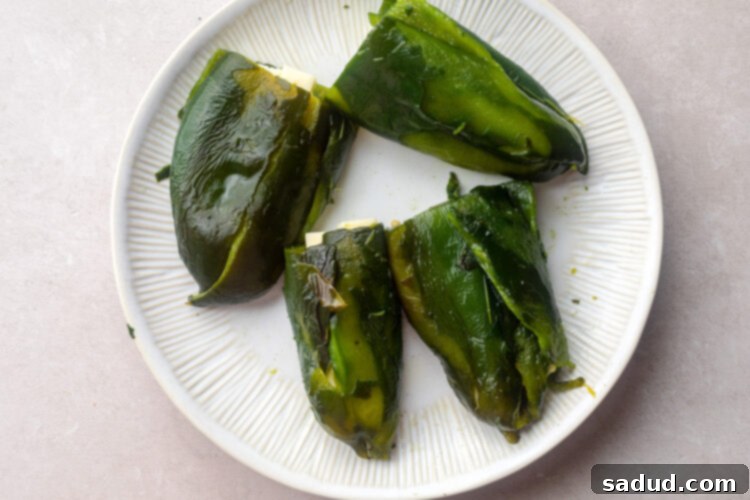
Once the peppers have cooled completely, transfer them from the ice bath to a clean cutting board. Carefully peel off the blistered skin from each pepper entirely. Slice off the stem end of the peppers and discard. Gently slice open one side of each pepper lengthwise, then carefully scoop out and discard any seeds from inside.
-
Stuff each prepared poblano pepper with 2 ounces of Monterey Jack cheese strips, ensuring the cheese is fully enclosed within the pepper. Set these stuffed peppers aside.

Breading and Frying the Chile Rellenos
-
Add the all-purpose flour to a shallow bowl or plate, creating a dredging station. Set this aside.
-
Carefully crack the eggs and separate the egg yolks from the egg whites. Place the egg whites in a large mixing bowl (or the bowl of a stand mixer) and the egg yolks in a small separate bowl. Set both aside.
-
Pour about 1 inch of neutral cooking oil into a large skillet with high sides or a large pot. Heat the skillet over medium-high heat until the oil is hot and shimmering (refer to the Notes section for oil temperature testing).
-
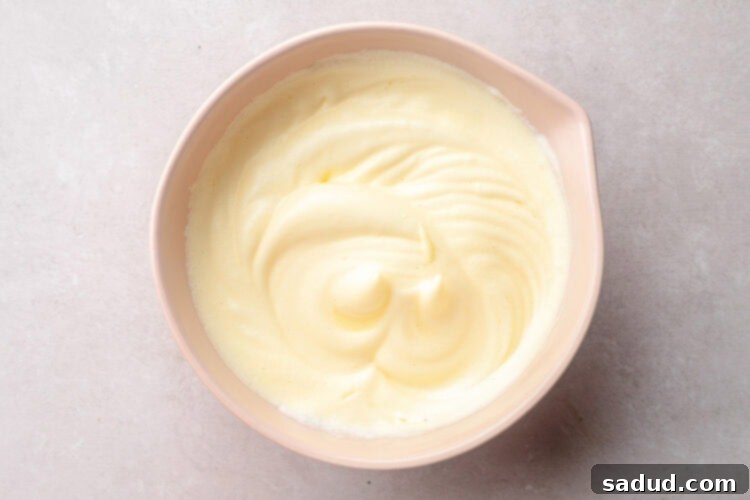
While the oil is heating, use a hand mixer or a stand mixer fitted with a whisk attachment to beat the egg whites for 4 to 5 minutes, or until stiff, glossy peaks form. Once the egg whites are light and fluffy, gently fold in the egg yolks until just combined, creating a delicate egg batter. Set aside.

-
One by one, carefully place each stuffed poblano pepper into the shallow bowl of flour. Roll and gently flip the peppers until all sides are thoroughly coated in a thin layer of flour. This helps the egg batter adhere properly.
-
Immediately transfer each floured pepper to the egg white mixture. Fully dip and coat the pepper in the delicate egg batter, then without delay, carefully place the battered pepper into the skillet with the hot oil. Avoid overcrowding the pan; fry in batches if necessary.
-
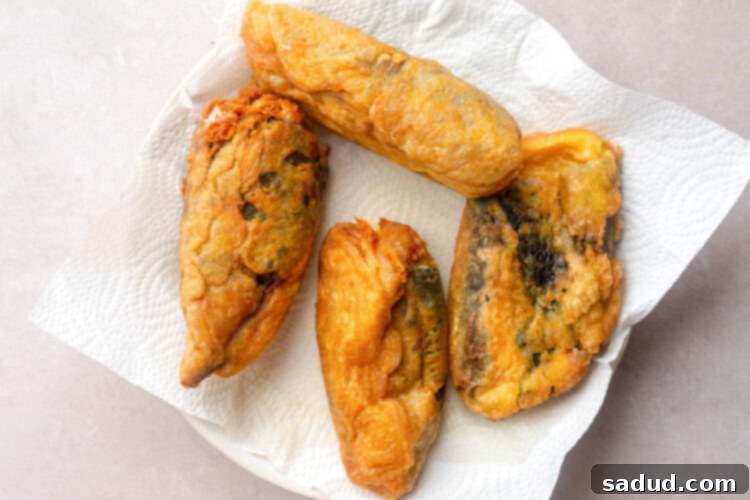
Fry the pepper, gently flipping as needed with tongs, until it is golden brown and beautifully crispy on all sides, usually taking approximately 3 minutes in total. Carefully remove the fried pepper from the hot oil and place it onto the wire cooling rack positioned over the paper towels. Repeat this process with all remaining peppers. Allow the peppers to cool slightly on the wire rack until you are ready to assemble the burritos.

Whipping Up the Fresh Guacamole
-
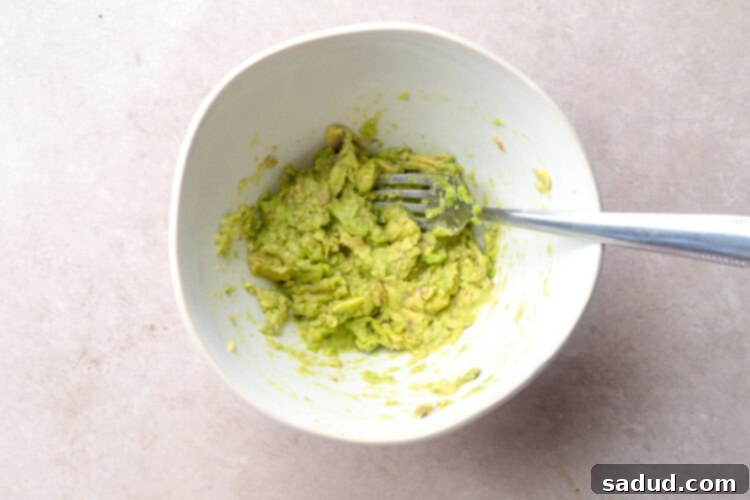
Add the creamy avocado flesh, freshly squeezed lime juice, and a pinch of salt to a small bowl. Use a fork to thoroughly mash the ingredients together until they are well combined and your desired guacamole consistency is achieved (chunky or smooth). Taste and adjust with more lime juice or salt as needed to enhance the flavors. Set this delicious guacamole aside.

Assembling and Rolling the Perfect Burritos
-
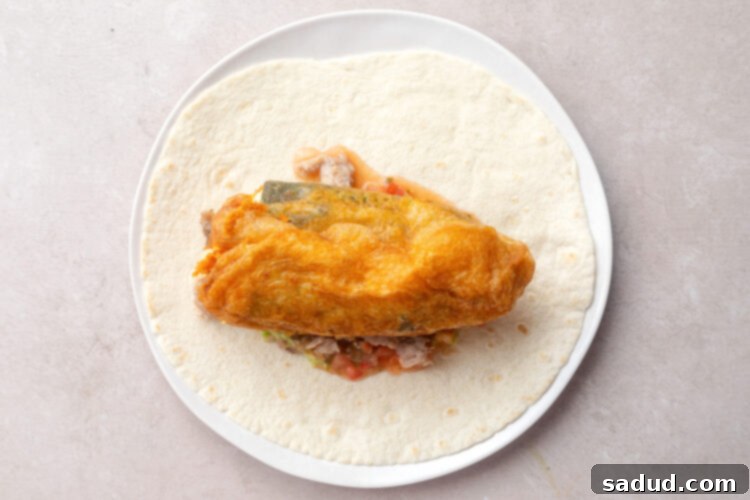
Place one warmed flour tortilla on a clean, flat work surface. Spoon approximately ¼ of the fresh guacamole mixture onto the middle of the tortilla, forming a horizontal line.
-
Layer the guacamole with a portion of the bright pico de gallo, then a generous amount of the savory shredded carnitas, and finally, one perfectly fried chile relleno for each burrito.

-
Carefully lift the edge of the tortilla farthest from you and fold it down and over the filling, meeting the bottom edge of the tortilla. Lightly press down on the filling to compact it, then gently unfold the tortilla. The filling should now primarily cover the bottom half of the tortilla.
-
Fold the left and right edges of the tortilla inward toward the center, covering the filling as much as possible without overlapping the tortilla edges too much. This creates the classic burrito shape.
-
With the sides of the tortilla now folded toward the center, lift the bottom edge of the tortilla (the edge closest to you) and fold the tortilla up toward the center, completely enclosing the filling. Tuck the bottom edge of the tortilla securely under the top edge of the filling.
-
Gently but firmly roll the tortilla away from you, holding the sides together as needed to keep the filling tucked in, until the burrito is completely rolled into a tight, secure package.
-
Place the finished, rolled burrito on a large plate, seam down, to keep it from unraveling. Repeat this entire process with the remaining tortillas and fillings until all 4 burritos have been skillfully rolled. Serve these delicious burritos warm, perhaps with extra salsa, sour cream, or a squeeze of lime, as desired. Enjoy your homemade Mexican masterpiece!
Helpful Recipe Notes and Substitutions
- To Accurately Test the Oil Temperature: A simple and effective method is to dip the handle-end of a large wooden spoon into the hot oil. If the oil forms numerous small bubbles around the wooden handle (indicating active frying, but not violently or vigorously boiling), then it has reached the ideal temperature for frying. This prevents soggy breading and ensures a perfectly crisp exterior.
- Making it Dairy-Free: For a dairy-free version, simply substitute the Monterey Jack cheese inside the poblano peppers with your favorite high-quality dairy-free melting cheese. Ensure it’s a variety that melts well for that satisfying gooey center.
- Making it Vegetarian: To make this a delicious vegetarian burrito, replace the carnitas with a substantial plant-based protein. Excellent options include seasoned pinto beans, black beans, crumbled plant-based “meat,” or a hearty mushroom and bell pepper sauté. You can also simply omit the meat ingredient entirely, relying on the chile relleno, guacamole, and pico de gallo for flavor.
- Making it Vegan: For a completely vegan delight, use a vegan cheese substitute for the chile relleno. Additionally, omit the carnitas or replace it with any of the vegetarian bean or plant-based options mentioned above. Ensure your flour tortillas are also vegan-friendly (most are, but always check labels).
- Making it Gluten-Free: To adapt this recipe for a gluten-free diet, make two key substitutions. First, use certified gluten-free flour tortillas for wrapping. Second, replace the all-purpose flour used for dredging the peppers with a gluten-free all-purpose flour blend. These simple swaps allow everyone to enjoy this incredible burrito.
Nutrition Information
The number of total servings shown is approximate. The actual number of servings will ultimately depend on your preferred portion sizes and the size of your tortillas.
Nutritional values provided are general guidelines and reflect information for 1 serving using the ingredients listed, not including any optional ingredients or substitutions. Actual macros may vary slightly depending on specific brands, types of ingredients used, and portion control.
To accurately determine the weight of one serving for precise calorie tracking, prepare the recipe as instructed. Once finished, weigh the entire prepared recipe (excluding the weight of the container). Then, divide the total weight by your desired number of servings to find the precise weight of a single portion.
