Delicious Homemade Chicken Gyoza: Authentic Pan-Fried Japanese Dumplings Recipe
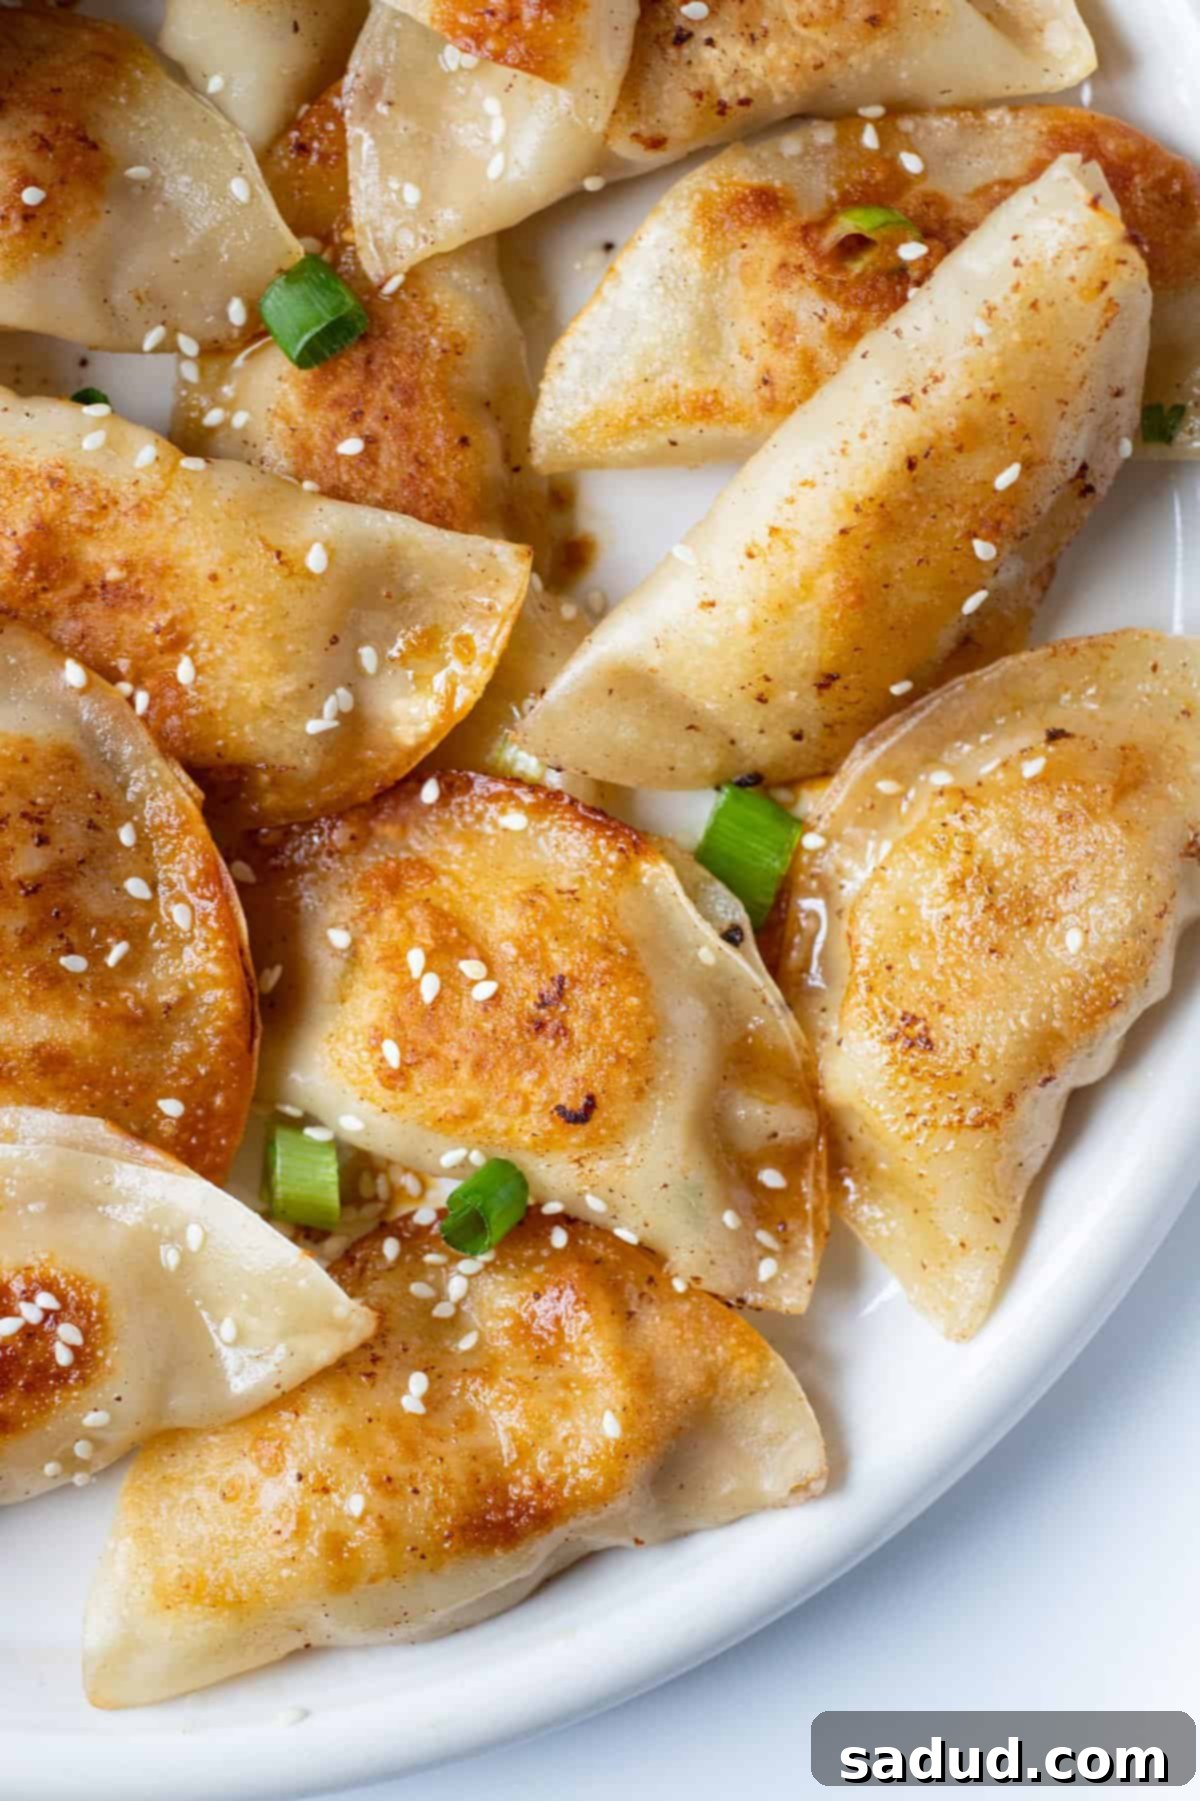
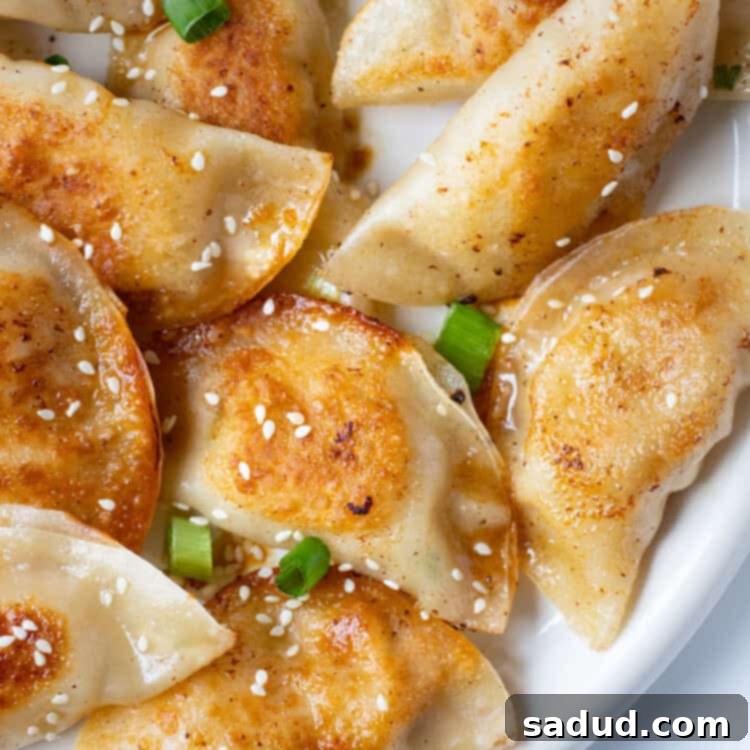
Discover the art of crafting perfectly crispy and incredibly flavorful homemade chicken gyoza, inspired by traditional Japanese culinary techniques. These delectable dumplings are generously stuffed with a savory chicken filling, expertly seasoned with aromatic ginger, garlic, and a hint of sesame. Each gyoza is then lightly pan-fried in heart-healthy avocado oil, achieving a delicate golden crisp on the bottom while the rest remains beautifully tender and juicy. Served with a tangy, umami-rich gyoza dipping sauce, these chicken gyoza are not just a meal; they’re an experience. Whether you’re seeking an easy snack, an elegant appetizer for your next gathering, or a satisfying main course, this recipe delivers an authentic taste of Japan right to your kitchen. Get ready to impress your family and friends with these irresistible Japanese dumplings!
Why This Chicken Gyoza Recipe is a Must-Try
This homemade chicken gyoza recipe stands out for several compelling reasons, making it an instant favorite for any occasion. From its versatility to its freezer-friendly nature, these Japanese dumplings are designed for maximum flavor and convenience.
- They’re incredibly **versatile**, making them perfect for any meal or snack. Serve them as a light lunch, a satisfying appetizer before a larger meal, or as a fun, interactive party food that everyone will love. You can even double the batch and enjoy them as a standalone dinner! Don’t limit yourself to chicken either; feel free to experiment with the filling. Finely diced mushrooms, shredded cabbage, or even a mix of ground pork and shrimp are fantastic alternatives that allow you to customize these dumplings to your taste and dietary preferences.
- **Excellent for meal prep and freezer storage!** Preparing a big batch of chicken gyoza to keep in the freezer is a game-changer for busy weeknights. Once you’ve assembled your gyoza, simply place them in a single layer on a parchment-lined baking sheet and freeze until solid. This prevents them from sticking together. Then, transfer the frozen gyoza to a sealable freezer bag or an airtight container. They will **maintain their quality in the freezer for up to one month**, offering a quick and delicious meal option whenever hunger strikes. There’s no need to thaw them before cooking; just cook directly from frozen, though you might need to add a few extra minutes to the cooking time to ensure they are thoroughly heated and cooked through. This makes them an ideal solution for convenient, healthy, and flavorful meals at a moment’s notice.
- **Authentic Flavor with a Healthy Twist:** While traditional gyoza often feature pork, our chicken variation offers a lighter, yet equally rich and aromatic flavor profile. Infused with fresh ginger, garlic, and a hint of sesame, each bite bursts with delicious Japanese-inspired tastes. Pan-frying in avocado oil not only adds a delicate crispness but also makes them a healthier choice compared to other frying oils.
- **Fun to Make:** Making gyoza can be a wonderfully relaxing and rewarding culinary project, especially when done with family or friends. The process of filling and folding the wrappers can be therapeutic, and the end result is a truly satisfying homemade dish that tastes infinitely better than store-bought versions.
Essential Ingredients for Perfect Chicken Gyoza
Crafting exceptional chicken gyoza starts with selecting the right ingredients. Here’s a closer look at the core components of this delightful Japanese dish and how to make the best choices for your homemade dumplings.
-
Gyoza Wrappers: These delicate, thin rounds are crucial for achieving the signature gyoza texture. Gyoza wrappers are specifically designed to be thinner and more pliable than typical dumpling or wonton wrappers, allowing for that ideal crispy bottom and soft, chewy top once cooked. You can usually find them in the refrigerated section of Asian grocery stores or sometimes in larger supermarkets. If gyoza wrappers are unavailable, don’t despair! Wonton wrappers can be a suitable substitute. Since wonton wrappers typically come in squares, you’ll want to cut them into circles using a cookie cutter or a sharp knife to achieve the classic half-moon gyoza shape. This slight modification ensures your gyoza look and fold just right.
-
Ground Chicken: While traditional Japanese gyoza often feature a savory ground pork filling, this recipe utilizes ground chicken for a lighter yet equally flavorful alternative. The mild flavor of chicken readily absorbs the aromatic seasonings, creating a wonderfully balanced filling. If you prefer the classic taste, feel free to **swap the ground chicken for ground pork**. For those who enjoy culinary experimentation, ground lamb can offer a richer, more exotic flavor, while ground beef provides a heartier texture. You could also use ground shrimp for a delicious seafood variation, adding a touch of oceanic sweetness to your dumplings. The key is to ensure the meat is finely ground for a smooth, cohesive filling.
-
Fresh Ginger & Garlic: These aromatic powerhouses are non-negotiable for an authentic gyoza flavor. Freshly grated ginger provides a zesty, slightly pungent kick, while minced garlic adds a deep, savory foundation. Always opt for fresh over powdered for the best results, as their vibrant flavors truly elevate the filling.
-
Scallions: Finely diced scallions (green onions) contribute a mild oniony freshness and a subtle crunch to the filling. They also serve as a beautiful garnish for the dipping sauce.
-
Soy Sauce & Rice Vinegar: These two staples are essential for both the gyoza filling and the dipping sauce. Soy sauce provides that undeniable umami depth, while rice vinegar adds a bright, tangy balance. Choose a good quality soy sauce for the best flavor outcome.
-
Sesame Oil: A drizzle of toasted sesame oil adds a wonderfully nutty aroma and flavor to both the filling and the dipping sauce. It’s a small but mighty ingredient that brings everything together.
-
Avocado Oil: Used for pan-frying, avocado oil is an excellent choice due to its high smoke point and neutral flavor. It helps achieve that perfect golden-brown crisp without imparting unwanted tastes, making it ideal for delicate gyoza.
Chef’s Expert Tips for Flawless Homemade Gyoza
Achieving gyoza perfection is easier than you think with these professional tips. From handling the delicate wrappers to mastering the cooking technique, these insights will help you create restaurant-quality dumplings at home.
-
Handle Wrappers with Dry Hands: This is perhaps the most crucial tip! Gyoza wrappers are incredibly thin and delicate, and they become very sticky when wet. To prevent them from tearing or clumping together, always ensure your hands are completely dry when handling them. If they do become too sticky, a light dusting of cornstarch on your work surface can help.
-
Master the Traditional Pan-Fry & Steam Method: While our recipe calls for pan-frying both sides for an extra crispy result, traditional Japanese gyoza are typically only pan-fried on one side to create a golden, crunchy bottom. For the other side, after the first side is browned, you would add a small amount of water (about ⅓ cup for a large skillet batch) to the pan, quickly cover it with a lid, and let the steam cook the top half of the gyoza until the water completely evaporates. This method yields a perfectly crispy bottom and a soft, tender, and beautifully cooked top. Experiment with both methods to find your preferred texture!
-
Don’t Overfill the Wrappers: It’s tempting to pack in as much filling as possible, but overfilling will make it difficult to seal the gyoza properly and they might burst during cooking. A good rule of thumb is about 1 tablespoon of filling per wrapper, leaving enough space around the edges for sealing.
-
Achieve Perfect Pleats: While not strictly necessary for taste, perfectly pleated gyoza add to the authentic experience. To create pleats, hold the wrapper with the filling in one hand. Using the thumb and forefinger of your other hand, pinch one edge of the wrapper, then create small folds (pleats) along the top edge, pressing them firmly against the flat bottom edge until the gyoza is fully sealed in a beautiful crescent shape. Don’t worry if your first few aren’t perfect; practice makes perfect!
-
Prevent Sticking When Freezing: If you’re freezing gyoza for later, always lay them in a single layer on a parchment-lined baking sheet and freeze until they are solid (about 1-2 hours). Once frozen, you can transfer them to a freezer-safe bag or container without them sticking together. This ensures they remain individual and easy to cook.
-
Keep Wrappers Covered: While you’re working, keep any unused gyoza wrappers covered with a damp cloth or plastic wrap to prevent them from drying out, which can make them brittle and difficult to fold.
-
Serve Immediately: Gyoza are best enjoyed fresh off the pan when their bottoms are at their crispiest. While they’re still delicious cooled, the texture is truly superior when hot.
How to Prepare Irresistible Chicken Gyoza: A Step-by-Step Guide
Making homemade gyoza might seem intricate, but breaking it down makes the process enjoyable and rewarding. Follow these detailed steps to create perfectly cooked, flavorful chicken gyoza that will become a staple in your kitchen.
1. Crafting Your Flavorful Gyoza Sauce
The dipping sauce is just as important as the gyoza itself, offering a burst of complementary flavors. In a small bowl, whisk together rice vinegar, soy sauce, grated ginger, minced garlic, chopped scallions, and a touch of sesame oil. Taste and adjust to your preference – some like it tangier, others prefer more umami. Set this aside to allow the flavors to meld while you prepare the gyoza. This sauce also doubles as an excellent marinade or dressing for other Asian-inspired dishes.
2. Preparing the Savory Chicken Filling
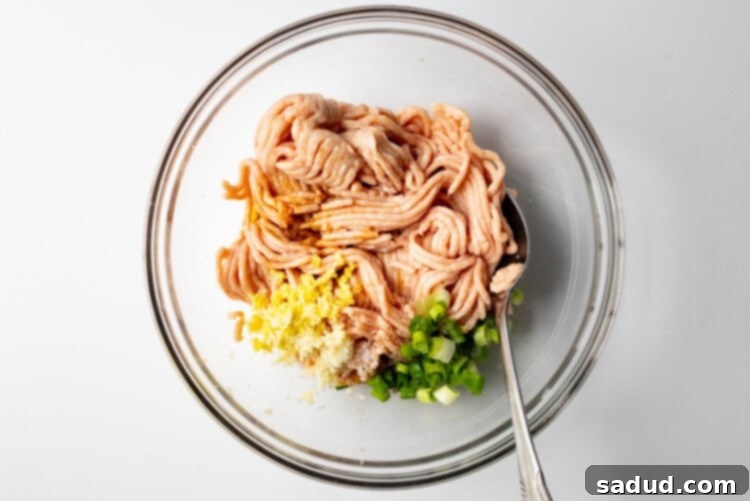
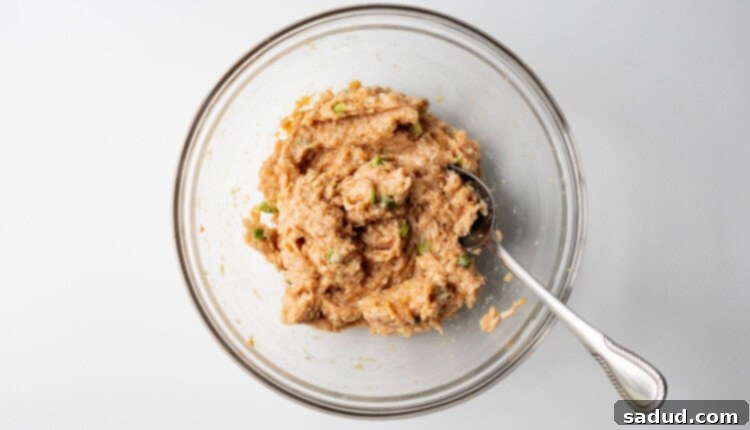
The heart of your gyoza lies in its rich, aromatic filling. In a large mixing bowl, combine the ground chicken with minced garlic, grated ginger, finely diced scallions, sesame oil, rice vinegar, soy sauce, salt, and pepper. Use your hands or a spoon to thoroughly mix all the ingredients until they are uniformly combined. It’s crucial not to overmix, but ensure all seasonings are evenly distributed. A well-mixed filling ensures every bite of gyoza is packed with flavor.
3. Assembling Your Chicken Gyoza
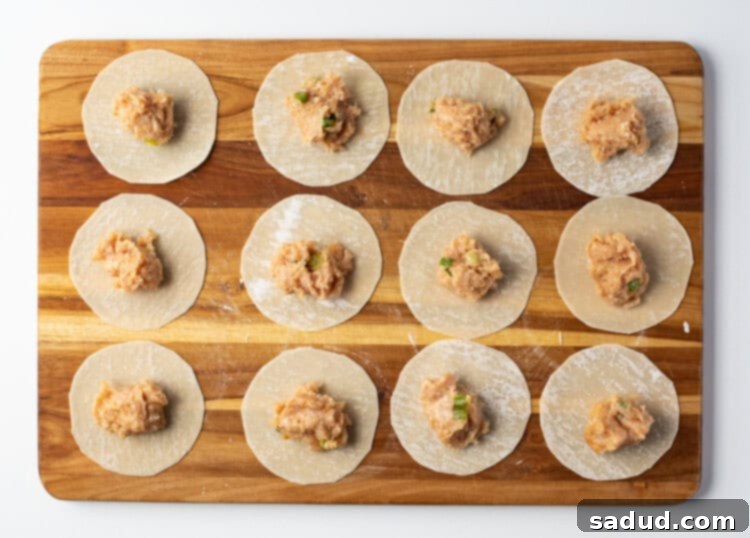
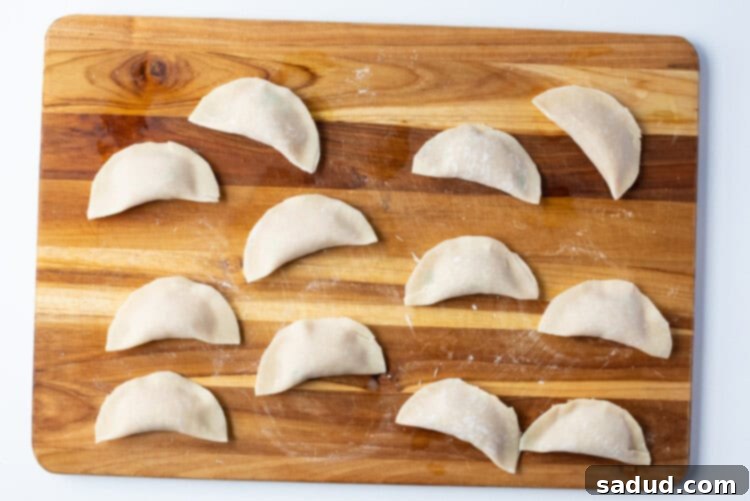
This is where the magic happens! Lay out your individual gyoza wrappers on a clean, dry work surface. Take a tablespoon (or a small cookie scoop for consistency) of the chicken filling and place it directly in the center of each wrapper. Next, lightly moisten the edges of each gyoza wrapper with a little water using your fingertip. This acts as a ‘glue’ to help seal the dumpling. Carefully fold the top edge of the wrapper over the filling to meet the bottom edge, forming a half-moon shape. Firmly pinch the edges together to seal them. For a more traditional look, you can create small pleats along one side of the sealed edge, pressing them firmly to ensure no gaps. Repeat this process until all your filling and wrappers are used. If you plan to freeze some, arrange them on a baking sheet at this stage.
4. Pan-Frying for Golden Perfection
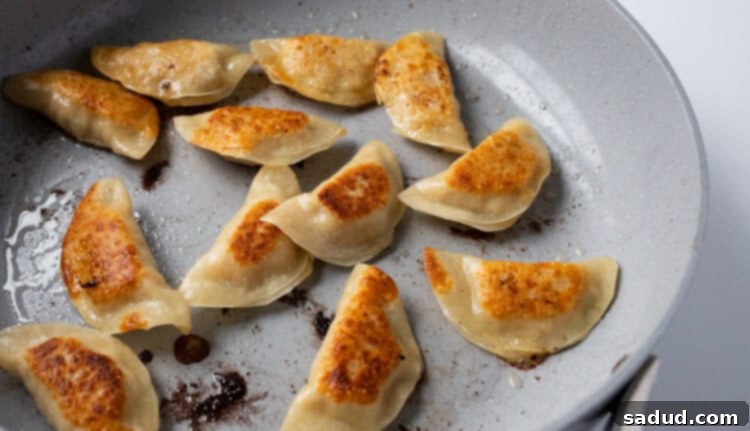
Heat a generous amount of avocado oil in a large skillet over medium heat. Once the oil is shimmering, carefully add the gyoza to the skillet in a single layer, ensuring they don’t overcrowd the pan. Work in batches if necessary to avoid steaming instead of frying. Cook the gyoza for 2-3 minutes until their bottoms are beautifully golden brown and crispy. Once one side is browned, flip the gyoza to cook the other side until it also turns golden. For a softer top, you can opt for the traditional method: after browning one side, add about ⅓ cup of water to the pan and immediately cover it with a lid. Let it steam for 5-7 minutes, or until the water evaporates and the gyoza are cooked through. The steam ensures the filling cooks perfectly while the fried side maintains its crispness. Remove the cooked gyoza from the pan and let them rest briefly on a wire rack or paper towel-lined plate to drain any excess oil.
5. Serving Your Delicious Homemade Gyoza
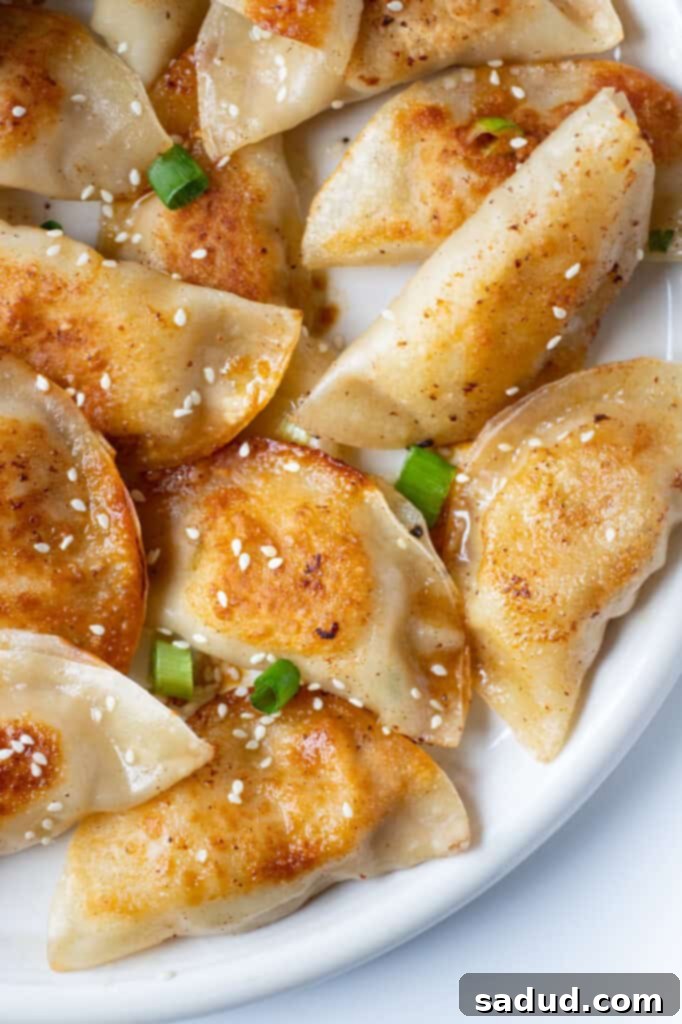
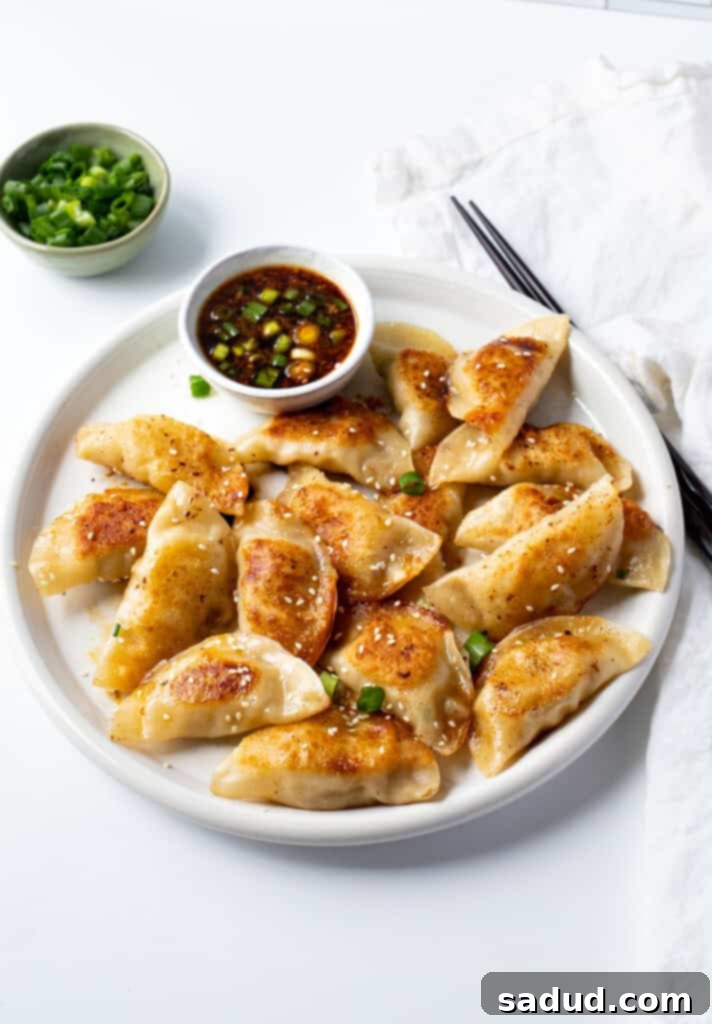
Serve your hot, crispy chicken gyoza immediately with the prepared gyoza dipping sauce. Arrange them artfully on a plate, perhaps garnished with a sprinkle of extra scallions or sesame seeds. These gyoza are fantastic on their own, but they also pair wonderfully with a simple bowl of steamed rice, a fresh green salad, or a light miso soup for a complete meal. Enjoy the fruits of your labor!
Creative Variations & Serving Suggestions for Your Gyoza
Once you’ve mastered the basic chicken gyoza, the possibilities for customization are endless. Here are some ideas to inspire your culinary creativity:
- **Vegetarian Delight:** For a meat-free option, replace the chicken with a finely chopped mixture of shiitake mushrooms, napa cabbage, carrots, and firm tofu. Season with ginger, garlic, soy sauce, and sesame oil for a savory plant-based dumpling.
- **Seafood Sensation:** Ground shrimp or scallops make for a luxurious and delicate filling. Pair them with finely chopped water chestnuts for crunch and a hint of fresh cilantro.
- **Spicy Kick:** Add a pinch of red pepper flakes or a dash of chili oil to your chicken filling for a spicier gyoza. A drop of Sriracha in your dipping sauce can also elevate the heat.
- **Different Cooking Methods:**
- **Steamed Gyoza:** For a softer texture, steam the gyoza in a bamboo steamer lined with parchment paper over boiling water for 8-10 minutes, or until cooked through.
- **Boiled Gyoza (Wonton Style):** Cook them in boiling water like wontons for 3-5 minutes, until they float to the surface. These are excellent in soups.
- **Deep-Fried Gyoza:** For ultimate crispiness, deep-fry them in hot oil until golden brown. This method yields a crunchier shell but is less traditional for gyoza.
- **Alternative Dipping Sauces:** Beyond the classic gyoza sauce, try a peanut dipping sauce, a spicy chili crisp oil, or even a simple mix of soy sauce and lime juice.
- **Make it a Meal:** Serve your chicken gyoza alongside other Asian-inspired dishes like Instant Pot Sushi Rice, a fresh cucumber salad, or a bowl of Keto Egg Drop Soup for a complete and satisfying spread. They also make a fantastic accompaniment to stir-fries like Beef with Garlic Sauce or Instant Pot Orange Chicken.
Other Delicious Recipes You’ll Enjoy
If you loved this chicken gyoza recipe, be sure to explore more fantastic Asian and healthy dishes to broaden your culinary horizons. Here are some top picks from our collection:
- Beef with Garlic Sauce: A savory and aromatic dish perfect for a quick weeknight dinner.
- Instant Pot Sushi Rice: Achieve perfectly cooked, fluffy sushi rice effortlessly with your Instant Pot.
- Keto Egg Drop Soup: A comforting and low-carb take on a classic Chinese soup.
- Miso Dressing: A versatile and flavorful dressing that’s great on salads, bowls, or as a marinade.
- Instant Pot Orange Chicken: A quicker, healthier version of your favorite takeout, made in the Instant Pot.
- Peanut Butter Chicken: A unique and satisfying dish with rich, savory peanut flavors.
If you loved this recipe as much as we did, don’t forget to leave us a review below. ★ Follow Easy Healthy Recipes on Pinterest, Facebook, and Instagram, too!
For more delicious recipes, visit our sister sites, 40 Aprons and Easy Cheap Recipes.
Chicken Gyoza
Print
SaveSaved!
Ingredients
For the Gyoza Sauce
- 2 tablespoons rice vinegar
- 2 tablespoons soy sauce
- 1 teaspoon ginger grated
- 1 clove garlic minced
- 1 scallion chopped
- ½ teaspoon sesame oil
For the Filling
- 1 pound ground chicken
- 2 cloves garlic minced
- 1 1-inch knob ginger grated
- 1 tablespoon finely diced scallions
- 1 teaspoon sesame oil
- 1 teaspoon rice vinegar
- 1 tablespoon soy sauce
- ¼ teaspoon salt
- ¼ teaspoon pepper
Miscellaneous
- 1 12-ounce package gyoza wrappers about 30 wrappers
- ⅓ cup water
- avocado oil for frying
Equipment
-
Small bowl
-
Large bowl
-
Spoon or silicone spatula
-
Tablespoon or cookie scoop with release handle
-
Large skillet
Instructions
For the Gyoza Sauce
-
In small bowl, mix all ingredients together. Set aside until needed.
For the Filling
-
Add all ingredients to large bowl.

-
Mix until thoroughly combined.

For the Gyoza
-
Set out individual gyoza wrappers on work surface. Spoon 1 tablespoon of filling into center of each wrapper.

-
Lightly brush edge of gyoza wrappers with water. Fold top edge of wrapper over filling to meet bottom edge of wrapper, creating a half-moon shape. Pinch edges tightly to seal.

-
In large skillet, heat avocado oil over medium heat. Add gyoza to skillet in a single layer, working in batches if needed. Cook until golden brown, then flip gyoza and repeat for other side.

-
Remove from pan and serve with gyoza sauce.
Notes
Nutrition Information
Number of total servings shown is approximate. Actual number of servings will depend on your preferred portion sizes.
Nutritional values shown are general guidelines and reflect information for 1 serving using the ingredients listed, not including any optional ingredients. Actual macros may vary slightly depending on specific brands and types of ingredients used.
To determine the weight of one serving, prepare the recipe as instructed. Weigh the finished recipe, then divide the weight of the finished recipe (not including the weight of the container the food is in) by the desired number of servings. Result will be the weight of one serving.
