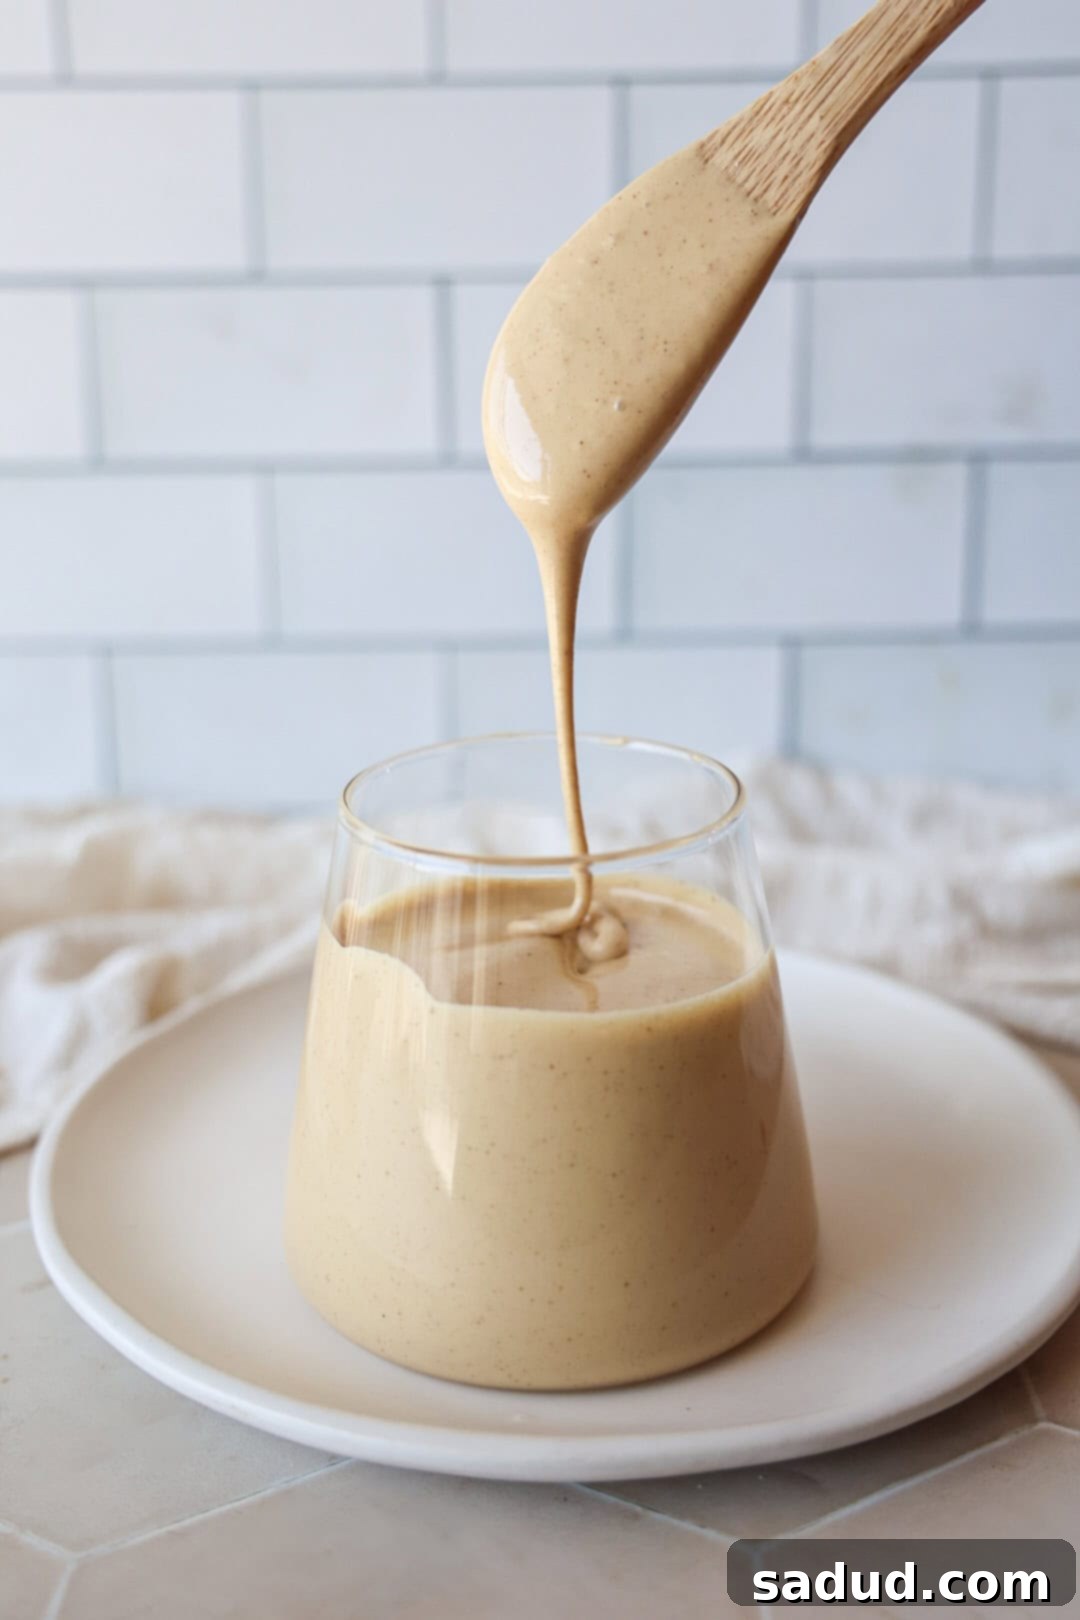
Easy Whipped Honey Recipe: Your Guide to Creamy, Dreamy Sweetness
Transform simple liquid honey into a luxurious, spreadable delight with this incredibly easy whipped honey recipe. In just about 20 minutes, with only *one ingredient*, you can create a fluffy, creamy concoction that’s pure gold. Imagine it generously spread on warm sourdough toast, swirled into your morning matcha latte, or drizzled over a stack of fluffy pancakes. This homemade whipped honey will quickly become a pantry staple and your new favorite way to enjoy nature’s sweetest treat, adding a touch of elegance to any meal.
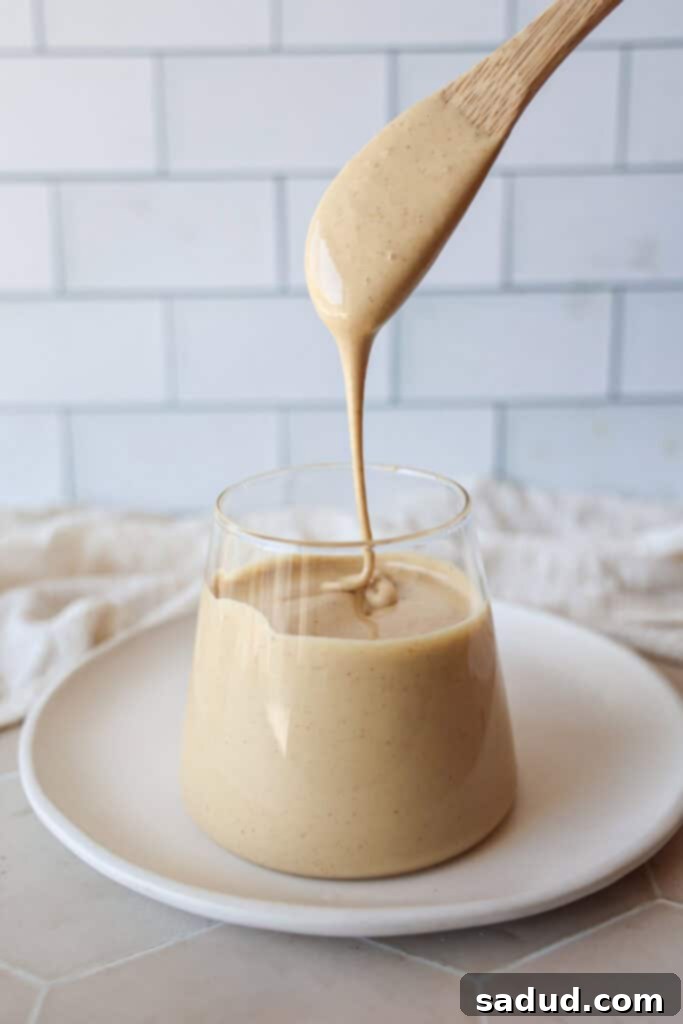
What is Whipped Honey? Unveiling the Creamy Secret
Whipped honey, often interchangeably referred to as creamed honey, spun honey, or even honey cream, is a fascinating and delicious transformation of raw honey. Despite its name, no dairy cream is involved in its creation whatsoever. The process is elegantly simple: liquid honey is agitated vigorously in a mixer, which incorporates tiny air bubbles into its natural composition. This aeration is what gives whipped honey its distinctive characteristics.
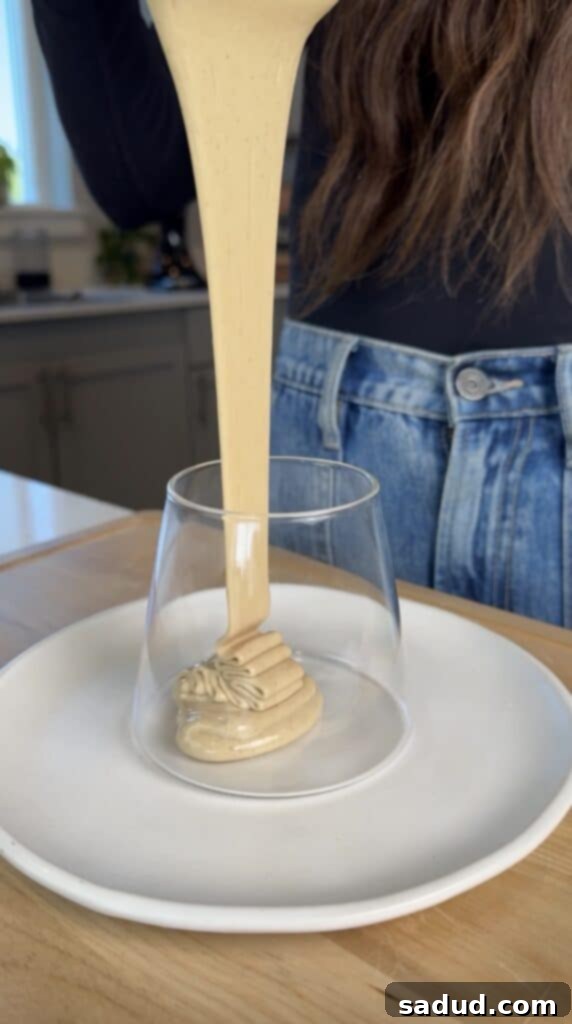
The result is a honey that is strikingly lighter in color than its liquid counterpart, incredibly fluffy, beautifully creamy, and possesses a thicker, wonderfully spreadable consistency. This textural enhancement makes honey far more versatile and enjoyable for various culinary applications. The magic truly lies in how the whipping encourages the honey’s natural glucose crystals to become extremely fine and uniformly suspended throughout the mixture. This not only creates the desired smooth texture but also prevents the formation of large, grainy crystals that can sometimes develop in unwhipped honey over time. This unique, stable texture ensures that once your honey is whipped, it stays that way – it won’t deflate or separate back into liquid honey, making every spoonful as perfect as the last. It’s an excellent base for creations like whipped honey butter, frothy honey coffees and lattes, or even a light, naturally sweet whipped honey frosting.
Why You’ll Fall in Love with Homemade Whipped Honey
Once you try homemade whipped honey, you’ll wonder how you ever lived without it. Here are just a few compelling reasons why this simple recipe will become a cherished addition to your kitchen:
- Effortlessly Simple: This recipe calls for just one ingredient – honey! There are no complicated steps, no obscure items to source, and minimal fuss, making it perfect for even novice cooks.
- Quick to Prepare: You can achieve this creamy perfection in approximately 20 minutes for a standard batch using a stand mixer. If you’re making a smaller quantity, the whipping time can be even shorter!
- Nutritional Integrity Preserved: Unlike some honey preparations that involve heating, our whipping method does not use any heat. This means all the beneficial antioxidants, natural enzymes, vitamins, and minerals inherent in raw honey remain intact and undamaged, offering you all the health benefits of liquid honey in a superior, spreadable form.
- Incredibly Versatile: Whipped honey’s unique texture makes it incredibly adaptable. Use it virtually anywhere you’d typically use liquid honey, maple syrup, or even jam. It’s fantastic on toast, oatmeal, yogurt bowls, fresh fruit, and elevates countless beverages, desserts, and savory dishes.
- Long-Lasting Goodness: Pure honey is renowned for its indefinite shelf life. Whipping it does not change this remarkable property. When stored correctly, your homemade whipped honey can realistically last for many months, if not years, ensuring you can make a big batch and enjoy its creamy goodness for a very long time.
- An Impressive Gift: Packaged in charming small jars, whipped honey makes for a truly beautiful, thoughtful, and gourmet-feeling homemade gift. It’s ideal for holidays, birthdays, hostess gifts, or as a sweet gesture for friends and family. Its elegant texture and appearance belie just how easy it is to make!
How to Make Whipped Honey: A Step-by-Step Guide
Full measurements and detailed instructions are also conveniently provided in the comprehensive recipe card at the bottom of this post!
Essential Equipment for Perfect Whipped Honey
Creating perfectly whipped honey with that desirable light and airy texture requires the right tools. While some alternatives exist, certain equipment will make the process much smoother and yield the best results:
- Stand Mixer with Whisk Attachment: This is unequivocally the best tool for the job. A powerful stand mixer, such as a Kitchenaid, allows the honey to whip continuously at high speed for the necessary duration without you having to hold it. The whisk attachment is specifically designed to incorporate maximum air volume, which is crucial for achieving that signature fluffy texture.
- Electric Hand Mixer: If a stand mixer isn’t available, an electric hand mixer can certainly be used. However, be prepared for a significantly longer whipping time (often 30-40 minutes or even more) and a bit more manual effort, as you’ll need to hold it throughout the process. Ensure your mixing bowl is large enough to contain the honey as it expands.
- Storing Jars: Once your whipped honey is ready, you’ll need suitable airtight containers for storage. Mason jars (like these larger ones or smaller 4oz jars for gifting) are ideal. Their tight seals help maintain freshness, and their classic look is perfect for pantry storage or beautiful presentation as a gift.
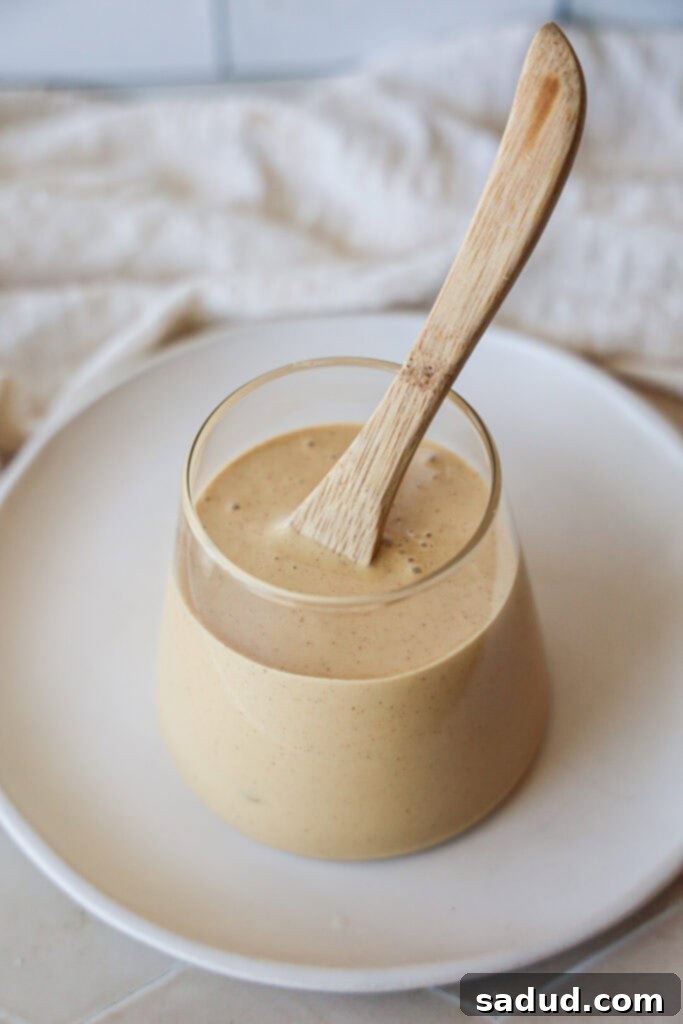
Ingredients: The Simple Core of Creamy Honey
This recipe truly showcases the beauty of simplicity with its minimalist ingredient list:
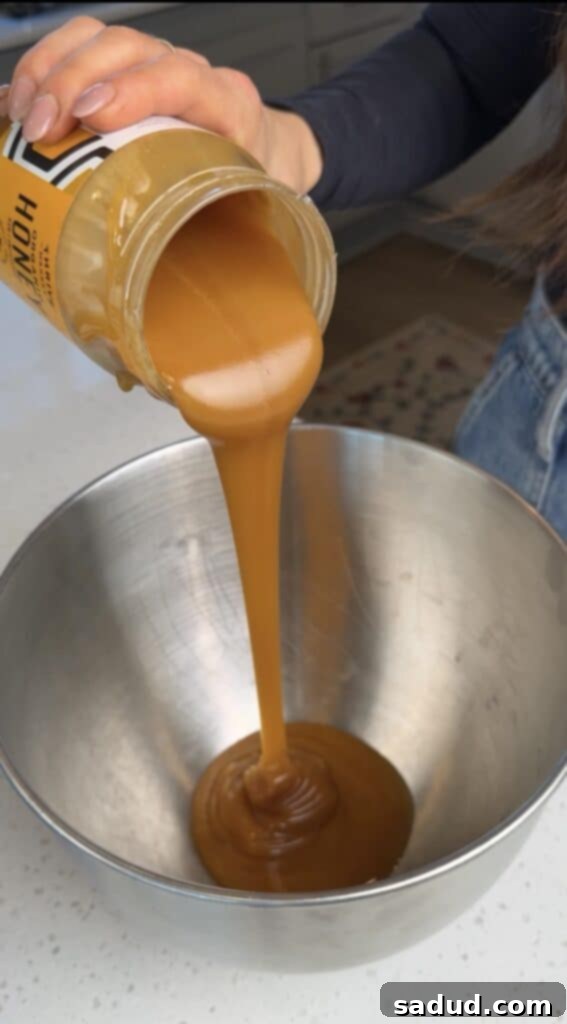
- Honey: This is the absolute star of our show, and its quality significantly impacts the final product. For the best flavor, aroma, and maximum health benefits, always opt for high-quality, raw, and unfiltered honey. Raw honey is typically packed with beneficial enzymes, pollen, and natural antioxidants, which are crucial for its nutritional profile. A fascinating aspect is that you can even use crystallized honey for this recipe. The powerful whipping action will break down those large, sugary crystals and transform them into a delightfully smooth and creamy consistency! I frequently source excellent quality raw honey at fantastic prices from Thrive Market, where new customers can often enjoy a discount on their first order.
- Cinnamon (Optional): While optional, a touch of ground cinnamon adds a wonderful warm, earthy, and aromatic depth that beautifully complements the natural sweetness of honey. It’s a classic pairing for a reason! Start with a teaspoon or two and adjust to your personal preference. Don’t be afraid to experiment with other complementary spices like cardamom or a fragrant chai spice blend for unique flavor profiles.
Easy Steps to Fluffy Whipped Honey Perfection
Follow these straightforward steps to create your own irresistible whipped honey at home:
- Step 1: Prepare Your Mixer. Begin by adding your chosen amount of honey (for instance, a 24 oz jar) directly into the clean bowl of your stand mixer. Securely attach the whisk attachment. Ensure your bowl is perfectly clean and free of any oils or residues, which could hinder the whipping process.
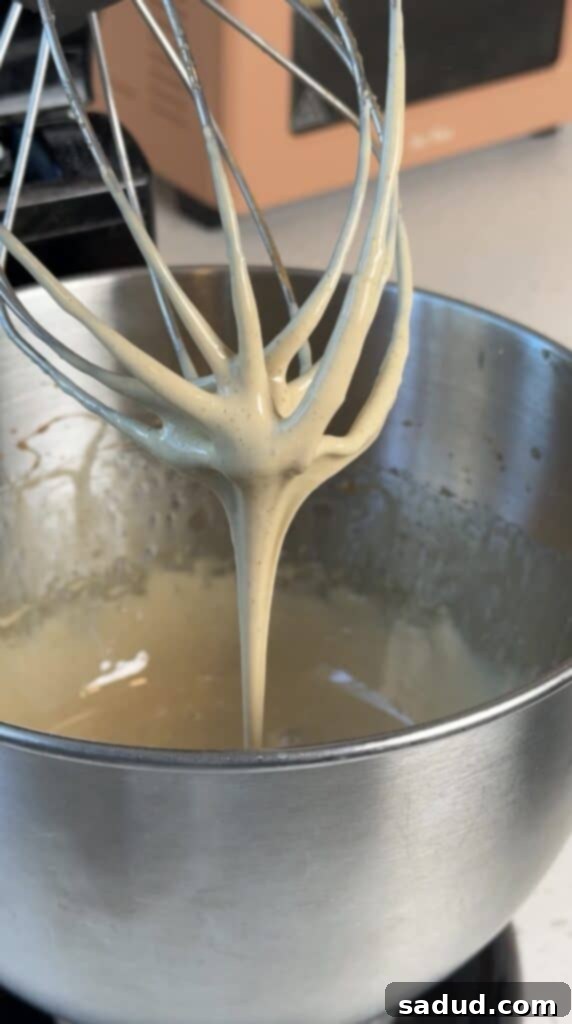
- Step 2: Whip Until Fluffy. Turn your stand mixer onto its highest setting. Allow it to whip continuously for a minimum of 20 minutes. You will observe the honey gradually changing: it will noticeably lighten in color, begin to thicken, and increase significantly in volume as more air is incorporated. For an exceptionally light and airy result, I typically let mine whip for around 25 minutes. This extended whipping time ensures maximum fluffiness and a truly luxurious texture.
- Step 3: Store and Enjoy. Once the honey has reached your desired level of fluffiness and creaminess, carefully turn off the mixer. Gently scrape the whipped honey from the whisk and transfer it into an airtight container, such as your chosen mason jar. Your delicious homemade whipped honey is now ready to be savored!
A Little Tip for Storage: It’s perfectly normal to observe a thin, foamy layer forming on top of your whipped honey after it sits for a while, especially if stored at room temperature. This is simply excess air rising to the surface and is a sign of a successful whip. Before each use, just give the honey a good stir with a spoon to reintegrate this foamy layer and maintain its beautifully uniform creamy texture.
Delicious Flavor Variations to Try
While plain whipped honey is incredibly delicious and satisfying on its own, its neutral base makes it a fantastic canvas for creative flavor infusions. Don’t hesitate to experiment with these delightful additions:
- Warm Cinnamon Swirl: As mentioned, incorporating a generous teaspoon or two of ground cinnamon during the whipping process adds a comforting, aromatic spice that beautifully complements honey’s sweetness. It’s a timeless pairing that enhances many dishes.
- Bright Citrus Zest: For a burst of freshness, finely grate the zest of an orange, lemon, or lime directly into the honey before or during whipping. Start with about a teaspoon of zest; its vibrant oils will infuse the honey with a delightful, uplifting aroma and flavor.
- Exotic Cardamom or Chai Spice: Elevate your whipped honey with a touch of the exotic. A half-teaspoon of ground cardamom or a full teaspoon of a chai spice blend (typically cinnamon, ginger, cardamom, cloves, and black pepper) can transform your honey into a truly unique and fragrant spread, perfect for lattes or toast.
- Decadent Chocolate Honey: For a rich, chocolate-infused treat, whip in a tablespoon or two of high-quality raw cacao powder. This creates a luxurious chocolate honey that’s incredible on fruit, toast, or as a dessert topping. Adjust the amount to achieve your desired chocolate intensity.
- Spicy Hot Honey Vibe: If you enjoy a bit of heat, add a pinch of red pepper flakes or a dash of cayenne pepper. This creates a fantastic sweet-and-spicy honey that pairs surprisingly well with savory items like roasted vegetables, cheeses, or even drizzled over pizza.
- Classic Vanilla Bean: For a comforting and universally loved flavor, scrape the seeds from half a vanilla bean (or add a teaspoon of pure vanilla extract). The subtle floral notes of vanilla perfectly enhance the honey’s natural sweetness.
Creative Ways to Enjoy Your Whipped Honey
The delightful, airy texture of whipped honey opens up a world of culinary possibilities beyond just a simple sweetener. Here’s how you can incorporate this delightful spread into your daily routine and special treats:
- Lattes and Hot Beverages: Move beyond liquid sweeteners! Use whipped honey to sweeten your morning coffee, favorite teas, or specialty lattes like my beloved matcha (this is truly the best matcha powder for your skin!). Its creamy consistency dissolves beautifully, adding a velvety sweetness and even a slight frothy texture.
- Breakfast Bowls and Cereals: Elevate your breakfast! Drizzle a generous dollop over your morning yogurt, hot oatmeal, cold granola, or creamy chia pudding, such as my refreshing blueberry lemon chia pudding. It mixes in effortlessly and adds a rich, comforting sweetness.
- Toast and Baked Goods: Whipped honey is an absolute game-changer for toast. Spread it thickly on classic sourdough, warm banana bread, muffins like my delectable blender banana coffee cake muffins, or even delicate croissants. Its spreadable nature means no tearing delicate pastries, just smooth, sweet bliss.
- Pancakes, Waffles, and French Toast: Take your breakfast stack to the next level! Instead of traditional liquid syrup, spoon generous dollops of whipped honey over the best gluten-free, dairy-free pancakes or your favorite French toast. Its clingy texture coats beautifully, delivering a rich, satisfying sweetness.
- Fruit Dip and Snacks: Serve whipped honey alongside sliced apples, pears, bananas, or berries for a healthy, indulgent, and satisfying snack. It’s also a delightful accompaniment to my wholesome breakfast crumble.
- Dessert Topping: A dollop of whipped honey over ice cream, frozen yogurt (especially those incredible Ninja Creami creations!), or even fruit tarts adds a sophisticated touch of sweetness and a luxurious mouthfeel.
- Alternative Sweetener: You can confidently use whipped honey as a direct substitute for regular liquid honey, maple syrup, or other liquid sweeteners in recipes where its creamy texture would be an added bonus, such as in homemade salad dressings, marinades, or glazes.
- Thoughtful Gifts: Packaged beautifully in small 4oz mason jars or larger jars, homemade whipped honey makes an exquisite and thoughtful gift for any occasion, from Christmas to birthdays, or simply as a token of appreciation.
FAQs & Essential Tips for the Best Whipped Honey Every Time
To ensure your whipped honey turns out perfectly fluffy and stays delicious, keep these expert tips and answers to frequently asked questions in mind:
- How to Store Leftover Whipped Honey: Always store your whipped honey in an airtight container, like a glass mason jar, to prevent it from absorbing moisture or odors. I personally prefer storing it in the fridge, as the cooler temperature makes it wonderfully thick, firm, and even more spreadable – almost like a honey butter. If you find the refrigerated consistency too firm for your preference, you can certainly keep it at room temperature on your counter. Just ensure it’s in a cool, dry place away from direct sunlight and extreme heat, which could cause it to soften too much.
- How Long Does Whipped Honey Last? The fantastic news about pure, raw honey is its incredibly long, virtually indefinite shelf life. This is due to its low water content, high sugar concentration, and acidic pH, which create an environment where bacteria and mold cannot thrive. Whipping it does not alter these preserving properties. So, your homemade whipped honey can realistically last for many months, if not years, when stored properly. However, given how incredibly delicious and versatile it is, you’ll likely go through your batch much quicker than you anticipate!
- Patience is Key: Let it Whip Long Enough! This is perhaps the most crucial tip for achieving the perfect fluffy texture. The ideal whipping time can vary based on several factors: the specific type and initial consistency of your honey, the power and efficiency of your mixer, and even the ambient temperature of your kitchen. Don’t be tempted to stop too soon, even if it looks good. While 20 minutes is a good starting point, allowing it to whip for 25 minutes (or even a little longer for an exceptionally light and airy result) is often optimal. You’ll visibly notice the honey lightening dramatically in color and increasing significantly in volume as it whips. Remember, it will also thicken up further as it cools and rests in your storage jar.
- Can You Make Whipped Honey with a Hand Mixer? Yes, absolutely! An electric hand mixer is a viable alternative if you don’t own a stand mixer. However, be prepared that the process will take significantly longer than with a powerful stand mixer – likely 30-40 minutes or even more – and you’ll need to hold the mixer throughout. Ensure your mixing bowl is large enough and deep enough to comfortably accommodate the honey’s expansion and prevent any splashes.
- Making a Smaller Batch: If you’re new to making whipped honey or simply want a smaller amount for personal use or a quick treat, you can easily scale down the recipe. Using just 1 cup of honey will still yield a good amount of delicious whipped honey and will also significantly cut back on the whipping time, typically requiring only about 10-15 minutes. The process and steps remain exactly the same!
- Dealing with Separation: As previously mentioned in the instructions, it’s normal for a thin, foamy layer to sometimes appear on top of your whipped honey after it has settled for a while in its container. This simply indicates that some of the incorporated air bubbles have risen to the surface and is actually a good sign of successful aeration. A quick stir with a spoon will easily reintegrate this foamy layer, restoring the honey to its perfectly uniform, creamy texture before you use it.
More Healthy Recipes to Elevate Your Table
If you’ve enjoyed making this easy whipped honey and are looking for more delicious, wholesome recipes to complement it or simply expand your healthy eating repertoire, try these highly-rated favorites:
- Blender Banana Coffee Cake Muffins – Fluffy, flavorful, and incredibly easy to make.
- The Best Gluten-Free, Dairy-Free, Nut-Free Pancakes – A crowd-pleaser for any breakfast or brunch.
- Blueberry Chia Pudding with Lemon Cashew Cream – A refreshing and nutritious start to your day.
- Strawberry Chia Overnight Oats – Convenient, delicious, and packed with goodness.
- Snickers Banana Bread (Gluten-Free) – A healthy twist on a classic, with irresistible flavors.
- Strawberry Cheesecake Parfaits – A delightful and lighter dessert option.
If you whip up this easy homemade honey, I’d be absolutely thrilled to hear from you! Please consider leaving a star rating below and sharing your beautiful creations by tagging me @danishealthyeats on Instagram! Your feedback and shares mean the world! x
How to Make Whipped Honey
Whipped honey is a luscious, spreadable creamed honey that offers a pure, golden taste and velvety texture. Perfect for pancakes, lattes, or sourdough toast, it comes together in just about 20-25 minutes with only one simple ingredient – honey!
Pin Recipe
Time
- Prep Time: 1 min
- Whipping Time: 20-25 mins
- Total Time: 21-26 mins
Details
- Course: Appetizer, Dessert, Lunch, Snack
- Cuisine: American
Ingredients
- 24 oz (approx. 3 cups) raw, unfiltered honey
- 1 1/4 tsp cinnamon (optional, chai spice also works well!)
Instructions
- Add the honey to the bowl of your stand mixer fitted with the whisk attachment.
- Turn the stand mixer to the highest setting and let it whip for at least 20 minutes. For an extra fluffy result, aim for 25 minutes. The honey will visibly lighten in color and increase in volume.
- Carefully transfer the whipped honey into an airtight container for storage. Enjoy!
Notes
- Smaller Batch: For 1 cup of honey, whip for approximately 10-15 minutes.
- Storage: Store in an airtight mason jar. Refrigeration makes it thicker; room temperature yields a slightly softer consistency.
- Shelf Life: Whipped honey, like raw honey, has a very long shelf life and can last for many months, if not years.
- Whipping Time: Patience is key! Time varies by mixer and honey type. Aim for at least 20-25 minutes for optimal fluffiness. It will also thicken slightly upon sitting.
- Hand Mixer: Possible, but expect longer whipping times (30-40+ minutes) and more manual effort.
Keywords
creamed honey, creamed maple syrup, honey, raw honey, whipped honey, whipped maple syrup
