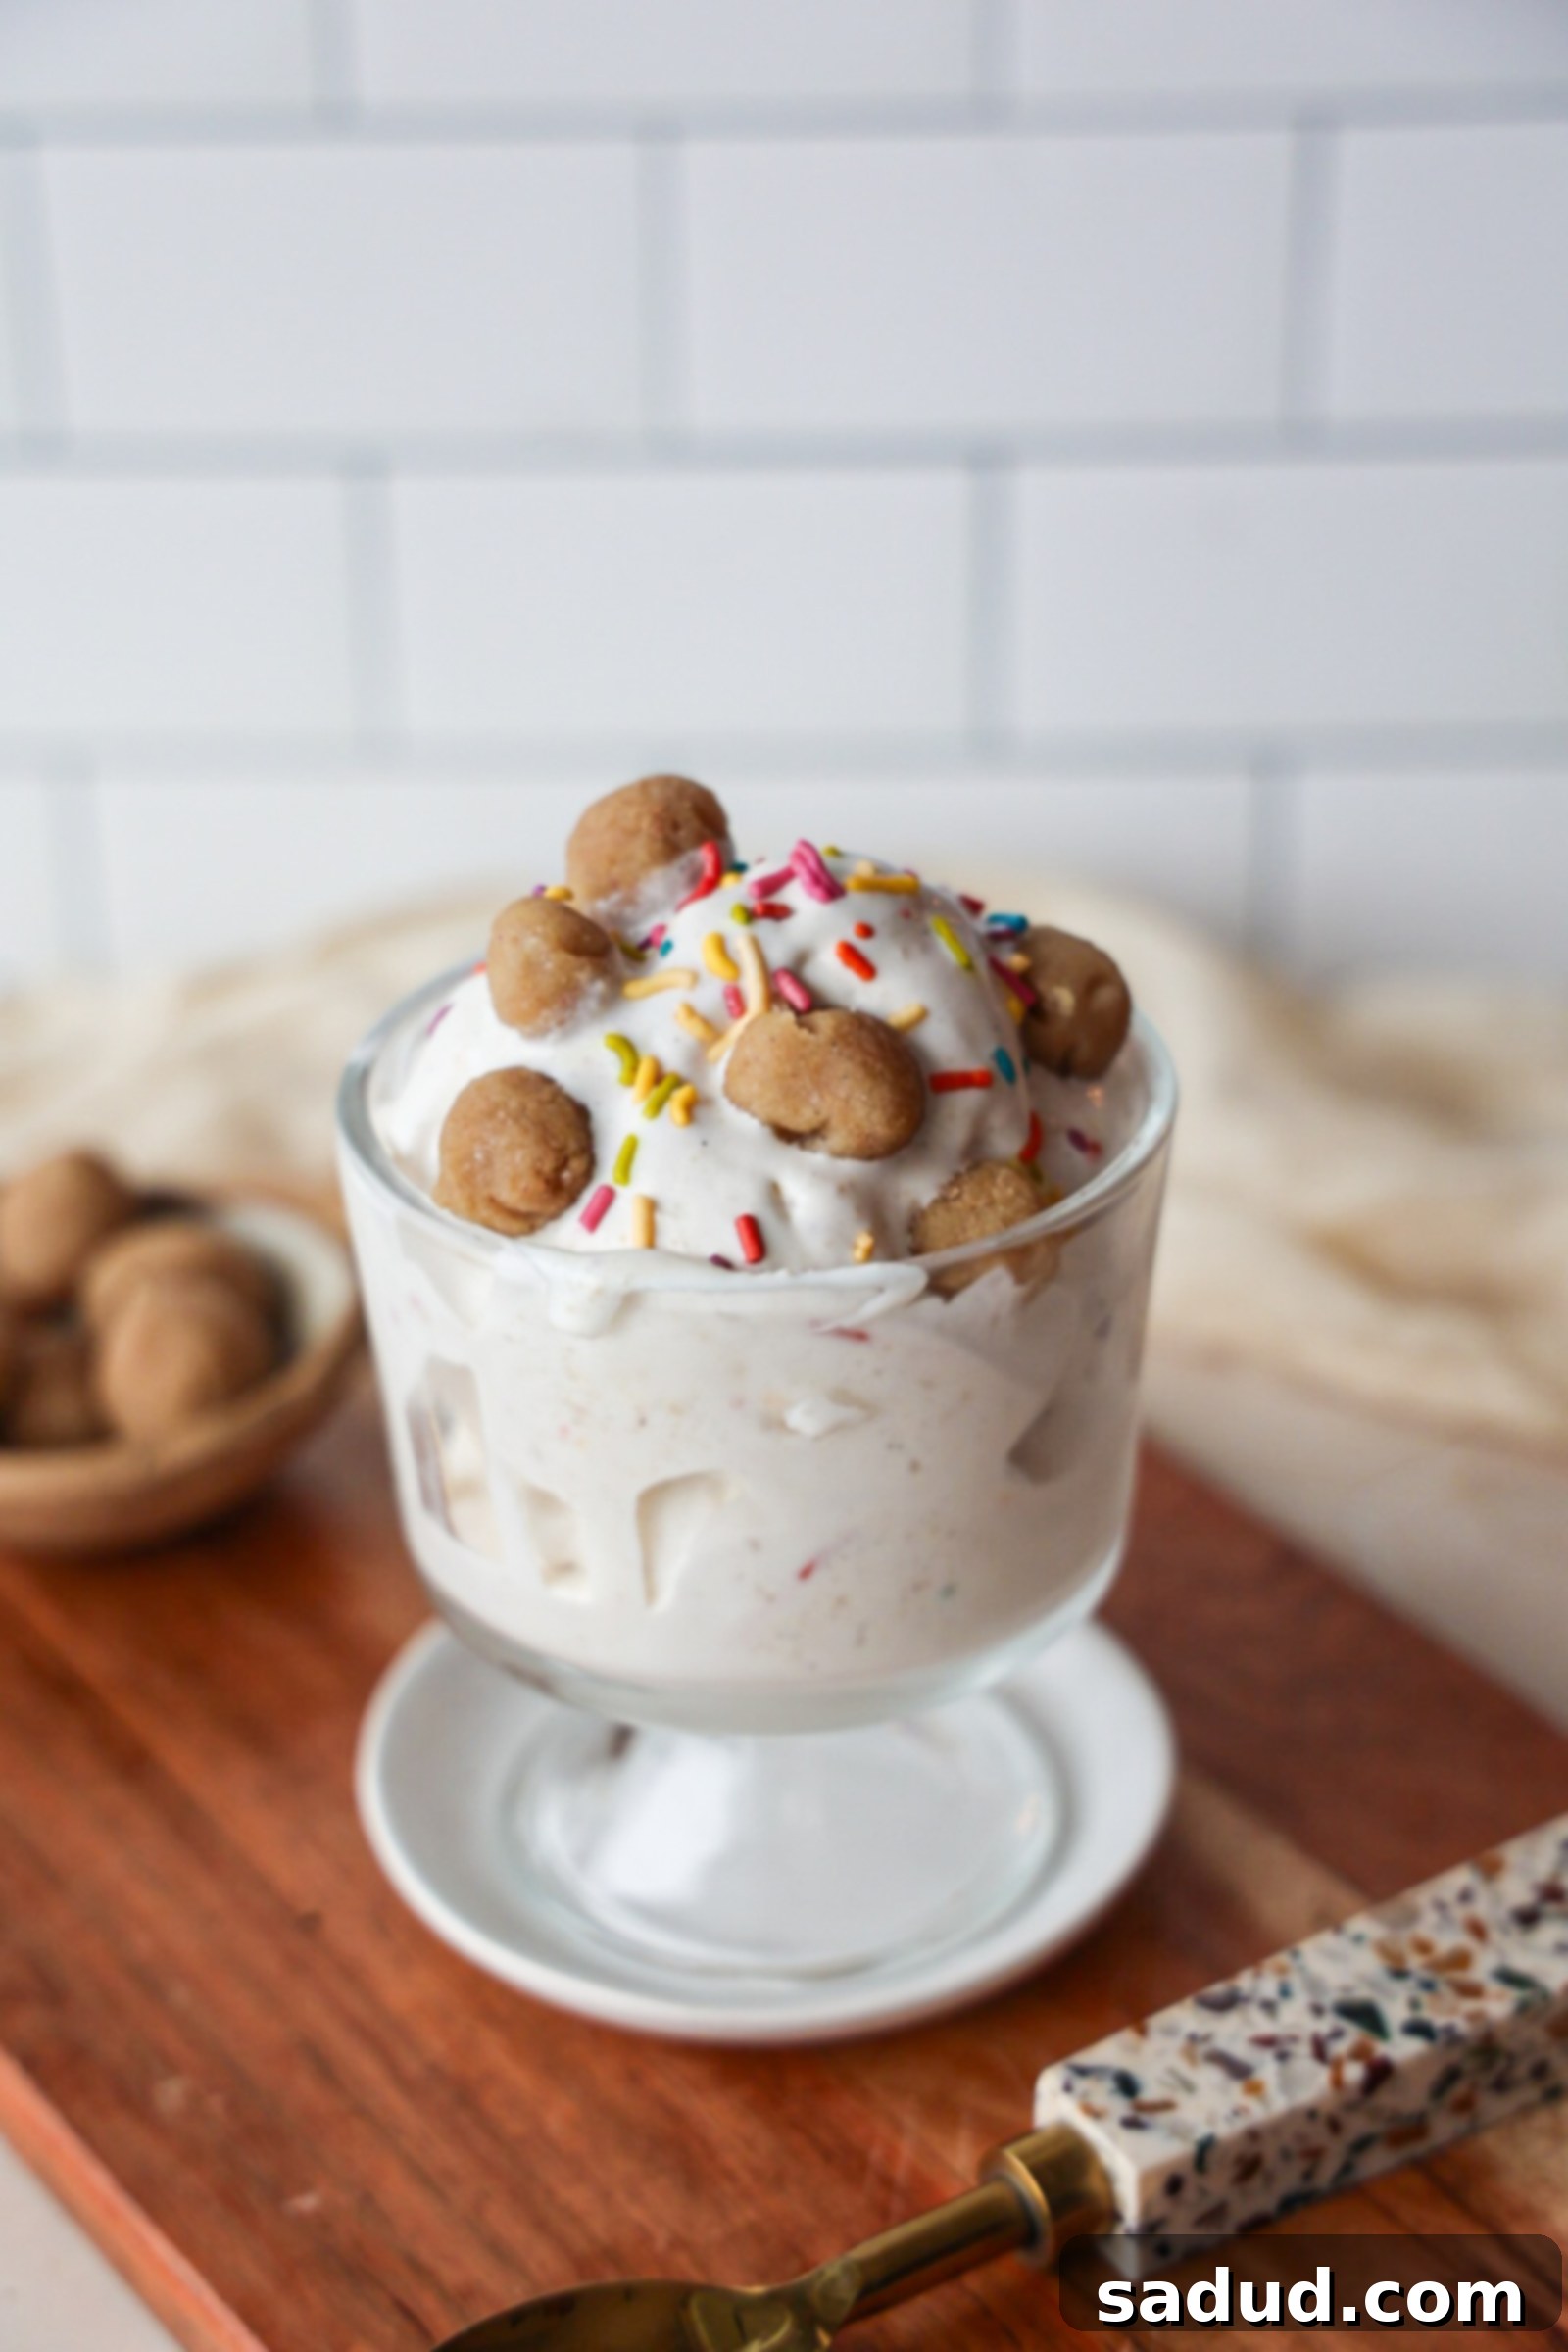
Homemade Healthy Sugar Cookie Blizzard: Dairy-Free, Gluten-Free Ice Cream Delight
Dreaming of a classic Dairy Queen Blizzard but seeking a healthier twist? Look no further! This incredible homemade sugar cookie ice cream captures all the creamy, dough-filled goodness you crave, but with a nutritious upgrade. Loaded with delightful bits of no-bake sugar cookie dough and made with just a few wholesome ingredients, you’d never guess this luscious treat is dairy-free, gluten-free, refined sugar-free, grain-free, and even paleo-friendly. Get ready for your new favorite dessert obsession!
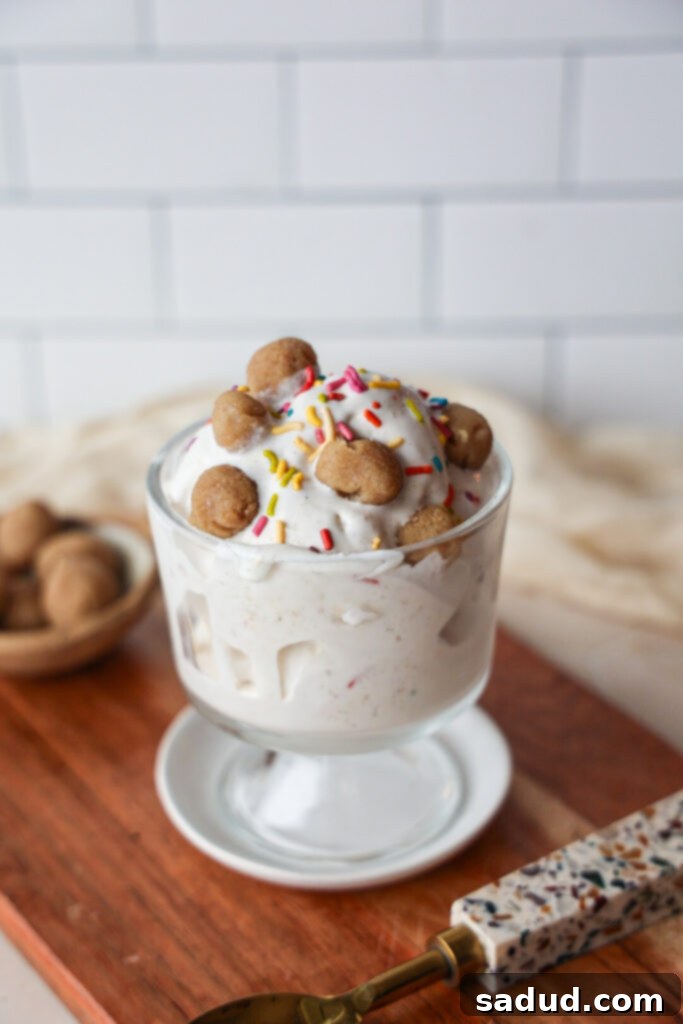
Growing up, we all likely had that one special treat our parents would allow us to indulge in, perhaps a few times a week or on a special weekend. For many, including myself, that treat was often a trip to Dairy Queen, and my go-to choice was always a Blizzard! There’s something undeniably magical about super creamy ice cream packed with an abundance of delicious mix-ins – whether it’s cookies, brownies, hot fudge, or peanut butter, the possibilities are endless and always satisfying.
However, as dietary needs and preferences evolve, traditional Dairy Queen Blizzards can become a challenge, especially for those avoiding dairy. This realization spurred me to create my own version, a delightful alternative that retains all the flavor and texture of the original, but without the dairy or excessive sugar. I’ve been perfecting these homemade Blizzards for years, utilizing various tools like an ice cream machine or my beloved Ninja Creami. The best part? You can achieve a fantastic result even without any fancy equipment, making this recipe accessible to everyone!
Dairy Queen consistently rolls out an impressive array of Blizzard flavors, and I’m always excited to see their seasonal and holiday offerings. When their new Sugar Cookie Blizzard was advertised, I immediately knew I had to recreate it in a way that aligned with my healthy eating principles. This recipe is not only totally customizable, allowing you to tailor it to your taste, but it’s also proudly dairy-free, gluten-free, refined sugar-free, and paleo-friendly. The base ice cream is wonderfully creamy and rich, but the real stars of the show are the sugar cookie dough balls. Crafted from almond flour, maple syrup, and cashew butter, these little bites are no-bake, doughy pockets of pure heaven. A sprinkle of fun, colorful toppings adds that perfect festive touch. Let’s dive into making this healthier, homemade ice cream sensation!
What is a Dairy Queen Blizzard?
For those unfamiliar with this iconic frozen dessert, a Dairy Queen Blizzard is a signature treat created by blending Dairy Queen’s famous soft serve ice cream with a variety of mix-ins. These additions can range from crushed cookies, candy pieces, fruit, or classic sundae toppings. Blizzards are renowned for their incredibly thick and creamy consistency – so thick, in fact, that they are famously served upside down! This beloved dessert has been a staple on the DQ menu since its introduction in 1985, a year that saw Dairy Queen sell over 100 million Blizzards, a truly wild testament to their popularity. While undeniably delicious, traditional Blizzards are often indulgent, packed with sugar and calories. My mission was to craft a homemade version that is just as tasty and satisfying, but significantly more nutritious, allowing you to enjoy this nostalgic treat guilt-free.
Why You’ll Love This Healthy Sugar Cookie Ice Cream
- Effortlessly Easy: This healthy blizzard recipe is incredibly simple to prepare, requiring minimal fuss. The ice cream base comes together quickly in a blender, then freezes, making it perfect for both novice and experienced home cooks. You’ll be amazed at how easily you can whip up this delightful dessert!
- Highly Customizable: One of the best aspects of this recipe is its versatility. You can easily adapt the mix-ins, switch up the ice cream flavors, or even experiment with different types of cookie dough. Want chocolate chip cookie dough instead? Go for it! Craving a different protein powder flavor? The choice is yours. This recipe is a fantastic canvas for your creative dessert desires.
- Wholesome & Nutritious: Unlike its traditional counterpart, this homemade sugar cookie ice cream is crafted with your well-being in mind. It’s lower in refined sugar, packed with protein, and made from healthy, natural ingredients. You can indulge in the rich, creamy texture and delicious flavor of a Dairy Queen Blizzard without worrying about a sugar crash or compromising your dietary goals. It’s a treat that truly nourishes.
- Three Flexible Methods: Whether you own a state-of-the-art Ninja Creami, a classic ice cream maker, or simply have a reliable blender, you can make this ice cream! We provide detailed instructions for all three methods, ensuring that everyone can enjoy this delectable dessert, regardless of their kitchen equipment.
- High in Protein: Thanks to the addition of protein powder in both the ice cream base and the cookie dough bites, this dessert offers a significant protein boost. This makes it an excellent option for a satisfying high-protein snack, a post-workout treat, or a guilt-free dessert that helps keep you feeling full and energized.
How to Make Healthy Sugar Cookie Dough Blizzard
The full, detailed recipe with precise measurements can be found in the comprehensive recipe card below. But first, let’s explore the essential equipment and ingredients you’ll need to create this fantastic dessert, followed by the step-by-step instructions for each method.
Equipment
- Blender: A powerful blender is key for achieving a super smooth and creamy ice cream base. I personally love and recommend the Beast Blender for its efficiency and consistent results.
- Ninja Creami or Ice Cream Machine (Optional): If you have one, a Ninja Creami or a traditional ice cream machine will produce the creamiest, most authentic ice cream texture. However, don’t worry if you don’t have these; our “Blend, Freeze, Blend” method works wonderfully too!

Ingredients
For the Creamy Ice Cream Base:
- Milk: For the ultimate creamy texture, full-fat canned coconut milk is highly recommended. Its richness provides a luxurious mouthfeel that truly mimics traditional ice cream. If coconut milk isn’t your preference, any other thick plant-based milk (like cashew milk) or regular milk will work, but remember: the thicker the milk, the creamier your ice cream will be!
- Coconut Yogurt or Greek Yogurt: Adding yogurt contributes to the ice cream’s tanginess and also enhances its thickness and creamy consistency. Opt for a thicker variety like Greek yogurt or a high-quality coconut yogurt such as CocoJune or Culina for the best results. Vanilla-flavored and unsweetened options are usually ideal.
- Vanilla Protein Powder: This ingredient is fantastic for adding an extra boost of protein and enhancing the overall flavor profile. Choose your favorite brand and flavor; vanilla, caramel, or even birthday cake protein powder (like Macro Mike’s birthday cake or vanilla buttercream, which I highly recommend!) can elevate the taste and provide a touch of sweetness without needing additional refined sugar.
- Cashew Butter: Cashew butter is a secret weapon in this recipe! It not only helps to thicken the ice cream base and make it incredibly creamy but also imparts a subtle, delicious cake-like flavor that perfectly complements the sugar cookie theme.
- Maple Syrup or Honey: These natural sweeteners provide the perfect amount of sweetness. For a completely sugar-free option, you can substitute with monk fruit or a similar natural sweetener.
- Vanilla Extract, Almond Extract, Sea Salt: Vanilla extract is essential for that classic ice cream flavor, while a touch of almond extract truly amplifies the “sugar cookie” taste. A good pinch of sea salt balances the sweetness and brings out all the other flavors.
For the Irresistible Sugar Cookie Dough Bites:
- Almond Flour: This forms the base of our no-bake cookie dough, providing a tender and delicious texture. If you have a nut allergy or prefer an alternative, tiger nut flour works as an excellent 1:1 substitute.
- Protein Powder: A small amount of vanilla protein powder in the cookie dough adds an extra protein punch and helps with texture. If you prefer, you can omit it and use additional almond flour to maintain the desired consistency.
- Runny Cashew Butter: This acts as a binder, holding the dough together and contributing to its soft, chewy texture. Almond butter is a great alternative if you don’t have cashew butter on hand.
- Maple Syrup or Honey: To sweeten the cookie dough naturally. Adjust the amount to your preference.
- Vanilla Extract & Sea Salt: Essential for capturing that authentic sugar cookie flavor and balancing the sweetness.
- Milk (of choice, if needed): Sometimes a tiny splash of milk is necessary to achieve the perfect dough consistency – pliable enough to roll into balls but not overly sticky.
- Sprinkles: These are purely for fun and visual appeal! Add them liberally for that festive sugar cookie look.
Steps to Make Your Healthy Sugar Cookie Blizzard
Before starting on the ice cream, let’s prepare the delicious sugar cookie dough bites:
Preparing the Sugar Cookie Dough Bites:
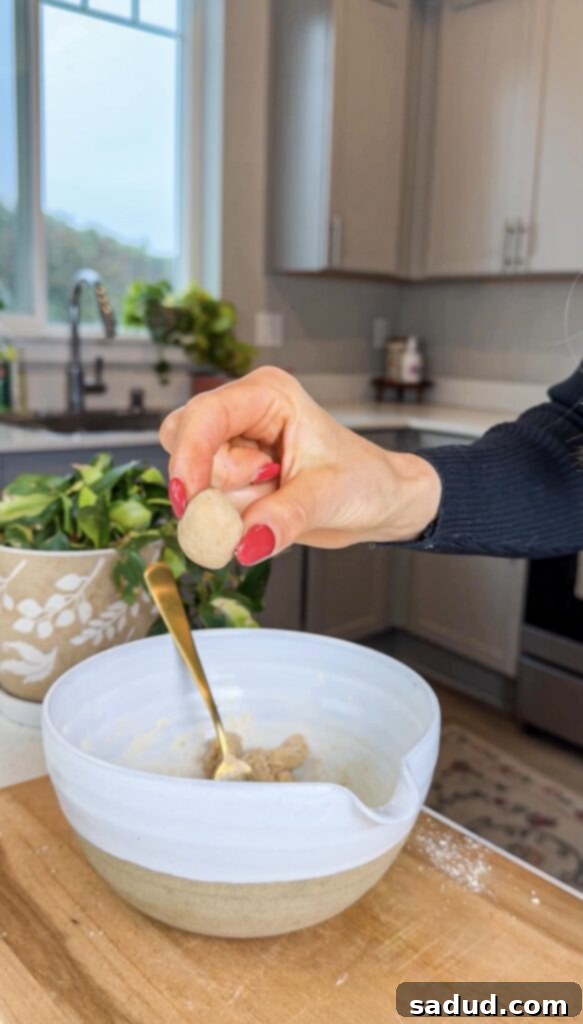
- In a medium bowl, combine all the ingredients for the sugar cookie dough balls. Mix thoroughly until a cohesive dough forms.
- If the dough appears too dry or crumbly, add milk, a teaspoon at a time, until it reaches a pliable consistency. It should be moist enough to hold together but not overly sticky.
- Roll the dough into small, bite-sized balls.
- Place the finished cookie dough balls into the freezer while you prepare the ice cream. This helps them firm up and maintain their shape when mixed into the ice cream. You will fold them in just before serving.
Now, choose your preferred method for making the ice cream:
- Option 1: The Ninja Creami Method
- Add all of the ice cream base ingredients into a high-speed blender. Blend for 1-2 minutes until the mixture is completely smooth and creamy. Taste the mixture and adjust sweetness or flavorings as needed before freezing.
- Pour the smooth ice cream mixture into your Ninja Creami pint. Secure the lid tightly and freeze it overnight, or for at least 8-12 hours, until it’s completely solid.
- When you’re ready to enjoy, remove the pint from the freezer and let it sit on the counter for about 5 minutes to slightly soften.
- Place the pint into your Ninja Creami machine. Run it on the “Lite Ice Cream” setting for the first round.
- After the first cycle, use the “Re-Mix” button for a second round to achieve an even creamier, smoother texture.
- At this point, you can create a small well in the center of the ice cream and add your frozen sugar cookie dough pieces and sprinkles. Use the “Mix-In” option on your Ninja Creami, if available, or manually fold them in. I prefer to gently fold in a few cookie dough balls by hand right before eating to ensure they remain whole and chewy!
- Option 2: The Ice Cream Maker Method
- The night before you plan to make the ice cream, ensure your ice cream maker’s bowl is placed in the freezer to freeze completely solid. This is crucial for proper churning.
- Add all of the ice cream base ingredients into a blender. Blend for 1-2 minutes until completely smooth. Taste and adjust for sweetness or flavorings before proceeding.
- Turn on your ice cream maker. Once the churning mechanism is engaged, pour the smooth ice cream mixture directly into the machine. Follow your specific ice cream maker’s instructions for churning time, typically 20-30 minutes.
- As the ice cream thickens to a soft-serve consistency, toss in your prepared sugar cookie dough bites and sprinkles. Let the machine churn for another minute or two to thoroughly mix them in.
- Enjoy immediately for a soft-serve texture, or transfer to an airtight container and freeze for a firmer scoopable ice cream.
- Option 3: The Blend, Freeze, Blend Method (No Special Equipment)
- Add all of the ice cream base ingredients to a blender. Blend for 1-2 minutes until completely smooth. Taste and adjust sweetness or flavorings as needed.
- Pour the mixture into an ice cube tray, ensuring even distribution. Place the tray in the freezer overnight or for at least 8-12 hours, until the cubes are completely frozen solid.
- When you’re ready to make your ice cream, transfer the frozen cubes into a Vitamix or another high-powered blender, or a food processor.
- Blend for several minutes, stopping frequently to scrape down the sides with a spatula. Continue blending until the mixture transforms into a super thick, creamy, and smooth ice cream consistency. This process requires patience, and it might look crumbly before it becomes creamy.
- If your blender struggles or the mixture won’t fully blend, add a very small splash of your preferred milk (1-2 teaspoons at a time) to help it along. Be cautious not to add too much, as this can turn your ice cream into more of a smoothie consistency.
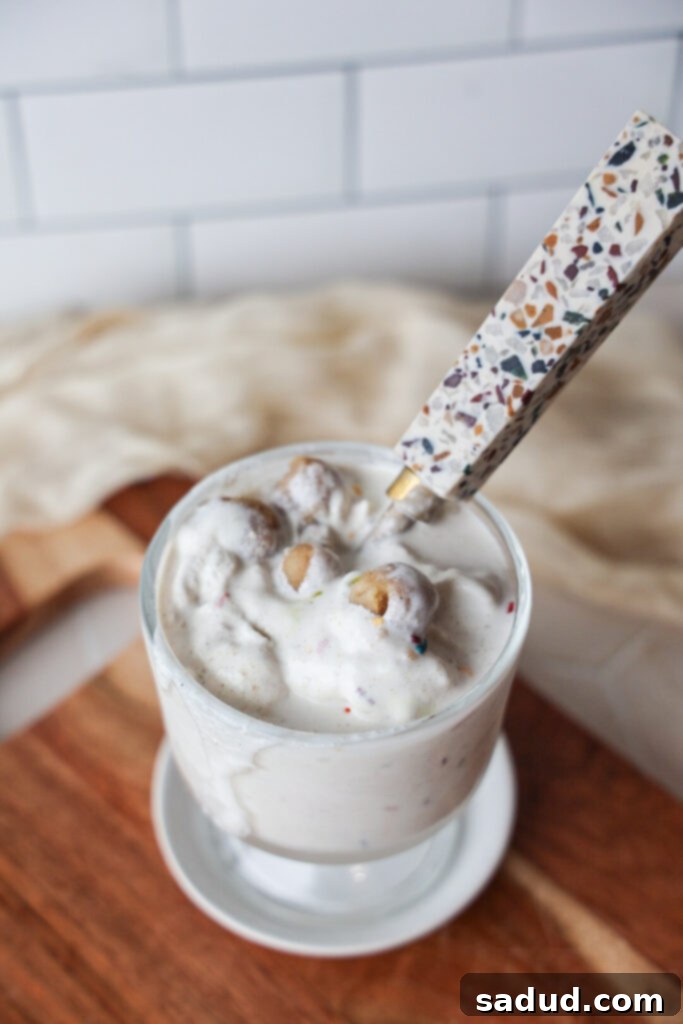
- Once creamy, scoop into a bowl and mix in your frozen sugar cookie dough bites and sprinkles. Enjoy immediately.
Can I Just Use Store-Bought Ice Cream?
Absolutely! If you’re short on time or prefer maximum convenience, you can certainly use your favorite store-bought vanilla (or even sugar cookie flavored) ice cream as the base for this blizzard. This will significantly reduce prep time, allowing you to create the blizzard whenever the craving strikes. However, it’s important to remember that most store-bought ice creams, especially those designed for blizzards, are typically loaded with refined sugars and often contain dairy. While convenient, this homemade version offers a significantly healthier alternative, providing a delicious indulgence without compromising your dietary goals. It’s a trade-off between speed and nutritional benefits, so choose what best fits your needs!
Expert Tips for the Perfect Healthy Blizzard
- Adequate Freezing Time is Key: No matter which method you choose, ensure your ice cream base (or Ninja Creami pint/ice cubes) has frozen completely solid. Insufficient freezing time will result in a liquidy, un-ice-cream-like consistency. Patience is a virtue when it comes to homemade ice cream!
- Taste and Adjust Before Freezing: Always taste your ice cream base mixture before it goes into the freezer. This is your only chance to adjust the sweetness, vanilla, or almond extract levels to your personal preference. Once frozen, it’s much harder to make significant changes.
- The Sooner, The Better: This homemade ice cream is truly best enjoyed immediately after it’s made, especially when it has that fresh, soft-serve consistency. The texture is at its peak right out of the machine or high-powered blender.
- Storing Leftovers: If you have any leftovers (which is a rare occurrence with this recipe!), store them in an airtight container in the freezer. To restore its creamy texture before enjoying, allow it to thaw on the counter for about 10-15 minutes at room temperature. This brief thaw will bring back a delightful, scoopable consistency.
- High-Powered Blender for “Blend, Freeze, Blend”: If you’re using the blend, freeze, blend method, a truly high-powered blender (like a Vitamix) or a robust food processor is crucial. Standard blenders may struggle to achieve the desired creamy texture from frozen cubes, potentially leading to a more icy result.
- Perfect Cookie Dough Consistency: When making the sugar cookie dough bites, aim for a consistency that is firm enough to roll into balls without being sticky, but still soft and pliable. If it’s too dry, add a tiny bit of milk; if too sticky, a touch more almond flour.
Customization & Flavor Variations
This healthy sugar cookie blizzard recipe is incredibly adaptable, allowing you to get creative with flavors and mix-ins beyond the classic sugar cookie. Here are some ideas to inspire your next batch:
- Alternative Cookie Doughs: Instead of sugar cookie dough, try making chocolate chip cookie dough bites (using vegan chocolate chips), or even brownie batter bites.
- Nutty Additions: Fold in chopped pecans, walnuts, or almonds for extra crunch and healthy fats.
- Chocolate Lovers: Add a variety of chocolate chips – dark chocolate, white chocolate, or even dairy-free chocolate chunks. A swirl of homemade or store-bought dairy-free hot fudge can also be divine.
- Fruity Freshness: While not traditional for a sugar cookie blizzard, a handful of fresh berries (strawberries, raspberries) could add a lovely contrast and natural sweetness.
- Different Protein Powder Flavors: Experiment with different protein powder flavors in your ice cream base. Think salted caramel, chocolate, or even a different “cake” flavor for a unique twist.
- Spice It Up: A pinch of cinnamon or nutmeg in the ice cream base can add a warm, cozy dimension, especially if you’re leaning towards a snickerdoodle-inspired flavor.
Frequently Asked Questions (FAQ)
- Can I use a different nut butter? Yes, while cashew butter provides a unique cake-like flavor, almond butter can be used as a 1:1 substitute in both the ice cream and cookie dough. Peanut butter has a stronger flavor, so it would change the profile considerably.
- How long does this healthy ice cream last in the freezer? Stored in an airtight container, the ice cream will last for up to 2-3 weeks in the freezer. However, for the best texture and flavor, it’s recommended to consume it within the first week.
- Is this recipe suitable for other diets? Yes, this recipe is naturally dairy-free, gluten-free, refined sugar-free, and grain-free. It is also paleo-friendly. Always check your specific protein powder and other packaged ingredients to ensure they meet your dietary requirements.
- Can I make this ahead of time for a party? You can prepare the ice cream base and freeze it ahead of time. When ready to serve, follow the instructions for your chosen method (Ninja Creami, ice cream maker, or blend-freeze-blend) to churn/process it fresh, then mix in the cookie dough and sprinkles.
If you give this healthy homemade sugar cookie blizzard recipe a try and fall in love with it, please consider leaving a star rating and review below! It would truly mean the world to me. And don’t forget to tag me in your remakes on Instagram @danishealthyeats – I absolutely adore seeing your delicious creations!

Healthy Sugar Cookie Blizzard Ice Cream
5 from 2 votes
Pin Recipe
10 minutes
10 minutes
Dessert, Snack
American
1 -2
Ingredients
Ice Cream Base
- 1 cup full-fat or thick plant-based milk (canned coconut milk or cashew milk recommended)
- 1/2 cup coconut yogurt or Greek yogurt (vanilla, unsweetened preferred)
- 1 scoop vanilla or complementary protein powder
- 2 tbsp cashew butter
- 2 tbsp maple syrup or honey (or monk fruit for sugar-free)
- 1/2 tsp vanilla extract
- 1/8-1/4 tsp almond extract
- good pinch of sea salt
Sugar Cookie Dough Bites
- 1/4 cup vanilla protein powder (can substitute with more almond flour)
- 2 tbsp almond flour (or tiger nut flour)
- 2 tbsp runny cashew butter (or almond butter)
- 1 1/2 – 2 1/2 tbsp maple syrup or honey
- 1/2 tsp vanilla extract & pinch of sea salt
- 2-3 tsp milk, of choice, if needed
- Sprinkles, to taste
Instructions
For the Sugar Cookie Dough Bites:
-
In a medium bowl, combine all ingredients for the cookie dough bites. Add milk only if necessary, a teaspoon at a time, until the dough is pliable and easily rolls into balls without being overly sticky or dry. Place the rolled dough balls in the freezer to firm up while you prepare the ice cream. These will be folded into the finished ice cream.
Method 1: Ninja Creami
-
Combine all ice cream ingredients in a blender. Blend for 1-2 minutes until completely smooth. Taste and adjust sweetness/flavor as desired. Pour into a Ninja Creami pint, secure the lid, and freeze overnight (8-12 hours) until solid.
-
When ready, let the pint sit at room temperature for 5 minutes. Place it in the Ninja Creami and run on the “Lite Ice Cream” setting. Use the “Re-Mix” button for a second round. Create a well, add cookie dough pieces and sprinkles, then use the “Mix-In” option or fold them in gently. Enjoy immediately!
Method 2: Ice Cream Maker
-
Freeze your ice cream maker bowl overnight. Blend all ice cream ingredients until completely smooth. Taste and adjust flavor as needed.
-
Turn on your ice cream maker and pour the mixture into the churning bowl. Churn according to your machine’s instructions until thickened (usually 20-30 minutes). Once it reaches a soft-serve consistency, add the sugar cookie dough bites and sprinkles, and churn for another minute to incorporate. Enjoy!
-
Store any leftovers in an airtight container in the freezer. Thaw for 10 minutes before re-serving.
Method 3: Blend, Freeze, Blend (No Special Equipment)
-
Blend all ice cream ingredients until completely smooth. Taste and adjust sweetness/flavor. Pour the mixture into an ice cube tray and freeze overnight or until solid.
-
When ready, transfer the frozen cubes to a high-powered blender (like a Vitamix) or food processor. Blend for several minutes, stopping to scrape down sides, until very thick and creamy. If struggling, add a tiny splash of milk.
-
Once creamy, transfer to a bowl and mix in your frozen cookie dough bites and sprinkles. Enjoy immediately. Store leftovers in an ice cream pint in the freezer and allow to thaw 10 minutes before re-serving.
Video
Notes
copycat dairy queen blizzard, dairy free ice cream, healthy dairy queen blizzard, healthy ice cream, ninja creami recipe, ninja creamii, paleo ice cream, protein ice cream, sugar cookie blizzard, vegan dairy queen blizzard, vegan ice cream
