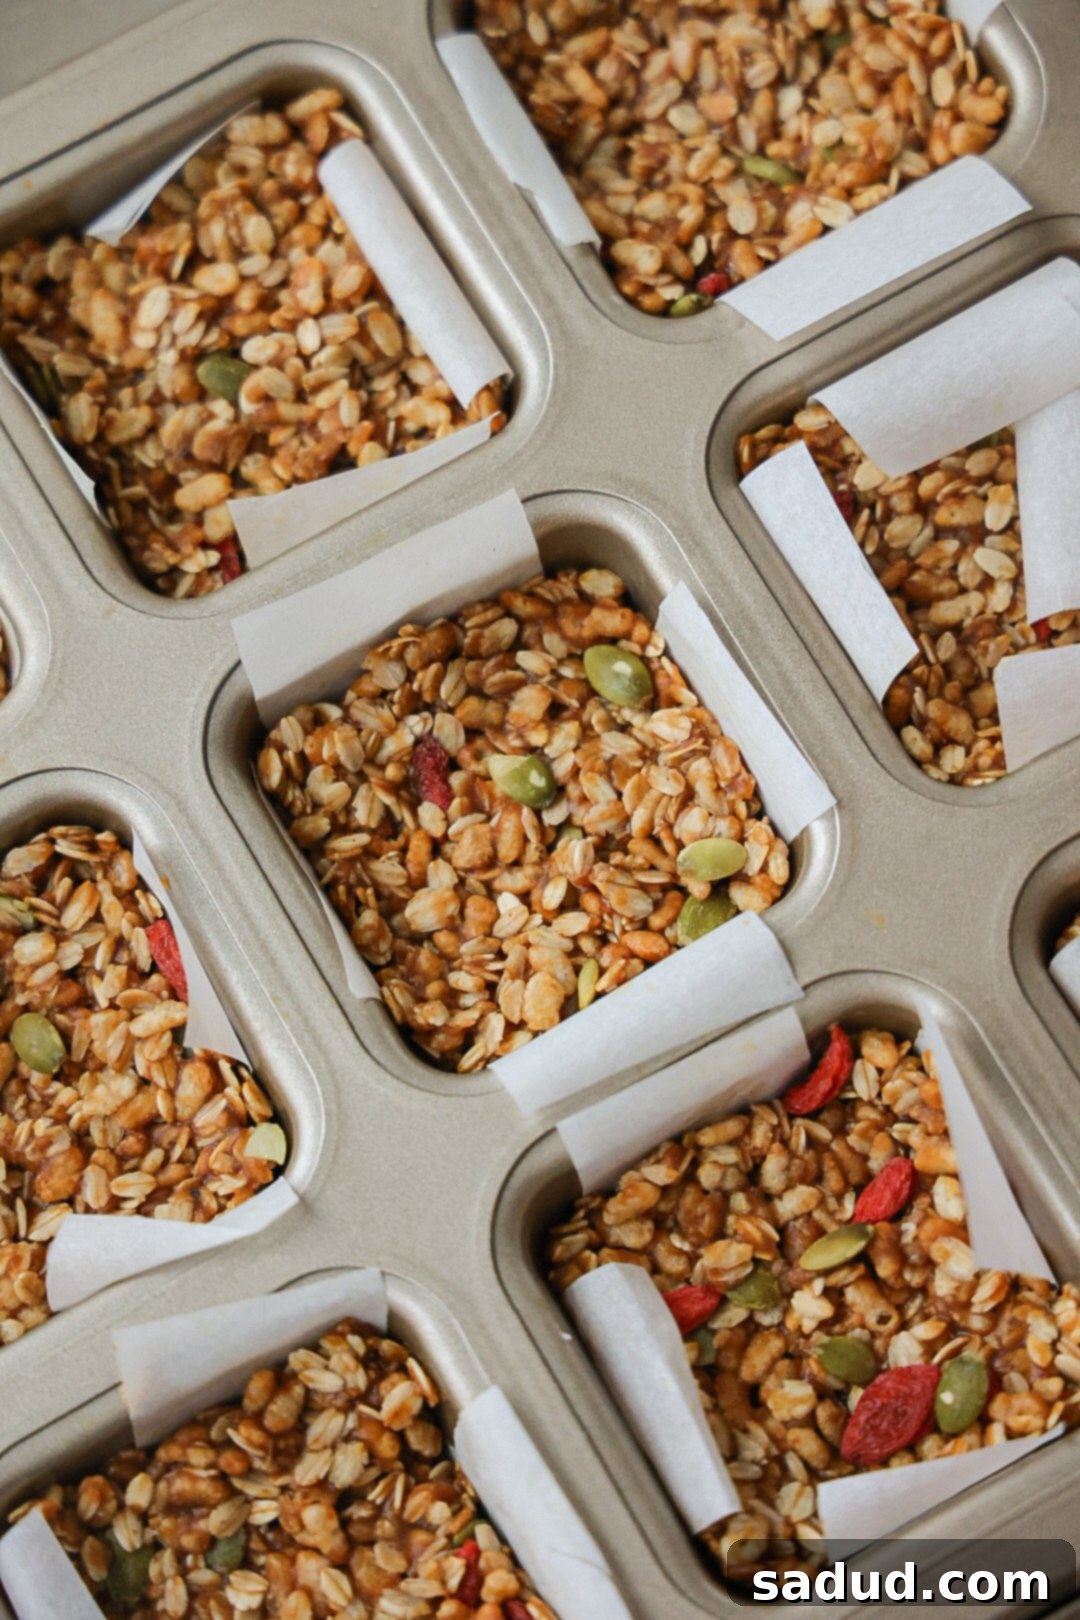
Wholesome & Delicious: The Ultimate Guide to Healthy Chewy Granola Bars (Nut-Free & No-Bake!)
Imagine a snack that’s not only incredibly delicious but also genuinely good for you. These healthy chewy granola bars are precisely that! Forget store-bought options loaded with refined sugars and unknown ingredients; this homemade version tastes even better than your favorite classic Quaker Chewy Bars, and it’s packed with wholesome goodness. Crafted with simple, real ingredients, these bars are a fantastic choice for anyone seeking a nutritious, fuss-free snack. Best of all, they come together in just one pot, requiring minimal effort and no baking – perfect for busy schedules!
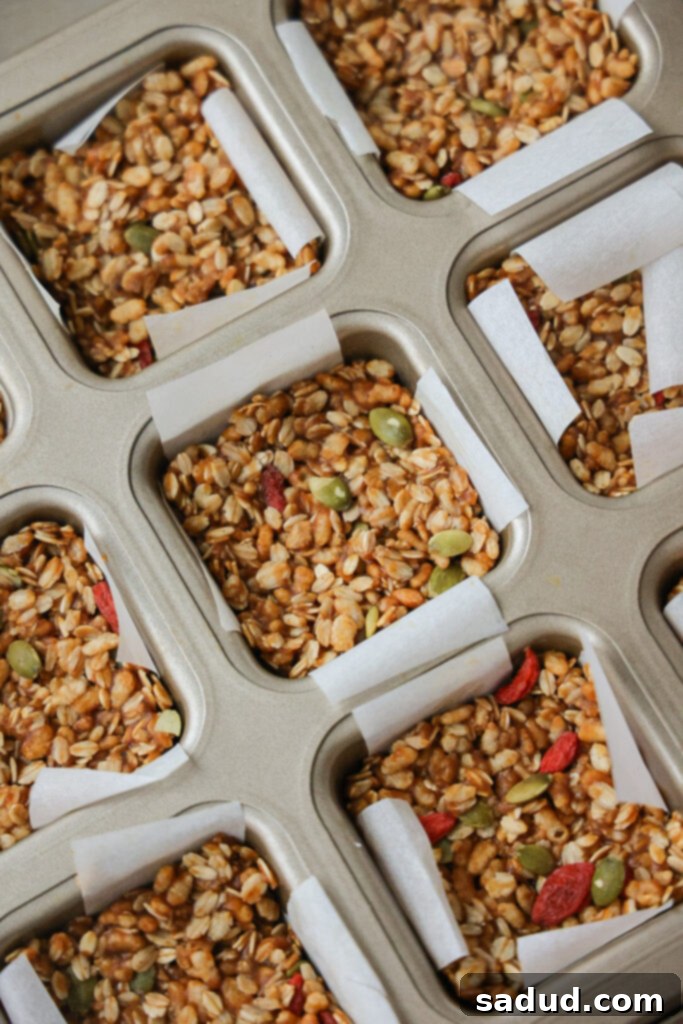
Why You’ll Fall in Love with These Healthy Chewy Granola Bars
There are countless reasons why these homemade granola bars will become a staple in your kitchen. They tick all the boxes for a convenient, healthy, and incredibly tasty snack:
- They’re **incredibly versatile**! The base recipe is fantastic, but it truly shines with your personal touch. You can easily customize these bars with any mix-ins your heart desires, making them perfect for varying tastes or whatever ingredients you have on hand.
- A fantastic **nut-free option**! For those with nut allergies or who need to pack nut-free snacks for school or work, this recipe is a lifesaver. Using sunflower seed butter ensures everyone can enjoy these delicious treats safely.
- They are **no-bake**, meaning no oven is required! This makes them ideal for hot summer days, quick prep, or when you simply don’t want to turn on your oven. Just mix, press, and chill!
- These chewy granola bars are **made without refined sugar**, relying instead on natural sweeteners like maple syrup and coconut sugar (or monk fruit for a lower sugar option). This keeps them wholesome and helps avoid that sugar crash.
- Made in **just one pot in about 10 minutes** of active prep time. Clean-up is a breeze, and the process is so straightforward, even beginner cooks will find it simple.
- They make a **wholesome and satisfying snack** that provides sustained energy. Packed with oats and healthy fats, these bars keep you feeling full and fueled throughout the day.
- Naturally **refined sugar-free & vegan**, making them suitable for a wide range of dietary preferences and restrictions without sacrificing flavor.
Essential Ingredients to Craft Your Chewy Granola Bars
Creating these delightful granola bars requires only a handful of simple, wholesome ingredients. Focusing on quality will make all the difference in both flavor and nutritional value.
- Organic Oats: The foundation of any great granola bar! For those following a gluten-free diet, it’s crucial to use certified gluten-free oats to avoid cross-contamination. I personally love the brand One Degree Organics because they are not only certified gluten-free but also rigorously test for glyphosate (a common herbicide) and are sprouted, which can make them easier on digestion. You can use quick oats for a softer texture or old-fashioned rolled oats for a chewier bite.
- Brown Rice Cereal: This adds a lovely crunch and lightness to the bars, contrasting beautifully with the chewy oats. Look for simple, unsweetened brown rice cereal to keep the refined sugar content low. One Degree Organics also makes a great brown rice crisp cereal.
- Maple Syrup: A natural liquid sweetener that provides moisture and a rich, complex flavor. Always opt for pure maple syrup, not imitation syrup, for the best taste and health benefits.
- Monk Fruit or Coconut Sugar: These serve as natural granular sweeteners.
- Monk Fruit: An excellent zero-calorie, zero-glycemic sweetener, perfect if you’re aiming for a very low-sugar bar.
- Coconut Sugar: Offers a delicious caramel-like flavor profile and is a less processed alternative to white sugar, with a slightly lower glycemic index.
- Combination: For the best of both worlds, you can use half monk fruit and half coconut sugar. This allows you to achieve that delightful caramel note from coconut sugar while still keeping the overall sugar content lower.
- Coconut Oil: Acts as a binder and provides healthy medium-chain triglycerides (MCTs). Choose virgin coconut oil for a subtle coconut flavor, or refined coconut oil if you prefer no coconut taste.
- Nut or Seed Butter: This is key for the chewy texture and acts as a binder. For a **nut-free option**, sunflower seed butter (like SunButter) is perfect. If nuts are not an issue, almond butter or cashew butter also work wonderfully. The most important tip here is to ensure your chosen butter has a runny, pourable consistency. Thick, stiff nut butters won’t mix into the base as smoothly and may result in a drier bar.
- Vanilla Extract & Sea Salt: These are flavor enhancers that bring all the ingredients together, adding depth and balance to the sweetness.
- Hemp Seeds (Optional): A fantastic addition for an extra boost of plant-based protein and omega-3 fatty acids. They blend seamlessly into the bars without altering the texture significantly.
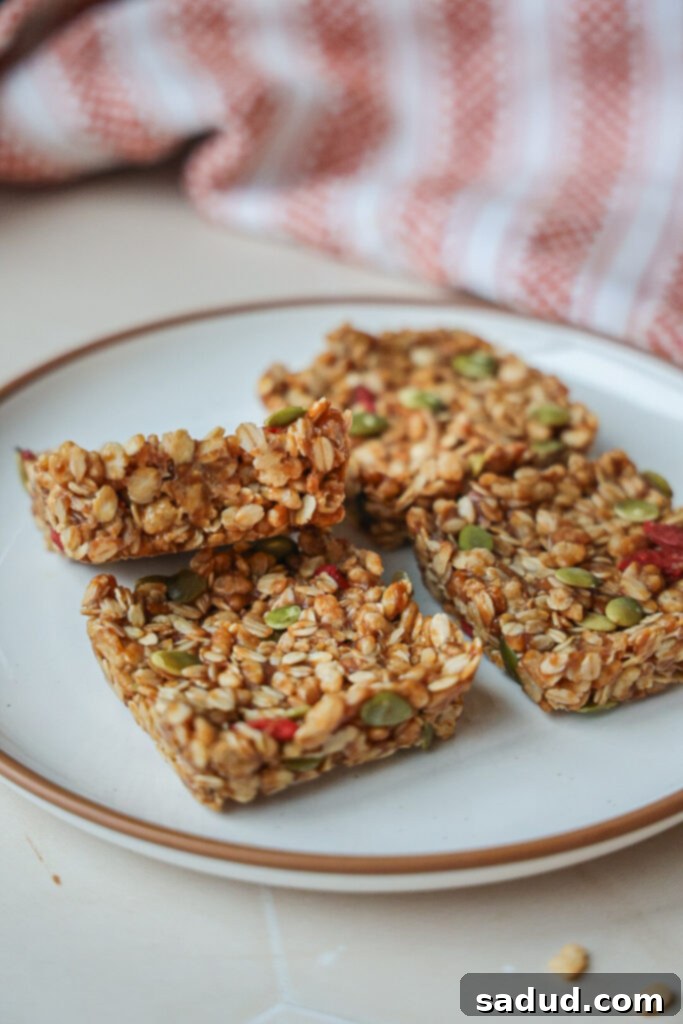
Step-by-Step: How to Make Chewy Granola Bars
Making these healthy chewy granola bars is incredibly simple, requiring just a few steps and one pot. Follow these instructions for perfect results every time:
- Prepare the Wet Ingredients: In a medium-sized pot, combine the coconut oil, maple syrup, coconut sugar (or monk fruit), vanilla extract, and a pinch of sea salt. Place the pot over low-medium heat. Gently bring the mixture to a bubble, stirring very frequently to ensure everything melts and combines smoothly. Once it starts bubbling, continue to cook for 2-3 minutes, stirring non-stop. This step is crucial as it allows the sweeteners to slightly thicken, creating the perfect sticky binder for your bars.
- Incorporate the Nut/Seed Butter: Remove the pot from the heat. Stir in your chosen nut or seed butter until the mixture is completely smooth and creamy. The residual heat from the pot will help the butter melt and incorporate seamlessly.
- Add Dry Ingredients & Mix-ins: Fold in the organic oats and brown rice cereal until they are thoroughly coated with the wet mixture. At this stage, you can also gently fold in any desired mix-ins (see ideas below for inspiration!). Ensure everything is evenly distributed.
- Press into a Mold or Pan: Prepare your chosen mold or pan (see Equipment section below for options). It’s essential to grease your mold very well or line it with parchment paper (or use cupcake liners for muffin tins) to prevent sticking, especially if your pan isn’t silicone. Divide the mixture evenly amongst your prepared mold or pan.
- Firm It Up: This is where patience pays off! Press the mixture down as firmly as you possibly can. The tighter you pack it, the less crumbly your bars will be. A flat-bottomed glass or a piece of parchment paper can help you achieve a super-compact layer. Once pressed, place the pan in the fridge or freezer to firm up completely. Refrigerating for at least 2-3 hours is recommended for the best texture and easy cutting.
Essential Equipment for Granola Bar Success
The right equipment can make the process even smoother. Here are a few versatile options for shaping your granola bars:
- Square Mold/Pan: I personally love using a silicone square pan (like the one often pictured for brownie bites) as it turns out perfectly shaped, uniformly sized bars. The silicone material also makes removal incredibly easy. If using a non-silicone square pan, make sure to grease it very well or line it with parchment paper with an overhang for easy lifting.
- Muffin Tin: If you prefer individual, round granola bites, a muffin tin is a great alternative. Simply press the mixture into each cavity. Again, grease well or use paper cupcake liners for effortless removal.
- 8×8 Baking Pan: This is a classic choice for making a larger batch that you can then cut into squares. Press the mixture firmly into an 8×8 inch baking pan lined with parchment paper (with sides extending over the edges to act as “handles”). Let them set up in the fridge for a few hours before lifting the entire block out and cutting it into your desired bar or square shapes.
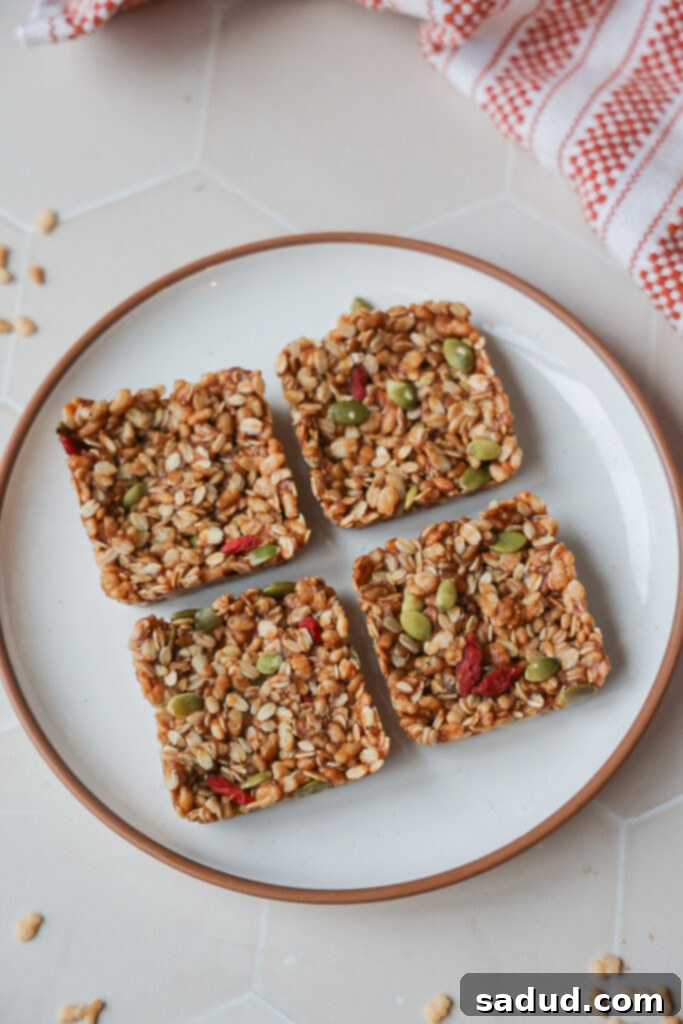
Creative Mix-in Ideas for Your Granola Bars
While the base recipe is fantastic on its own, adding mix-ins allows for endless customization and flavor exploration. Here are some ideas to inspire you:
- Seeds for Crunch & Nutrition: Pumpkin seeds, chia seeds, flax seeds (ground for better absorption), or sesame seeds. These add healthy fats, fiber, and an extra layer of texture.
- Dried Fruits for Sweetness & Chew: Goji berries, unsweetened dried cranberries, chopped apricots, raisins, or chopped dates. Be sure to use unsweetened varieties to keep the sugar content in check.
- Chocolate for Indulgence: Dark chocolate chips, mini chocolate chips, or cacao nibs for a more intense, less sweet chocolate flavor. If adding chocolate chips, let the mixture cool for a few minutes before stirring them in to prevent them from melting completely (unless you prefer a “melted chocolate swirl” effect, which is also delicious!).
- Other Add-ins: Shredded coconut (toasted for extra flavor!), a pinch of cinnamon or nutmeg for warmth, or a tiny bit of orange zest for brightness.
Storing Your Homemade Healthy Chewy Granola Bars
Proper storage is key to keeping your granola bars fresh and perfectly chewy. Because they are no-bake and rely on the binders to stay firm, refrigeration is essential.
Store leftover bars in an air-tight container in the fridge. This will maintain their optimal chewy texture and prevent them from becoming too soft or crumbly. They will typically last for up to a week in the refrigerator. For longer storage, you can freeze them in a freezer-safe container or bag for up to 2-3 months. Thaw them in the fridge or at room temperature for a quick, grab-and-go snack.
Frequently Asked Questions (FAQs)
Here are answers to some common questions about making and enjoying these healthy chewy granola bars:
- Can I use a different sweetener? Yes, you can experiment with other liquid sweeteners like agave nectar or honey (if not strictly vegan). For granular sweeteners, ensure they have a similar sweetness and texture to coconut sugar or monk fruit.
- My bars are too crumbly, what went wrong? This usually means the wet ingredients weren’t cooked long enough to thicken, or the mixture wasn’t pressed firmly enough into the pan. Make sure to cook the syrup mixture for the full 2-3 minutes until it slightly thickens, and then press the mixture down as firmly as possible before chilling.
- Can I bake these bars? This recipe is specifically designed to be no-bake. Baking might dry them out or change the texture significantly. Stick to the chilling method for the best results!
- Are these good for meal prep? Absolutely! Make a batch at the beginning of the week, and you’ll have wholesome, ready-to-eat snacks for days.
- What if I don’t have brown rice cereal? You can use other unsweetened puffed cereals, or even just increase the amount of oats slightly, though the texture will be denser.
More Healthy Recipes You’ll Love!
If you enjoyed these easy and healthy granola bars, be sure to explore more delicious and wholesome recipes from Dani’s Healthy Eats:
- Pumpkin Magic Shell Yogurt Cups
- Eggless Chocolate Mousse
- Lemon Blueberry Chia Pudding with Yogurt
- No-Bake Snickers Protein Brownies
- Cinnamon Roll Energy Bites
- Healthy Samoa Caramel Apple Slices
- No-Bake Peanut Butter Oatmeal Balls
You’ve come this far, so we’re basically BFFs at this point! 😉 Be sure to tag me on Instagram @danishealthyeats if you make these! x
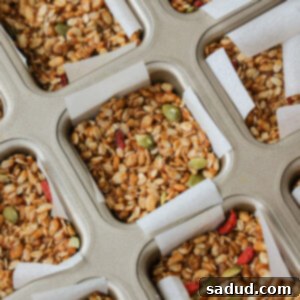
Healthy Chewy Granola Bars Without Nuts
Pin Recipe
10 minutes
8 minutes
Breakfast, Dessert, Snack
American
9
bars/squares
Ingredients
Chewy bars
- 4 tbsp coconut oil
- 3 tbsp coconut sugar
- 3 tbsp maple syrup
- 3 tbsp Sunflower butter (You can sub almond or cashew butter) *make sure its a runny consistency. Thick nut butter won’t work well.
- 1 tsp vanilla extract
- 3 tbsp hemp seeds *optional – adds protein!
- 1 cup Organic gluten-free oats *I like quick oats but old fashioned works too
- 1 cup brown rice cereal *I like the brand One Degree Organics
- pinch sea salt
Mix-in Ideas
- pumpkin seeds
- goji berries
- unsweetened dried fruit (i used cranberries)
- chocolate chips *See notes below on how to add these!
- Walnuts
- Chopped brazil nuts
- Shredded coconut
- Cacao nibs
Instructions
-
In a medium pan, add the coconut oil, coconut sugar, maple syrup, vanilla and sea salt. Over low-medium heat, bring the mixture to a bubble, stirring very frequently. Once bubbling, cook 2-3 minutes, stirring non-stop, until it thickens up a little.
-
Remove from heat. Stir in the nut butter until the mixture becomes really creamy.
-
Fold in the oats and cereal until well combined. Then fold in any mix-ins you’re using.
-
Divide the mixture amongst your mold or pan. Be sure to grease whatever you’re using very well or use parchment paper (or cupcake liners) if your pan isn’t silicone as they may be difficult to remove. See post above for mold/pan options!
-
Press the mixture down as firmly as you can. Then place the bars in the fridge. These should be kept refrigerated for the best texture.
Notes
*Store leftover bars in an air-tight container in the fridge.
chewy bars, gluten free granola bars, granola bars, healthy snacks, no bake recipes, vegan granola bars, vegan snacks
