Healthy Banana Nut Scones: Your New Go-To Gluten-Free, Dairy-Free Treat with Maple Glaze
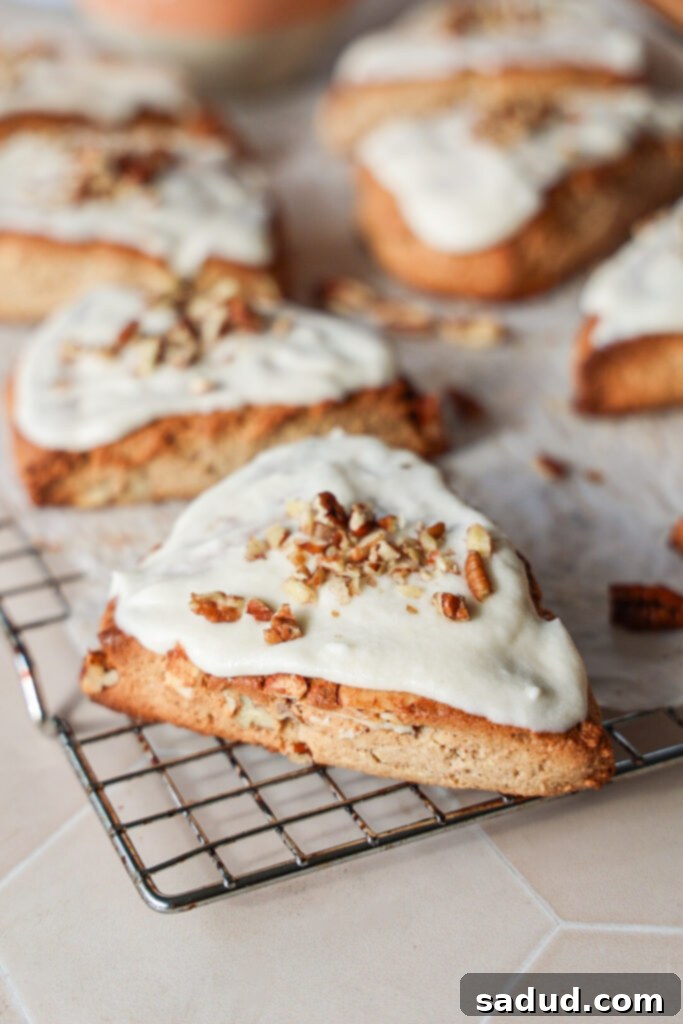
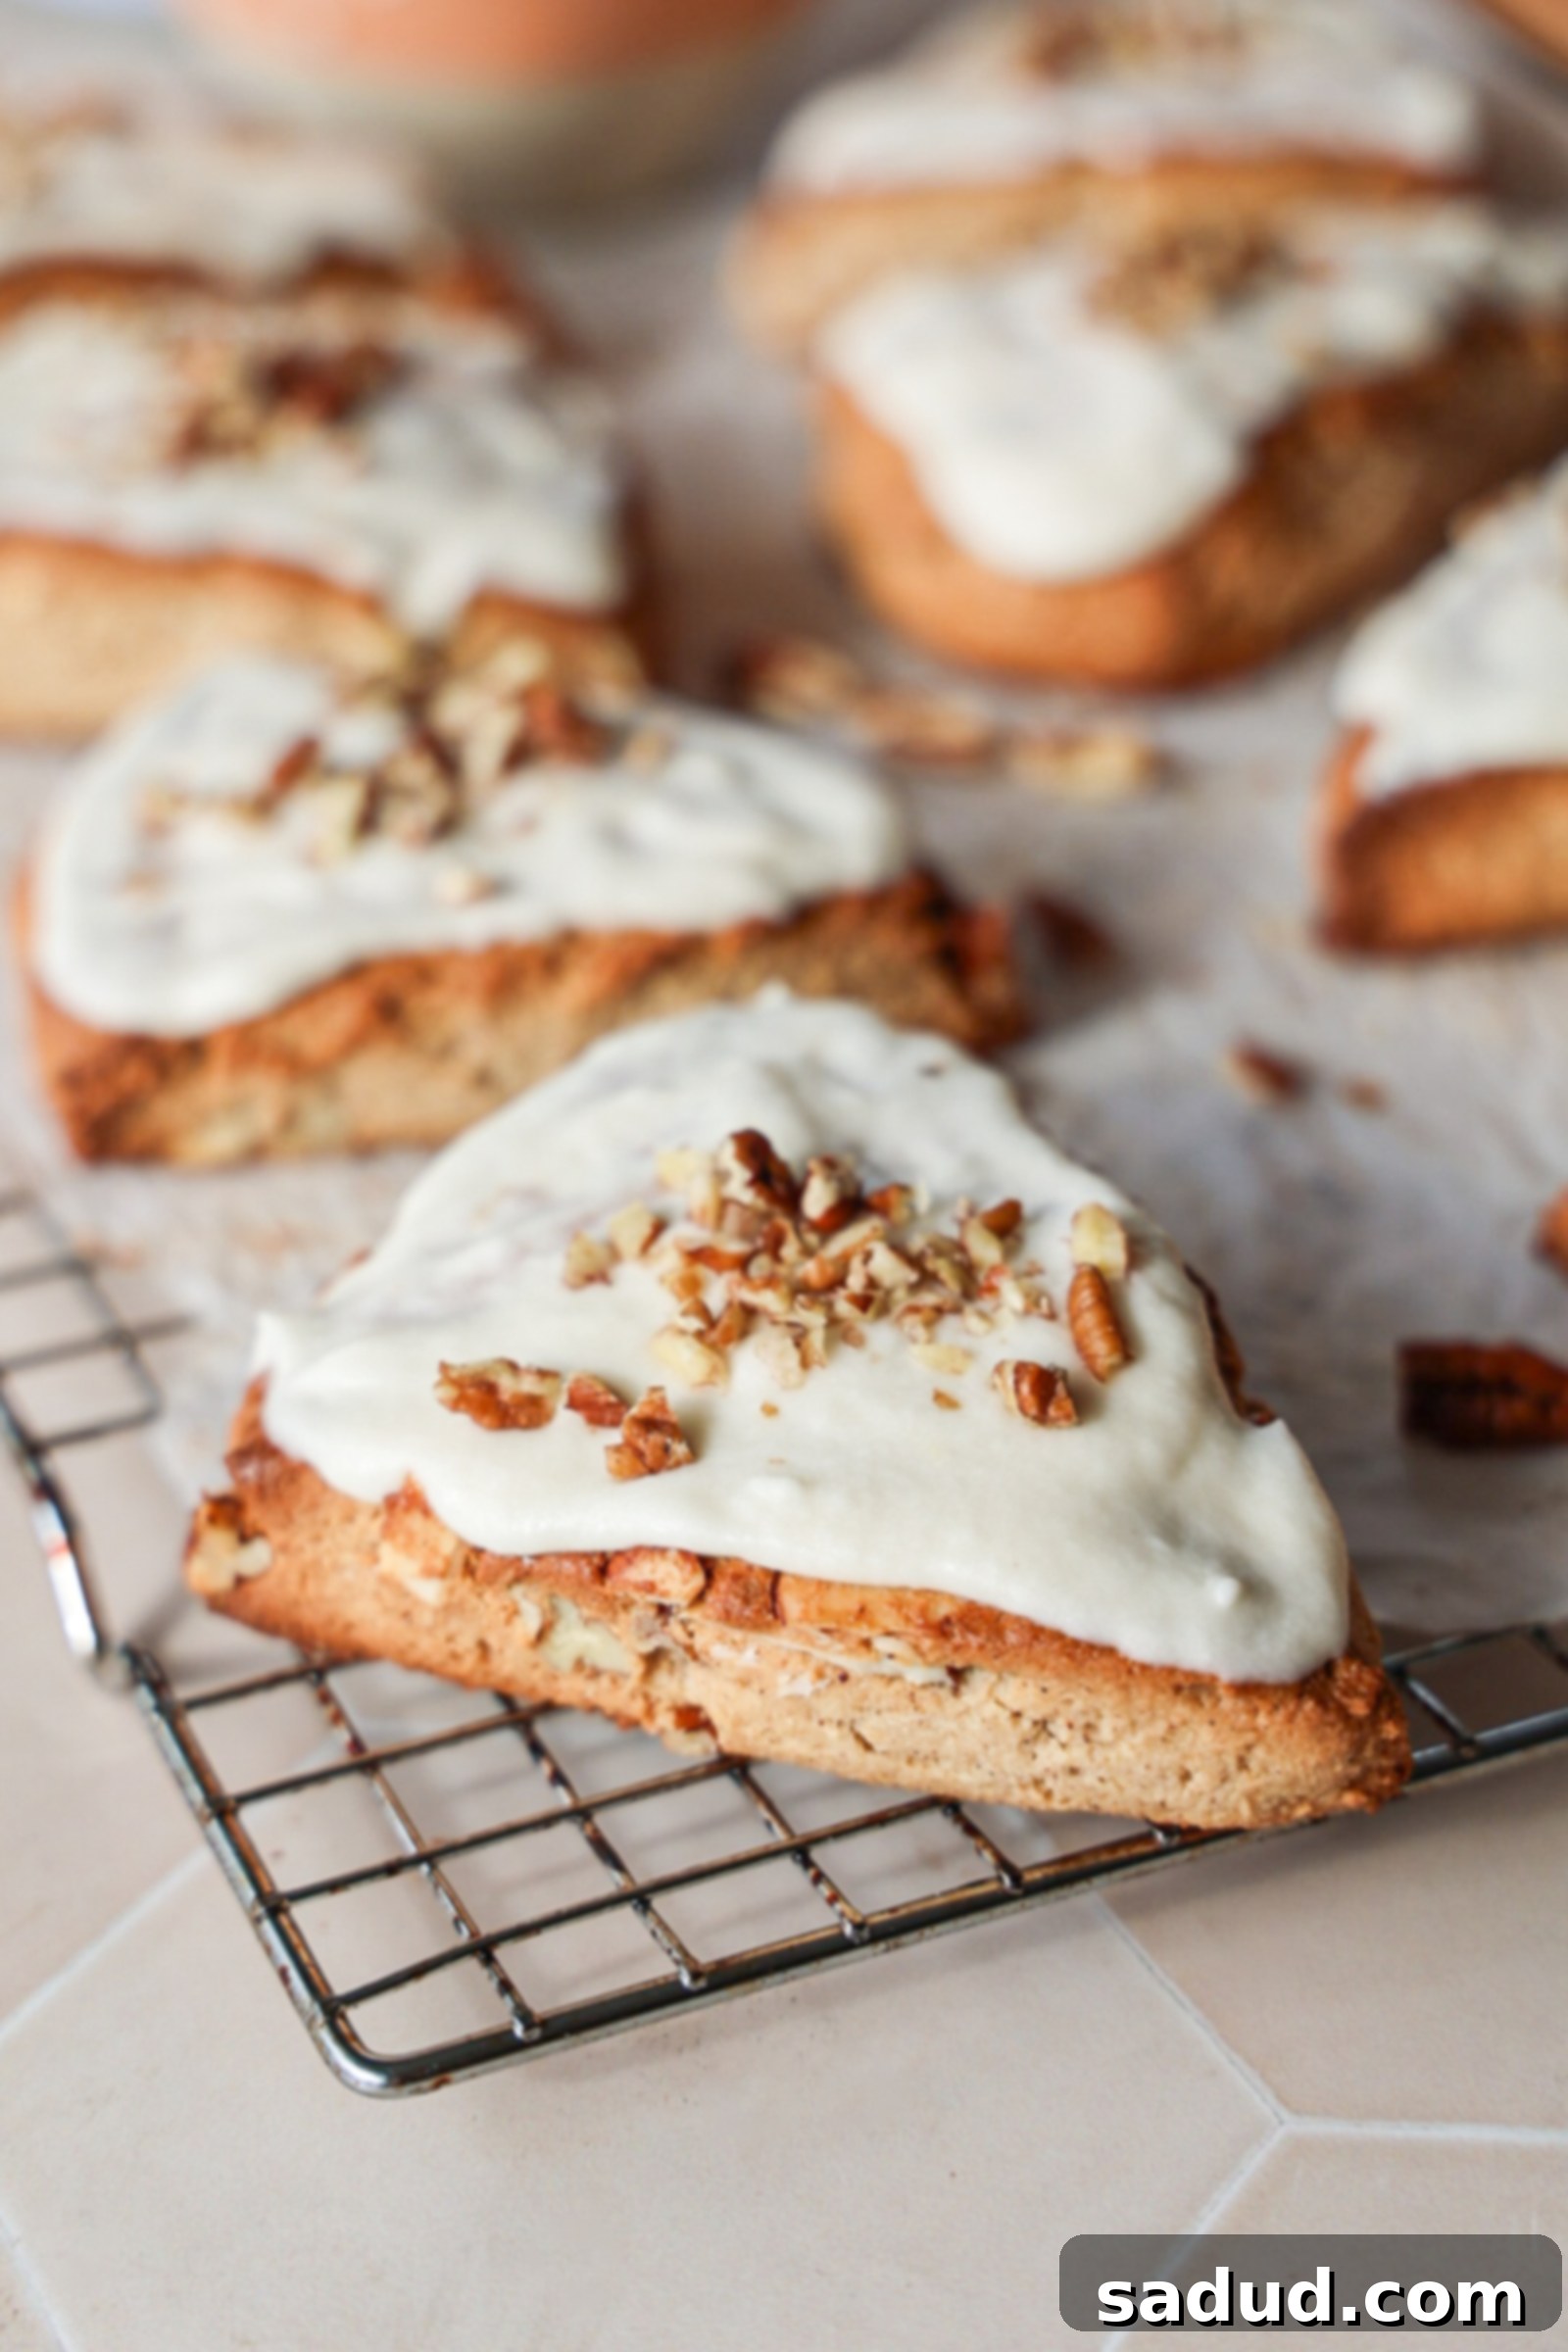
Forget everything you thought you knew about scones. For many, the word “scone” conjures images of dry, crumbly pastries that are, frankly, a bit uninspiring. But prepare to have your preconceptions shattered! Our recipe for healthy banana nut scones with maple glaze delivers a treat that is anything but boring. These scones are exquisitely tender, wonderfully moist, and boast a perfect balance of flavors, making them an ideal companion for your morning coffee or a relaxing afternoon tea.
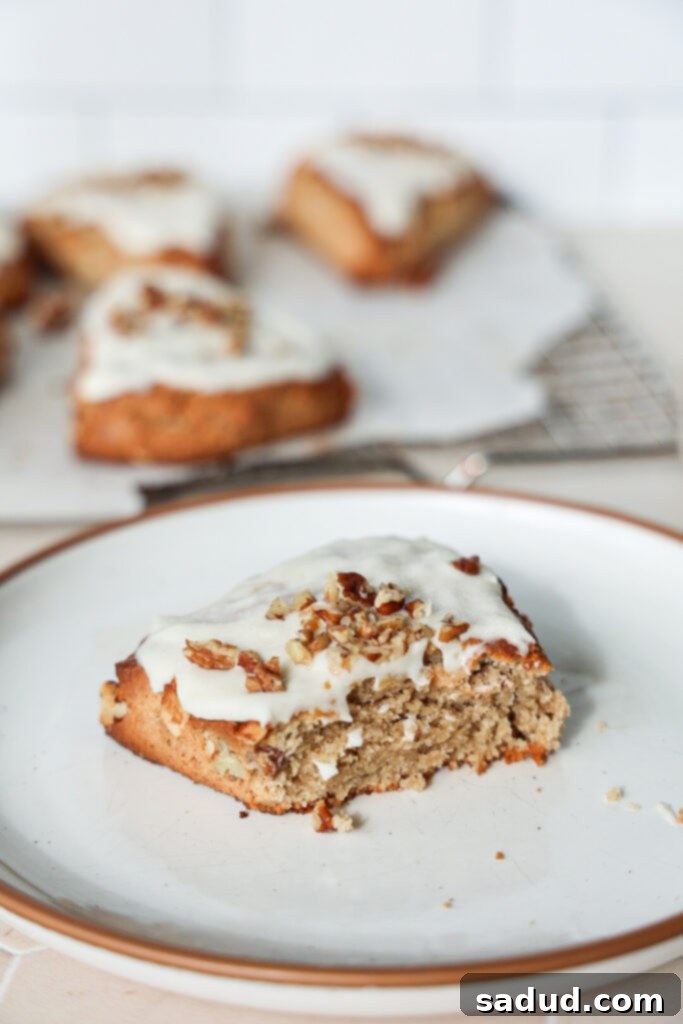
What makes these scones truly stand out? Not only are they packed with a comforting, familiar taste, but they’re also designed with health in mind. This recipe is completely gluten-free, dairy-free, and refined sugar-free. Plus, they are paleo-friendly and can even be adapted to be completely nut-free, ensuring almost everyone can enjoy a bite of pure bliss. With a delightfully firm exterior that gives way to a soft, flavorful center, these scones are a revelation!

Why You’ll Fall in Love with This Scone Recipe
There are countless reasons why these banana nut scones will quickly become a favorite in your kitchen:
- Effortless Preparation: Say goodbye to complex baking methods! These scones are mixed in a food processor, significantly reducing prep time and making cleanup a breeze. Just a few pulses and your dough is ready.
- Perfect Texture Every Time: Unlike traditional scones that can often be dry, these are specifically formulated to be tender and soft on the inside, yet firm enough on the outside for that satisfying scone experience. They hold their shape beautifully and are ideal for dipping into your favorite hot beverage.
- Health-Conscious Indulgence: Enjoy a delicious treat without compromise. This recipe is naturally gluten-free, dairy-free, and free from refined sugars, aligning with paleo dietary preferences. It’s a wholesome way to satisfy your sweet cravings.
- Bursting with Flavor: Infused with the rich sweetness of ripe bananas, warm cinnamon, crunchy pecans, and a luscious maple glaze, these scones are incredibly flavorful. They evoke the cozy feelings of autumn but are truly enjoyable any time of year.
- Consistently Beautiful: No more flat or misshapen scones! This dough is designed to stay robust during baking, maintaining its classic triangular shape for a picture-perfect presentation every time.
- Clever Banana Solution: Have a few overly ripe bananas on your counter but tired of banana bread? These scones offer a delightful and exciting alternative to utilize those sweet, spotty bananas, transforming them into a gourmet-style treat.
Scones vs. Biscuits: Understanding the Difference
It’s a common culinary question: are scones and biscuits the same? While they share a similar ingredient base and often grace breakfast tables, they are distinct pastries with unique characteristics.
Historically, scones originated in Scotland and are a staple of British tea time. American biscuits, on the other hand, are a Southern comfort food often served with savory gravies.
The primary difference lies in their texture. Scones are typically more dense, richer, and have a somewhat crumbly texture, often enriched with eggs and sometimes cream, contributing to their tenderness. They are usually lightly sweetened and served with jam and clotted cream (in the British tradition) or a sweet glaze (as in this recipe). Biscuits, by contrast, are known for being lighter, fluffier, and layered with a flaky texture, achieved by folding butter into the dough to create distinct layers that separate when baked. They tend to be less sweet and are more commonly paired with savory dishes.
Both pastries can be enjoyed in sweet or savory forms, but your choice often comes down to your preferred texture and how you plan to serve them. For me, the dense, satisfying, and slightly crumbly texture of a scone makes it the perfect vehicle for dipping into hot tea or coffee, absorbing all the deliciousness without falling apart.
Banana Nut Scones Recipe Video
Visual learners, rejoice! See exactly how these healthy banana nut scones come to life by watching our step-by-step video tutorial. It covers everything from preparing the dough to glazing the finished scones, ensuring you achieve perfect results on your first attempt.
How to Make Healthy Banana Nut Scones: A Simple Guide
Creating these healthier banana nut scones is surprisingly straightforward, especially with the help of a food processor. The key is to gather your ingredients and follow a few simple steps for a truly delightful outcome.
Essential Equipment for Scone Making
- Food Processor: This is your secret weapon for quick and easy dough mixing. It brings the ingredients together perfectly without overworking the dough, which is crucial for tender scones.
- Baking Sheet: A standard baking sheet will do the trick to bake your scones evenly.
- Parchment Paper: Essential for preventing sticking and making cleanup even easier.
Key Ingredients for Flavorful Gluten-Free Scones
Baking gluten-free and paleo can sometimes be tricky, often requiring a blend of flours to achieve the desired texture that wheat flour naturally provides. This recipe uses a thoughtful combination of flours to ensure your scones are tender, moist, and structurally sound. We’ve specifically chosen flours that mimic traditional baking results without the gluten.
- Almond Flour: This fine, protein-rich flour forms the bulk of our scone dough, providing a tender crumb and a subtle nutty flavor. I find it most economical to purchase high-quality almond flour on Amazon. For a completely nut-free alternative, you can successfully substitute Tiger Nut Flour, which has a similar texture and mild, slightly sweet flavor.
- Tapioca Flour: Also known as tapioca starch, this ingredient is vital for giving the scones a light chewiness and helping them bind together. It’s an excellent gluten-free thickener and adds a pleasant texture.
- Coconut Flour: A highly absorbent flour that contributes a delicate sweetness and helps create a soft, moist interior. Only a small amount is needed due to its high absorbency.
- Ripe Banana: The star of the show! The riper your bananas are (think brown spots galore!), the sweeter and more flavorful your scones will be. Mashed ripe banana provides natural sweetness and moisture, reducing the need for excess added sugar.
- Coconut Sugar: This unrefined sugar offers a wonderful caramel-like, brown sugar flavor to the scones. It provides a healthier, lower-glycemic alternative to white sugar.
- Egg: One egg acts as a crucial binder in this recipe, adding richness and helping with the scone’s structure. While I haven’t personally tested flax eggs or other egg replacers, it might be possible with careful adjustments.
- Fat of Choice: You have flexibility here!
- Organic Grass-Fed Butter: For those who can tolerate dairy, grass-fed butter adds a rich flavor and can result in slightly fluffier scones.
- Vegan Dairy-Free Butter: A fantastic option for a fully dairy-free recipe. Brands like Monty’s work wonderfully.
- Refined Coconut Oil: If using coconut oil, it’s crucial to use *refined* coconut oil. Unrefined (virgin) coconut oil has a strong coconut flavor that can overpower the banana and maple notes. Refined coconut oil is neutral in taste.
- Maple Syrup: A tablespoon of pure maple syrup not only adds a lovely depth of maple flavor to the dough itself but also complements the banana beautifully.
- Baking Staples: Don’t forget the essentials! Vanilla extract enhances all the sweet flavors, baking powder provides lift, cinnamon adds warmth, and a pinch of sea salt balances the sweetness.
- Pecans or Walnuts: These chopped nuts add a delightful crunch and classic “banana nut” flavor. You can omit them for a nut-free version or substitute with seeds like pumpkin seeds for texture.
- Milk of Choice for Brushing: A thin brush of milk helps achieve that beautiful golden-brown crust. Full-fat canned coconut milk works wonders for dairy-free, but any milk you prefer will do.

Step-by-Step Guide to Baking Banana Nut Scones
Follow these simple instructions to create your perfect batch of healthy banana nut scones:
- Prepare the Dough: In your food processor, combine all the scone ingredients (almond flour, tapioca flour, coconut flour, baking powder, coconut sugar, maple syrup, mashed banana, softened butter/coconut oil, egg, cinnamon, vanilla extract, and sea salt). Pulse for about 1-2 minutes until the mixture comes together to form a cohesive dough. Gently fold in your chopped pecans or walnuts by hand or with a few quick pulses to avoid over-processing.
- Chill the Dough: This step is crucial for managing the dough’s consistency and preventing spreading during baking. You can simply place the entire food processor bowl (covered) into the fridge, or transfer the dough to a separate bowl, cover it tightly, and refrigerate for 30-40 minutes. Chilling allows the fats to firm up and the flours to fully hydrate.
- Shape and Cut: While the dough is chilling, preheat your oven to 350°F (175°C). Once the dough is firm, remove it from the fridge and place it onto a piece of parchment paper. Using your hands, gently form the dough into a round disc, approximately 1 1/2 inches thick. Then, with a sharp knife, cut the disc into 8 even triangles, much like slicing a pizza.
- Brush and Bake: Carefully transfer the scone triangles to a baking sheet lined with parchment paper, spacing them out evenly. Using a pastry brush, apply a *thin* layer of your chosen milk over the tops of each scone. This helps achieve a lovely golden-brown crust. Bake for 20-22 minutes, or until the edges are golden and the tops are lightly browned.
- Cool Completely: Remove the baked scones from the oven and transfer them to a wire rack to cool completely. They will continue to firm up as they cool. Resisting the urge to glaze them while hot is important, as the glaze will simply melt off.
- Prepare and Apply Glaze: Once the scones are fully cooled, whisk together the powdered monk fruit sweetener (or regular powdered sugar), milk of choice (adding a tablespoon at a time), vanilla extract, and a pinch of sea salt until you achieve a smooth, pourable glaze consistency. Drizzle or spread the glaze over each scone. For an extra touch, sprinkle with additional chopped pecans if desired. Serve and enjoy!
Expert Baking Tips for the Best Scones
Achieving bakery-quality scones at home is easier than you think with these expert tips:
- Don’t Drench with Milk: When brushing the tops with milk, use a light hand. A thin, even layer is all you need. Over-brushing can cause the milk to pool at the bottom, leading to a burnt crust and uneven baking.
- Prevent Burnt Bottoms: This is a game-changer! Place your baking sheet with the scones on the middle rack of your oven. Then, place an empty baking sheet on the bottom rack, directly below the scones. This second sheet acts as a barrier, diffusing the direct heat from the bottom element and preventing your scones from getting scorched on the bottom while the tops bake perfectly golden.
- Chilling is Key: Don’t skip the chilling step! It helps solidify the fats in the dough, preventing the scones from spreading too much and ensuring they maintain their shape. It also allows the flours to absorb moisture, contributing to a more tender scone.
- Use a Sharp Knife: When cutting the dough into triangles, a sharp knife will give you clean cuts, which also helps the scones maintain their form during baking.
- Don’t Overmix: With a food processor, it’s easy to overmix. Pulse just until the dough comes together. Overmixing develops gluten (even in gluten-free flours like almond flour can be affected by too much processing) and can lead to tough scones.
How to Store Banana Nut Scones
These delicious banana nut scones are best enjoyed fresh, but they also store well for a few days. Store any leftover scones in an airtight container at room temperature for up to 3-4 days. If you want to extend their freshness, you can refrigerate them for up to a week. For longer storage, you can freeze unglazed scones in an airtight container or freezer bag for up to 2-3 months. Thaw them at room temperature and then glaze before serving.
More Delicious Banana & Scone Recipes to Try!
If you loved these banana nut scones, you’ll surely enjoy exploring more delightful recipes from our collection:
- Starbucks Copycat Pumpkin Spice Scones
- Frosted Banana Bars
- Banana Foster Chia Pudding
- Cinnamon Swirl Banana Bread
- Blender Banana Coffee Cake Muffins
- Healthy, No-Bake Banana Pudding
- Almond Flour Snickers Banana Bread
If you try this recipe and absolutely love it, it would mean the world to me if you left a star rating below and tagged me in your delicious creations on Instagram @danishealthyeats! Happy baking! x

Banana Nut Scones (Gluten-Free)
Pin Recipe
Ingredients
Scones
- 2 1/2 cups almond flour *or Tiger Nut flour for nut-free
- 1 cup tapioca flour
- 2 tbsp coconut flour
- 1 1/4 tsp baking powder
- 1/2 cup coconut sugar *can sub 1/2 monk fruit for lower sugar option
- 1 tbsp maple syrup
- 1/3 cup SUPER ripe mashed banana
- 1/2 cup vegan or organic grass-fed butter, at room temp *See notes for coconut oil sub
- 1 egg, room temp
- 1 1/2-2 tsp cinnamon
- 2 tsp vanilla extract & good pinch sea salt
- 1/2 cup chopped pecans or walnuts
- milk of choice, for brushing *I used full-fat canned coconut milk but any milk will work.
Glaze
- 1 1/4 cups powdered monk fruit sweetener *or regular powdered sugar
- 2-3 tbsp milk of choice *more as needed
- 1/4 tsp vanilla extract & pinch sea salt
Instructions
-
In a food processor, add all of the ingredients. Process a minute or so until the dough comes together. Fold or pulse in the chopped pecans. Place the bowl of the food processor into the fridge (or transfer the dough to a bowl, cover, and place in the fridge) for 30-40 minutes to firm up.
-
Preheat the oven to 350F while the dough is chilling. Once chilled, place the dough onto a piece of parchment paper. Shape the dough into a round 1 1/2″ thick disc. Use a knife to cut the disc into 8 triangles, like you’d cut a pizza.
-
Transfer the disc to a baking sheet. Then separate the triangles, spacing them out. Brush the tops of the scones with a THIN layer of milk. Bake for 20-22 minutes, until golden.
-
Remove from the oven and let the scones cool completely. They will firm up a little as they cool.
-
Mix together the icing ingredients, using a tablespoon of milk at a time, until it reaches a glaze consistency. Glaze each scone and top with some chopped pecans if you’d like. Enjoy!
Video
Notes
-
- I’ve tested this recipe with both grass-fed butter and coconut oil. The butter scones turned out a bit fluffier, but both are equally as delicious. If using coconut oil, use REFINED coconut oil. Unrefined virgin coconut oil will have a very strong coconut flavor. I’ve noticed the butter version needed a little more chilling time before I was able to cut them into triangles without them sticking.
- To prevent the tops from burning, be sure to not drench the tops in milk, otherwise it will pool on the bottom and create a brunt crust. Simply brush on a thin layer over top.
-
- Bake the scones on the middle rack of the oven. Then place another baking sheet on the bottom rack of the oven, below the scones on the middle rack. This prevents the heat from scorching the bottom of the pan and will prevent burnt bottoms.
