Irresistibly Chewy Oatmeal Cranberry Cookies: Your New Favorite Gluten-Free Holiday Treat
Prepare to be enchanted by these irresistibly chewy oatmeal cranberry cookies, a truly delightful treat that balances stunning presentation with incredible flavor. Each bite is a symphony of warm, festive notes, expertly crafted from a handful of simple pantry staples. Whether you’re baking for a special occasion, stocking up for the holidays, or simply craving a comforting snack, these cookies are perfect. You can bake them immediately for a fresh batch or freeze the dough to enjoy small-batch cookies whenever the mood strikes. These gluten-free wonders promise a wholesome, delicious experience that everyone will love, regardless of dietary preferences.

What Makes These Chewy Oatmeal Cranberry Cookies So Good?
These chewy oatmeal cranberry cookies aren’t just good; they’re truly exceptional. They combine ease of preparation with incredible flavor and a texture that’s both satisfyingly chewy and tender. Here’s what makes this recipe a must-try:
- Embrace the Holiday Spirit: These oatmeal cranberry cookies are the epitome of festive baking, truly screaming “holidays” with every bite. Imagine the comforting embrace of warm cinnamon, the rich sweetness of brown sugar, the delightful sweet-tart bursts of cranberries, and the earthy heartiness of oats. If you’re searching for a treat that is both beautifully festive and offers a nutritious touch, you’ve found your perfect match. They’re like a classic oatmeal raisin cookie, but with a vibrant, spirited twist that makes them ideal for seasonal celebrations. Their aroma alone will fill your home with holiday cheer!
- Remarkably Gluten-Free: One of the standout features of this recipe is its gluten-free formulation, yet you would genuinely never guess it from the finished product. These cookies boast the same delicious texture and flavor as traditional oatmeal cookies, making them a fantastic option for everyone at your table, including those who typically consume gluten. Your gluten-eating guests will be utterly delighted and likely surprised they’re gluten-free! However, if a gluten-free diet isn’t a requirement for you, feel free to substitute with an equal amount of traditional all-purpose flour.
- Perfect for Any Occasion (Makes 2 Dozen+!): As written, this recipe yields a generous batch of at least two dozen scrumptious cranberry oatmeal cookies. This makes them ideal for a wide range of uses, whether you’re hosting a party, participating in a holiday cookie exchange, preparing thoughtful edible gifts for friends and family, or simply indulging in a few while you’re busy cooking dinner. There’s no judgment here – we understand the allure of a freshly baked cookie! Their ample quantity ensures you’ll have plenty to share, enjoy now, and perhaps even freeze for future cravings.
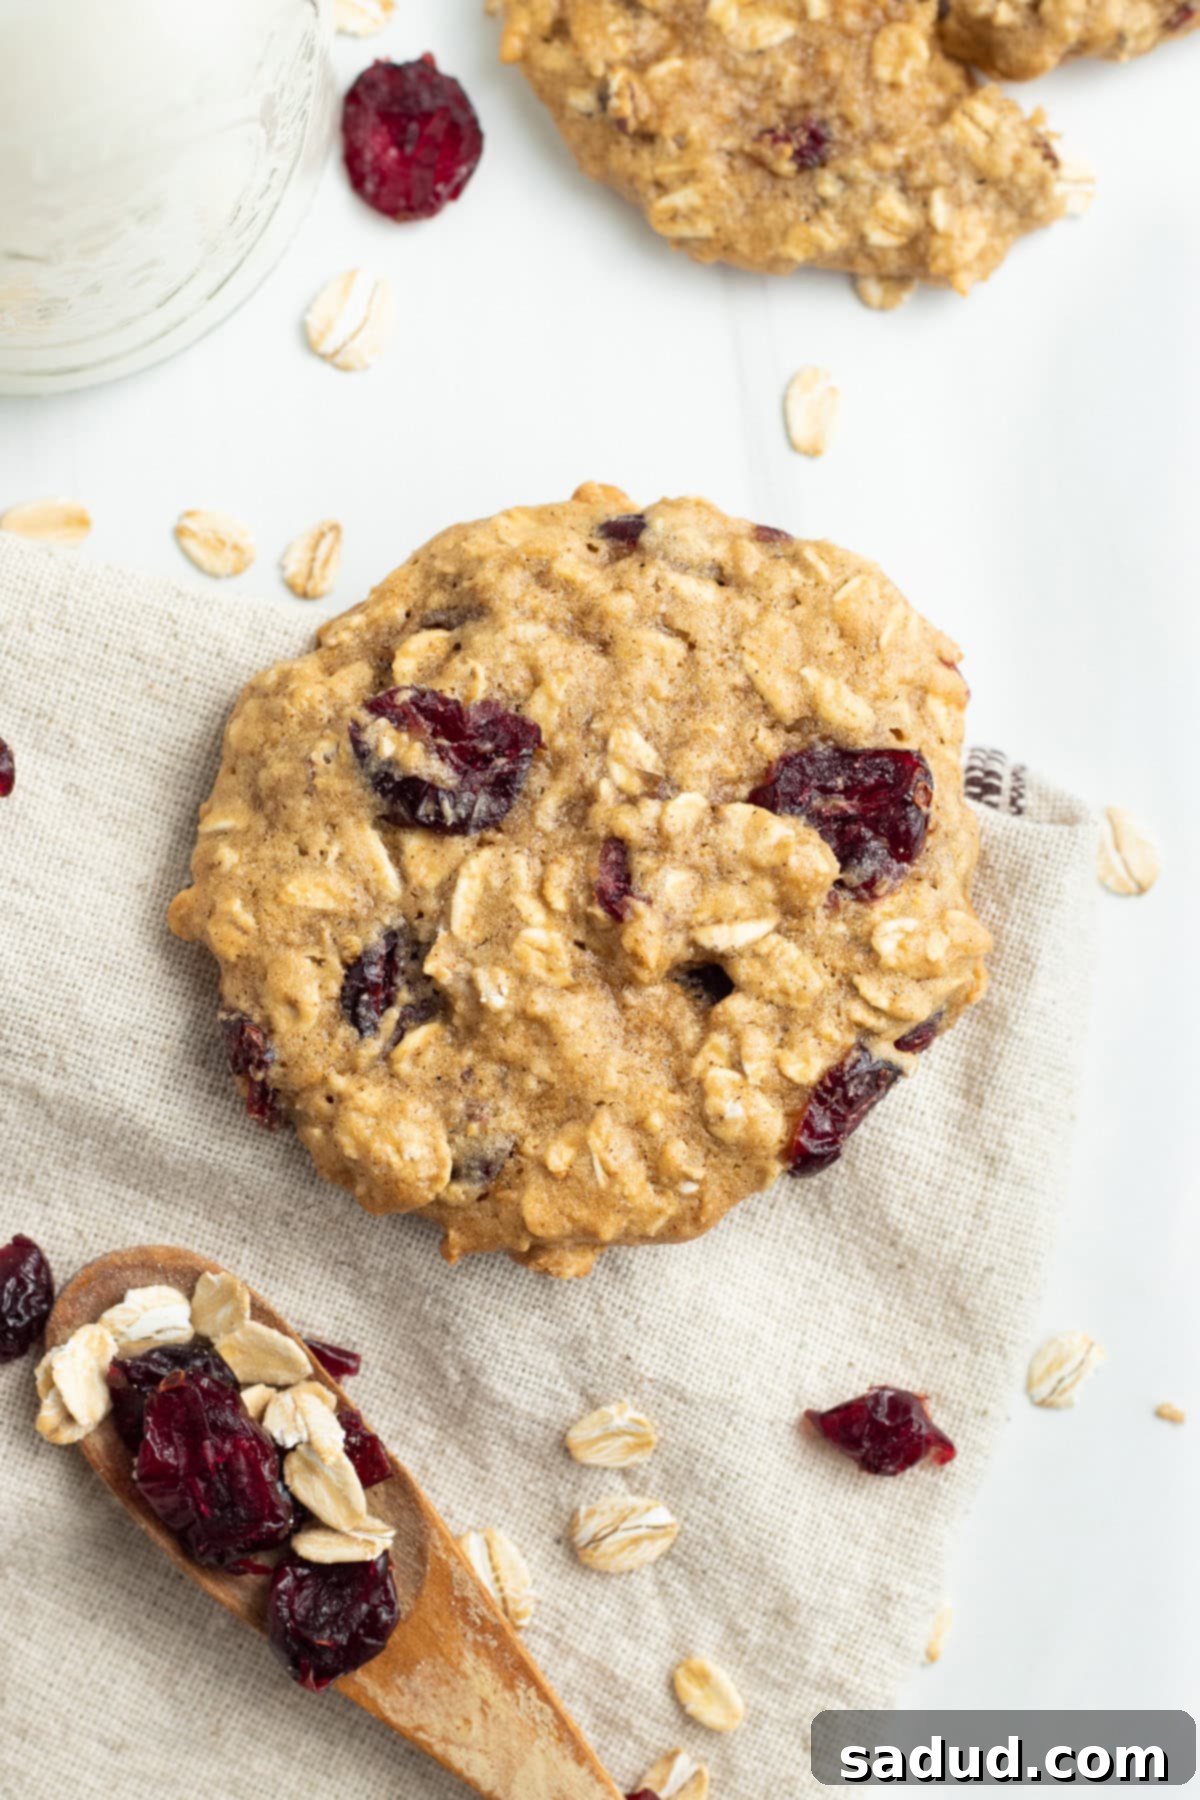
Expert Chef’s Tips for Perfect Chewy Oatmeal Cranberry Cookies
Achieving the perfect chewy oatmeal cranberry cookie is simple with these expert tips:
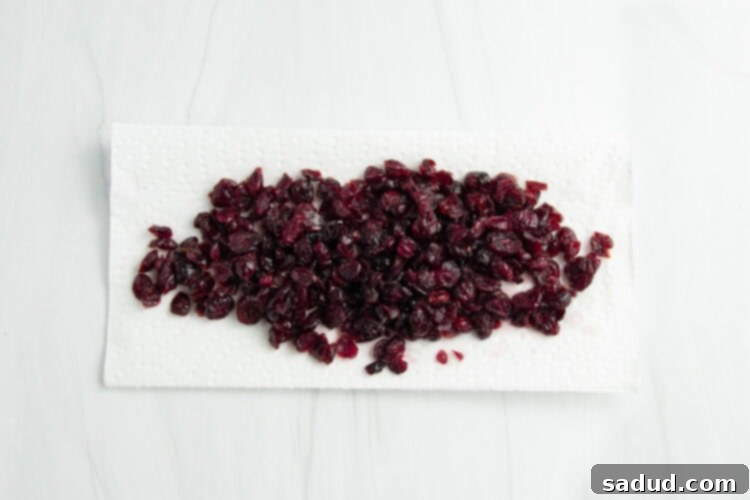
- The Art of Soaking Cranberries: While entirely optional, soaking the dried cranberries beforehand is a game-changer we highly recommend. Rehydrating them in hot water for a short period causes them to plump up, becoming noticeably softer and more moist. This crucial step also prevents the cranberries from absorbing moisture directly from your precious cookie dough, which is key to ensuring your finished cookies remain wonderfully moist and never dry. If you decide to skip this soaking step and use the cranberries straight from the package, expect a texture that’s firmer and more reminiscent of classic raisins. Both methods yield delicious results, but soaking truly elevates the cranberry experience.
- The Golden Rule: Do Not Overbake! This is perhaps the most critical tip for achieving perfectly chewy cookies. These oatmeal cranberry delights do not require a long baking time. When you pull them from the oven, they should still appear a little underdone and slightly soft in the middles. This is exactly what you want! The cookies will continue to cook and set as they rest on the hot baking pan after being removed from the oven (this is known as carryover baking). If you wait until they “look fully done” in the oven, you’ll inevitably end up with hard, dry oatmeal cranberry pucks instead of the soft, chewy cookies you desire. Look for lightly golden edges and a slightly pale, soft center.
- Elevate with White Chocolate Chips: To take these already incredible cookies from fantastic to absolutely divine, consider folding in about half a cup of white chocolate chips to the dough. The creamy sweetness of white chocolate is an unparalleled complement to the tartness of the cranberries and the warm spices in the oatmeal base. This simple addition introduces a luxurious layer of flavor and texture, transforming an already wonderful cookie recipe into a truly extraordinary gourmet treat that will impress everyone.
Can I Freeze These Chewy Oatmeal Cranberry Cookies (Dough or Baked)?
Absolutely, you can! Freezing is a fantastic way to enjoy homemade cookies with minimal effort whenever a craving strikes or you need a quick dessert. You have options for freezing both the dough and the baked cookies.
Freezing Cookie Dough: To freeze the dough, prepare the recipe exactly as written up until the point of baking. Once you’ve rolled the cookie dough into balls and gently flattened them into discs on your baking sheet, instead of putting them directly into the oven, place the entire baking sheet into the freezer. Freeze the individual cookie dough discs on the baking sheet for approximately 30 minutes to an hour, or until they are solid. This “flash freezing” prevents them from sticking together. Once hardened, you can transfer the frozen dough discs to an airtight freezer-safe container or a heavy-duty freezer bag. The frozen oatmeal cranberry cookie dough will keep beautifully for up to 2 months in an airtight container, ready for baking on demand.
Baking from Frozen Dough: When a cookie craving hits, there’s absolutely no need to thaw the dough first! Simply remove the desired number of frozen oatmeal cranberry cookie dough discs from the freezer. Arrange them on a baking sheet lined with parchment paper, ensuring sufficient space between each cookie. Pop them directly into your preheated oven. You will need to increase the bake time slightly, typically by 2-4 minutes, since they are starting from a frozen state. Keep an eye on them for those golden edges and slightly soft centers, and they will bake up perfectly golden and beautifully chewy, just like fresh dough!
Freezing Baked Cookies: If you’ve already baked a large batch and want to save some for later, you can also freeze the baked cookies. Allow the cookies to cool completely to room temperature. Then, arrange them in a single layer on a baking sheet and flash freeze for about 1-2 hours until solid. Once frozen, transfer them to an airtight freezer container or bag, separating layers with parchment paper to prevent sticking. They will keep well for up to 1 month. To enjoy, simply thaw at room temperature or warm briefly in the microwave for a fresh-baked feel.
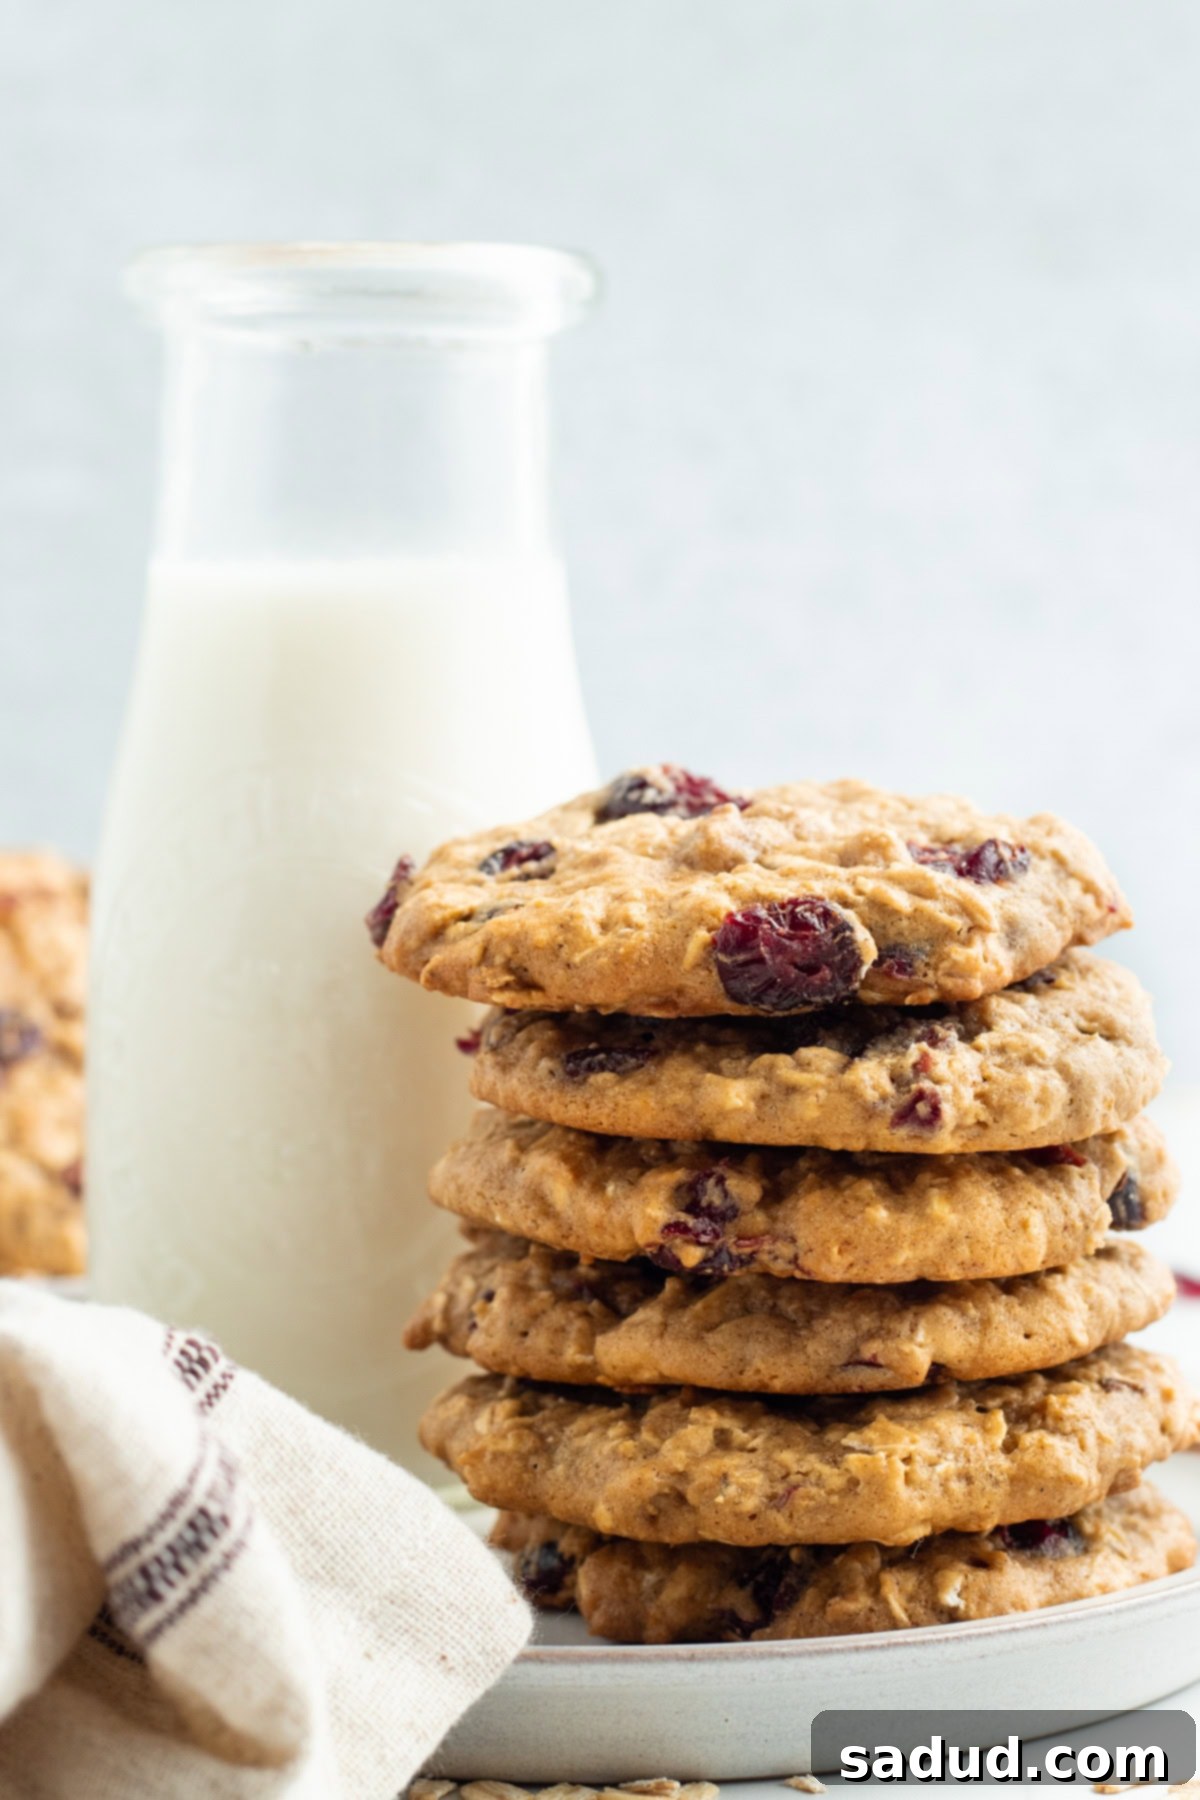
More Amazing Cookie Recipes You Need in Your Life
If you’re a fan of delicious, wholesome cookies, then these other fantastic recipes from our collection are sure to inspire your next baking adventure. From gluten-free delights to quick and easy treats, there’s something for every cookie lover:
- Almond Flour Chocolate Chip Cookies
- Paleo Gluten-Free Crinkle Cookies (Peppermint Chocolate)
- Paleo Cookies with Frosting (Lofthouse Style)
- Gluten Free Oatmeal Chocolate Chip Cookies
- 3 Ingredient Peanut Butter Cookies
- Keto Cookie Dough (Sugar Free Edible Cookie Dough)
- Chewy Butterscotch Cookies
- Gluten-Free Christmas Cookies
If you loved this recipe as much as we did, don’t forget to leave us a review below. ★ Follow Easy Healthy Recipes on Pinterest, Facebook, and Instagram, too!
For more delicious recipes, visit our sister sites, 40 Aprons and Easy Cheap Recipes.
Chewy Oatmeal Cranberry Cookies
 Cheryl Malik
Print
SaveSaved!
Ingredients
- 1 cup dried cranberries
- hot water enough to cover cranberries
- 1 ½ cups gluten-free flour see Notes
- 1 teaspoon baking soda
- ½ teaspoon salt
- 1 teaspoon cinnamon
- ½ cup unsalted butter at room temperature, cut into small pieces
- ½ packed cup brown sugar
- ⅓ cup granulated sugar
- 2 large eggs at room temperature
- 2 teaspoons pure vanilla extract
- 2 ¼ cups old-fashioned oats or rolled oats
Equipment
-
2 large bowls
-
slotted spoon
-
Paper towels
-
whisk
-
stand mixer bowl or large mixing bowl
-
stand mixer or hand mixer
-
Silicone spatula
-
cookie sheet
-
Parchment paper
-
Cookie scoop with release handle
-
Wire cooling rack
Instructions
-
To begin, place the dried cranberries into a large, heat-proof bowl. Pour enough hot water over the cranberries to fully cover them. Set the bowl aside and allow the cranberries to soak for 10 minutes; this helps them to plump up and become more moist. While they are soaking, lay out several sheets of paper towels on your counter to prepare for draining. After the 10-minute soaking time has passed, use a slotted spoon to carefully transfer the rehydrated cranberries from the water to the waiting paper towels. Gently pat them dry to remove any excess moisture.

-
Next, preheat your oven to 355° Fahrenheit (175°C). While the oven is heating, prepare your baking sheet by lining it with a sheet of parchment paper. This will prevent sticking and ensure easy cleanup. Set the lined baking sheet aside for later use.
-
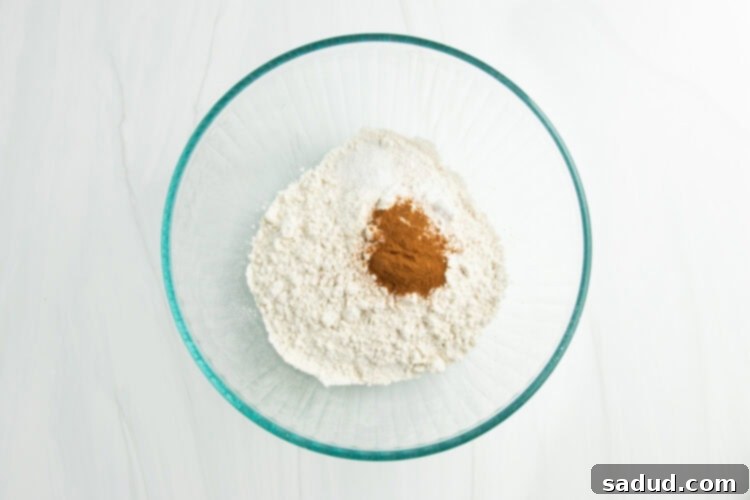
In a second large mixing bowl, combine the gluten-free flour, baking soda, salt, and cinnamon. Use a whisk to thoroughly blend these dry ingredients until they are evenly distributed. This ensures all the flavors and leavening agents are perfectly incorporated into your cookies. Set this bowl aside for a moment.

-
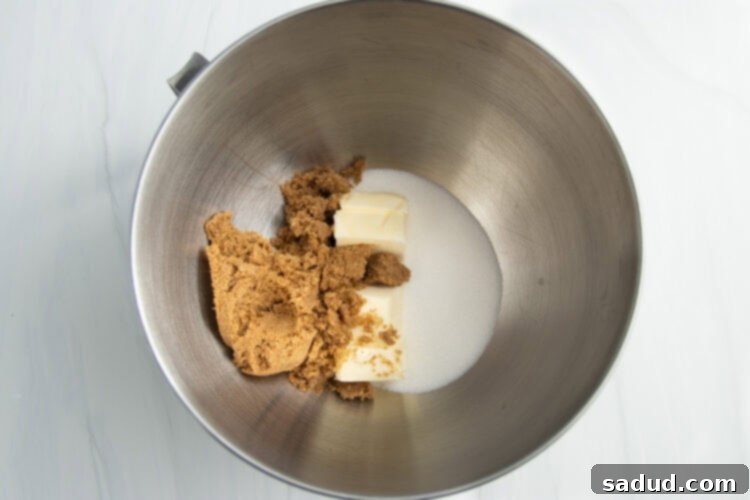
Now, add the softened unsalted butter (which should be at room temperature and cut into small pieces), the packed brown sugar, and the granulated sugar to the bowl of your stand mixer (or a large mixing bowl if using a hand mixer). Begin mixing these ingredients together on low speed for about 30 seconds to combine them, then increase the speed to medium. Continue mixing for 2 to 5 minutes, or until the mixture becomes light, fluffy, and fully creamed. The butter and sugars should be perfectly aerated and combined. Note: Be very careful not to overmix at this stage. Overmixing can cause the mixture to become greasy and soupy, negatively impacting the cookie texture. If this occurs, it’s best to discard the mixture and start again to ensure the best results.

-
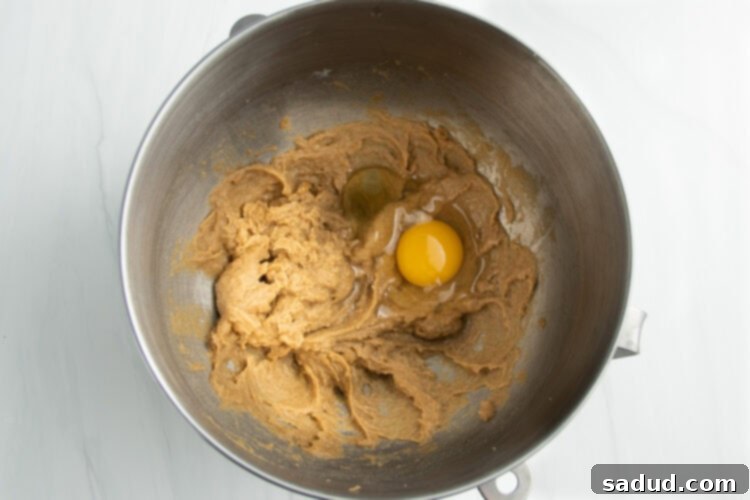
With the mixer paused, crack one large egg directly into the mixing bowl with the creamed butter and sugar. Resume mixing on medium speed until this first egg is completely incorporated into the mixture. Once fully blended, repeat the process with the remaining second egg, mixing until it too is seamlessly combined. After both eggs are fully incorporated, add the pure vanilla extract and mix only until it is just combined. Avoid overmixing once the wet ingredients are incorporated.

-
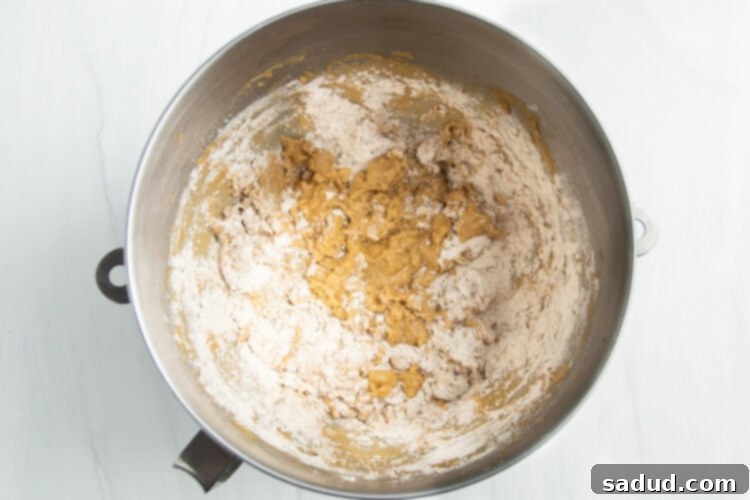
Now, it’s time to combine the wet and dry ingredients. Slowly, add the flour mixture from the second bowl to the sugar mixture in gradual increments, mixing on low speed after each addition. Continue this process until all of the flour mixture has been transferred and all the ingredients are just barely combined. It is crucial to be careful not to overmix the dough at this stage, as overmixing can lead to tough cookies.

-
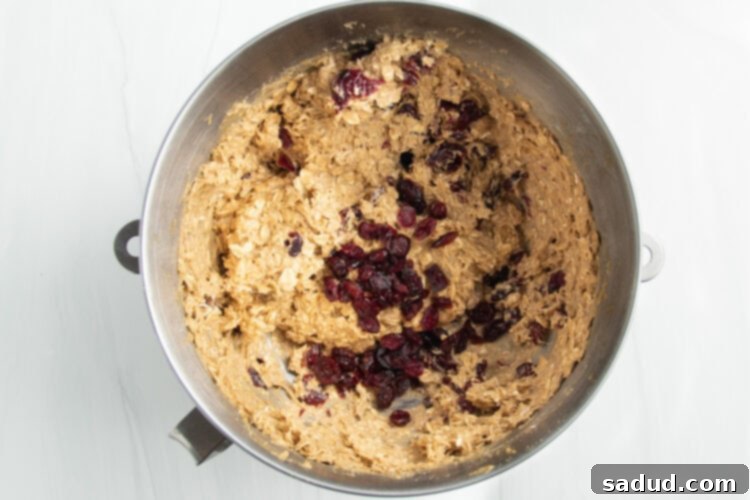
Once the dry and wet ingredients are combined and a cohesive dough has formed, add the old-fashioned oats to the bowl. Use a silicone spatula to gently fold the oats into the dough until they are just incorporated. Then, add the drained cranberries and repeat the gentle folding process until the cranberries are evenly distributed throughout the dough. Avoid overmixing to keep the cookies tender.

-
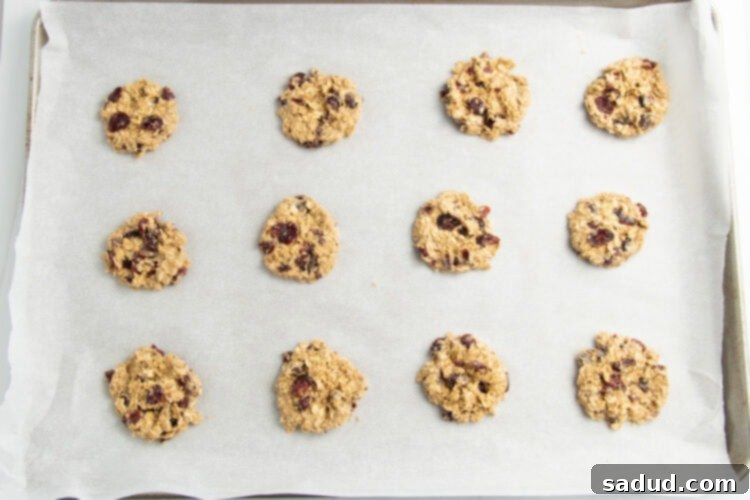
Using a cookie scoop with a release handle (approximately 1-tablespoon in size), portion the cookie dough into uniform balls. Place these dough balls onto your prepared baking sheet lined with parchment paper, ensuring you leave approximately 1 ½ inches of space between each dough ball to allow for spreading during baking. Continue this process until all of the cookie dough has been scooped and placed on the parchment paper.
-
With clean hands, very gently press down on the top of each cookie dough ball to flatten them slightly into discs. Be careful not to press them too thin or too close together, as this can affect their final texture and how they bake. This gentle flattening helps achieve that perfect chewy consistency.

-
Carefully place the filled cookie sheet into your preheated oven. Bake for 8 to 10 minutes, or until the edges of the cookies are lightly golden brown and appear firm, while the centers still look slightly soft and underdone. Remember, these cookies continue to bake after they’re removed from the oven, so trust the process and avoid overbaking.
-
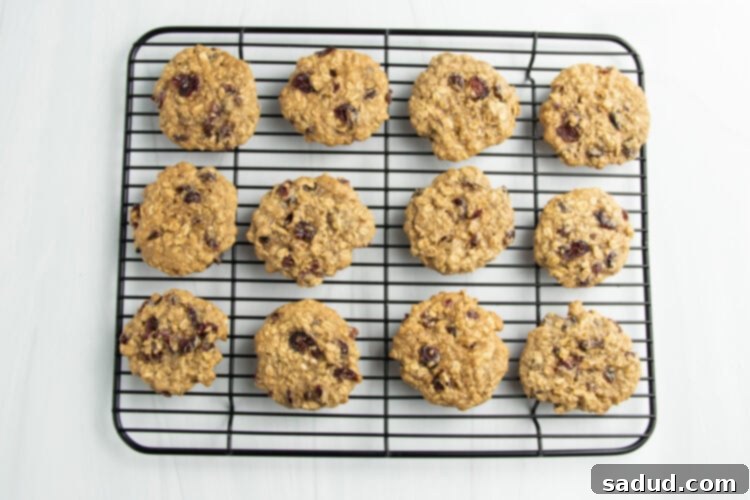
Once baked, remove the cookie sheet from the oven and carefully set it aside on a heat-safe surface. Allow the cookies to cool completely on the baking sheet for at least 5 minutes before attempting to move them. This crucial cooling time allows them to finish setting and firm up. After 5 minutes, gently transfer the cookies to a wire cooling rack to cool completely. Serve as desired and enjoy your wonderfully chewy oatmeal cranberry cookies!

Notes
- Dried Cranberries: While dried cranberries are excellent, feel free to use fresh or frozen cranberries as a substitute. If using fresh, a quick blanch (boiling for 30 seconds, then shocking in ice water) can soften them slightly. Frozen cranberries can be added directly to the dough without thawing, though they might release a bit more moisture. No need to soak fresh or frozen ones.
- Gluten-Free Flour: For this recipe, we achieved perfect results using King Arthur Measure-for-Measure gluten-free flour, which is a blend specifically designed to substitute 1:1 for traditional all-purpose flour. It’s important to note that different brands and types of gluten-free flour blends can behave differently and yield varying results. For best success, ensure you use a gluten-free flour blend that contains xanthan gum, as this is crucial for providing structure and elasticity in gluten-free baking.
- Measuring Flour: Baking, especially gluten-free baking, relies on precise measurements. To ensure you’re using the correct amount of flour and avoid dense or crumbly cookies, always use the “scoop and level” method. Gently spoon the flour into your measuring cup until it overflows, then use a straight edge (like the back of a knife) to level off the excess without packing down the flour in the cup. Do not scoop the flour directly from the bag, as this can compact it and lead to using too much.
- Room Temperature Ingredients: It is absolutely essential that both your butter and eggs are at room temperature. This isn’t just a suggestion; it’s critical for the ingredients to properly emulsify and combine correctly. Room temperature butter creams smoothly with sugar, creating a light, airy base, while room temperature eggs integrate seamlessly, leading to a consistently textured dough and evenly baked, tender cookies. Cold ingredients will not blend well and can result in a lumpy dough and a less desirable cookie texture.
- Storage: To maintain their optimal freshness and chewy texture, any leftover oatmeal cranberry cookies should be stored in an airtight container at room temperature. They will remain delicious for up to 5 days. For best results, place a piece of parchment paper between layers if stacking to prevent them from sticking.
- Freezer Option: This recipe is perfect for preparing ahead of time. To freeze the dough, prepare the recipe as written until you’ve formed and flattened the cookie dough balls. Instead of baking, place the cookie sheet with the dough balls directly into the freezer. Freeze the cookies on the baking sheet for approximately 30 minutes, or until they are firm enough to handle without sticking. Then, transfer the hardened dough balls to an airtight container or a heavy-duty freezer bag for longer storage. The frozen cookie dough will keep for up to 2 months. When you’re ready to bake, there’s no need to thaw the dough first; simply bake from frozen, increasing the bake time by a few minutes as needed until the edges are golden brown and centers are just set.
Nutrition Information
Number of total servings shown is approximate. Actual number of servings will depend on your preferred portion sizes.
Nutritional values shown are general guidelines and reflect information for 1 serving using the ingredients listed, not including any optional ingredients. Actual macros may vary slightly depending on specific brands and types of ingredients used.
To determine the weight of one serving, prepare the recipe as instructed. Weigh the finished recipe, then divide the weight of the finished recipe (not including the weight of the container the food is in) by the desired number of servings. Result will be the weight of one serving.

