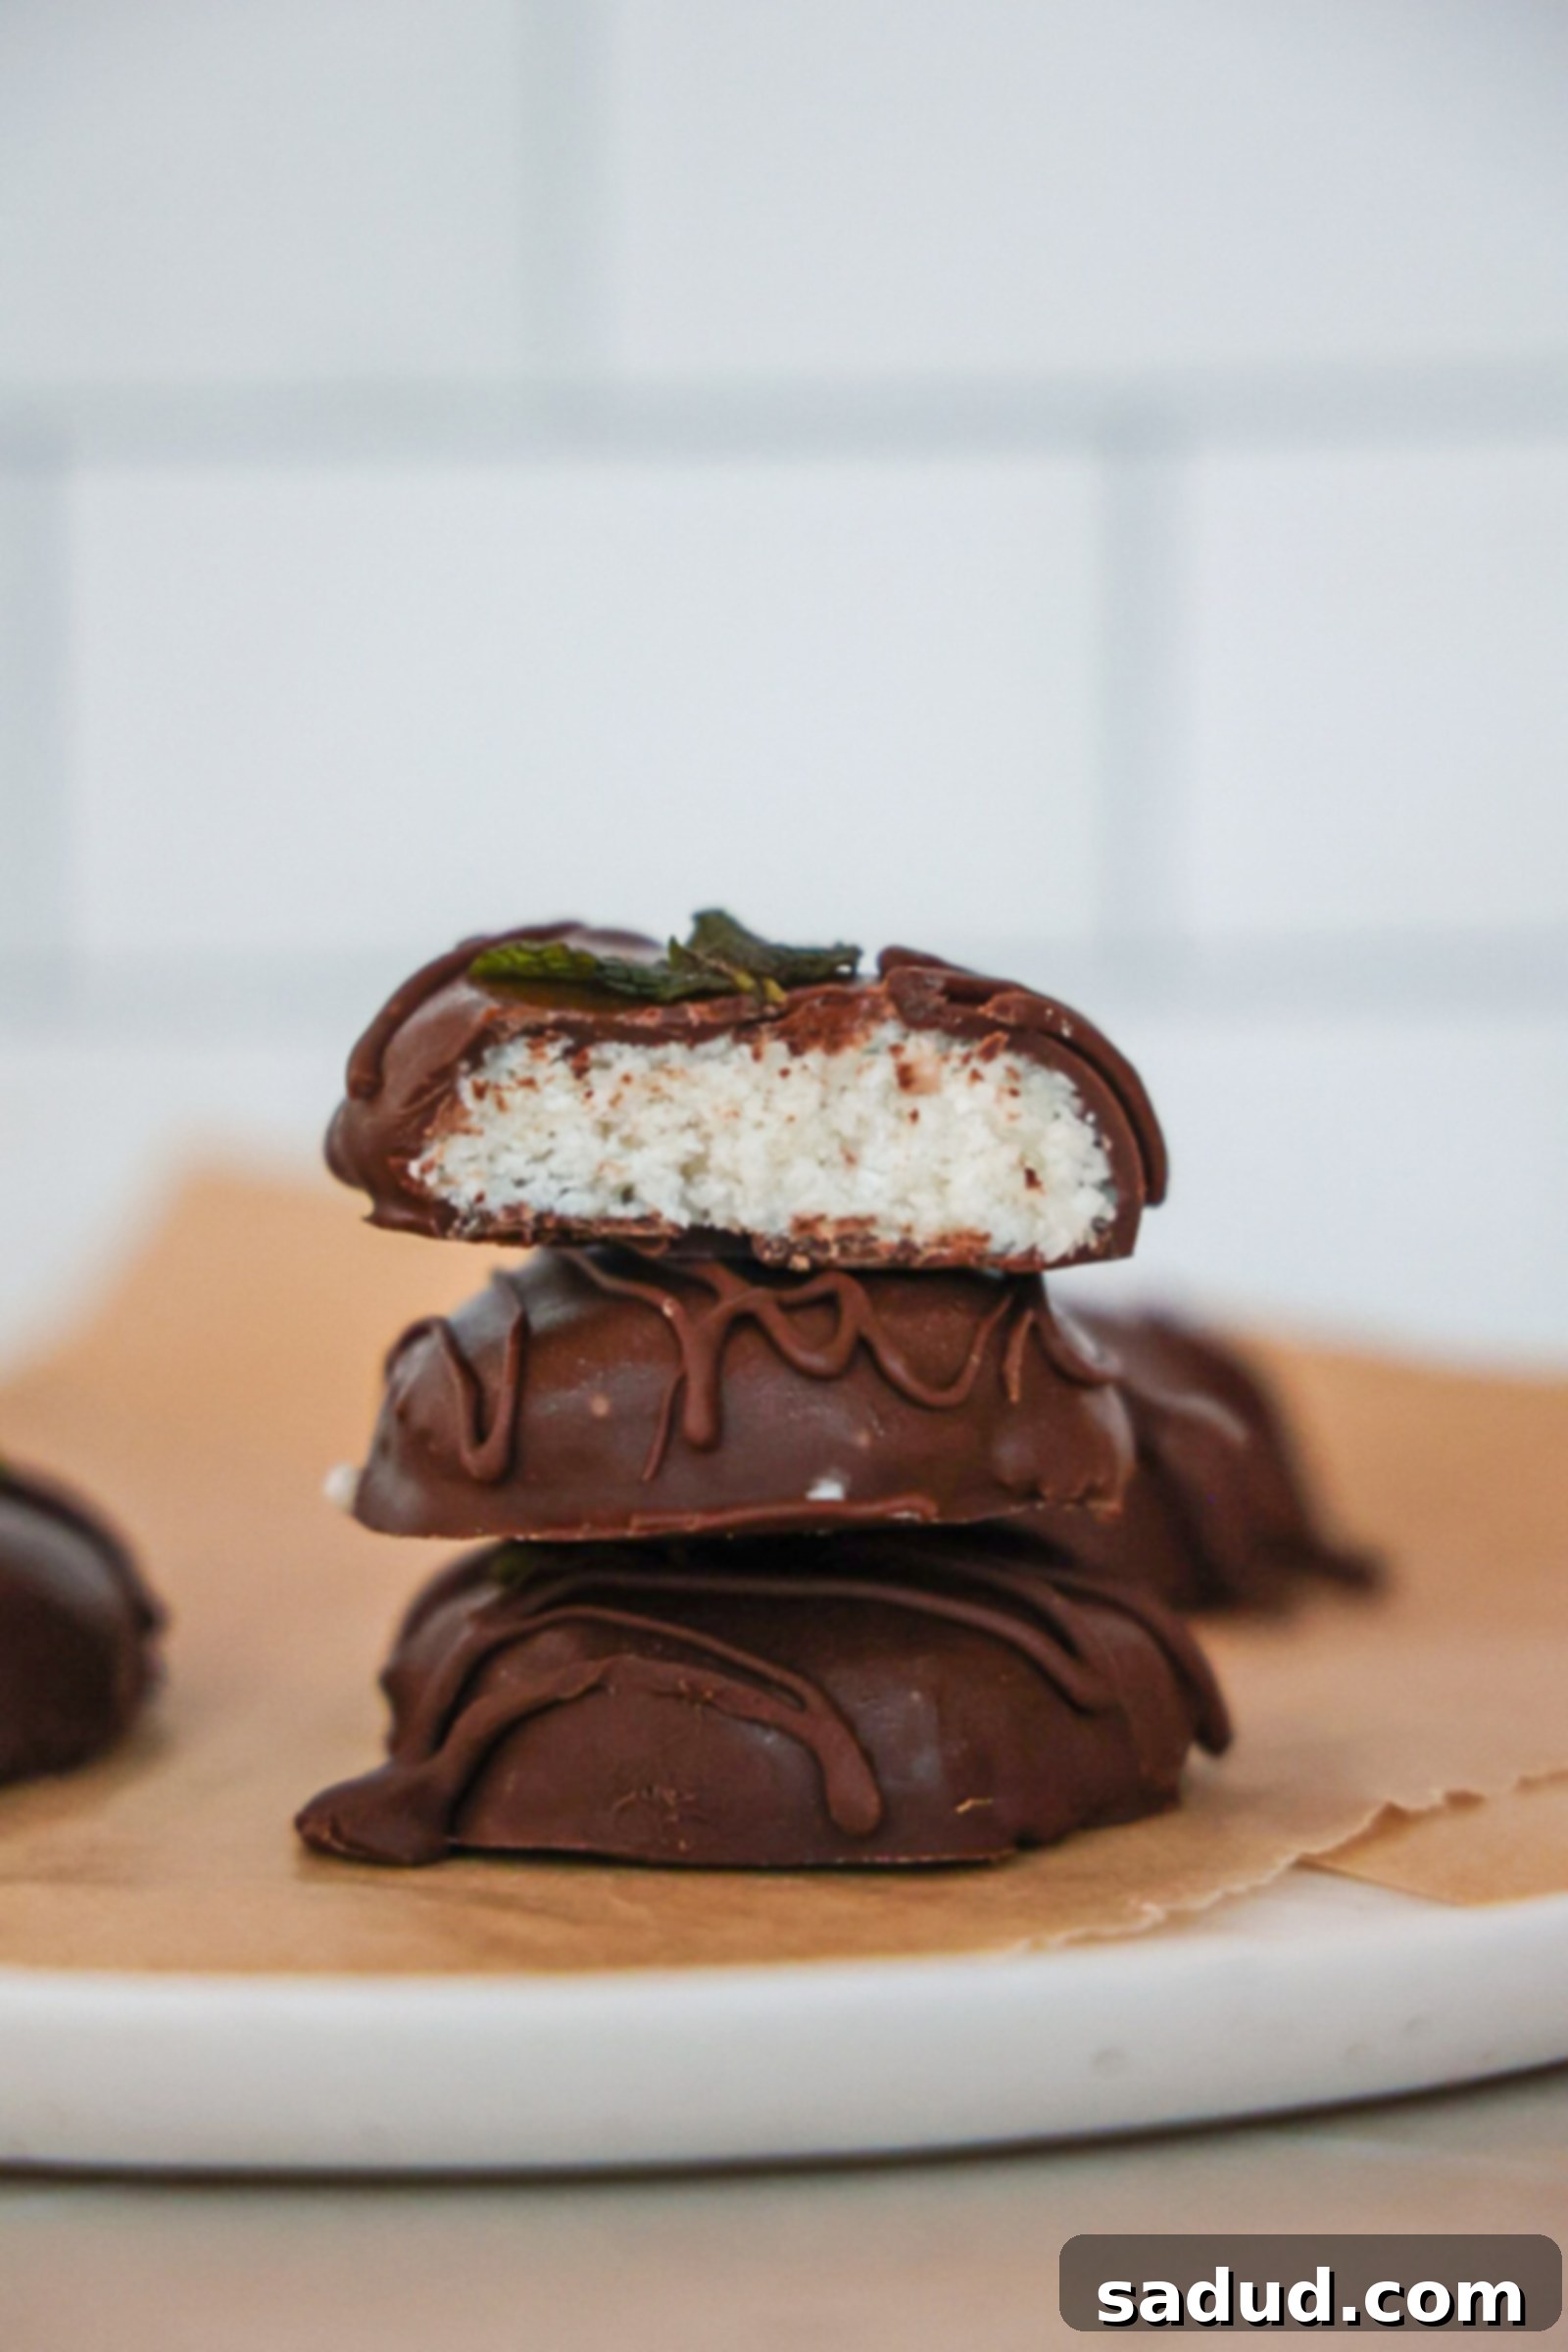
Indulge Guilt-Free: The Ultimate Guide to Homemade Healthy Peppermint Patties (Vegan, Gluten-Free, No-Bake!)
Homemade Healthy Peppermint Patties offer a delightful escape with their creamy, cool peppermint center perfectly enrobed in a luscious chocolate shell. This refreshing treat is not only incredibly satisfying but also remarkably simple to make, using just 5 wholesome, straightforward ingredients. These no-bake wonders are designed for ease and maximum flavor, making them an ideal choice for anyone seeking a healthier alternative to conventional sweets. Best of all, they are naturally vegan, gluten-free, and entirely free from refined sugar, catering to a wide range of dietary preferences without compromising on taste.
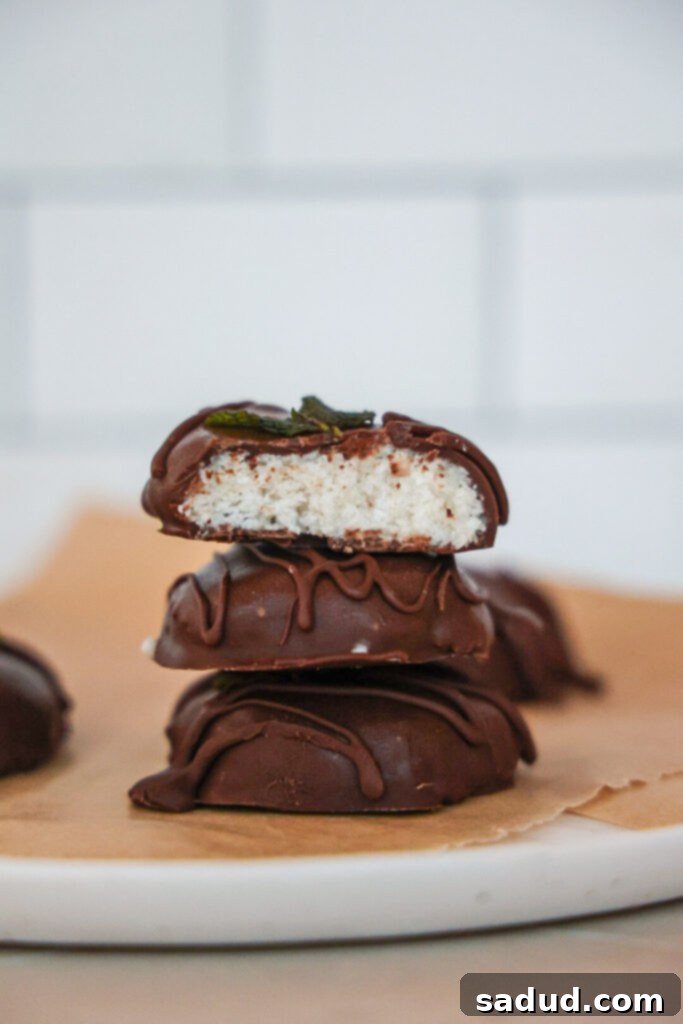
Are you captivated by the classic combination of peppermint and chocolate? If so, prepare to fall in love with today’s recipe: homemade peppermint patties! This recipe empowers you to create these iconic treats from scratch, offering a healthier twist on the beloved classic while miraculously maintaining the familiar, delightful taste of the popular store-bought versions. The secret lies in the melt-in-your-mouth, creamy coconut-mint filling, which provides a cool, refreshing sensation, perfectly balanced by the rich, slightly bitter notes of the dark chocolate coating. These patties are quick to prepare, require no baking, and present a fantastic opportunity to satisfy your sweet cravings with ingredients that truly nourish your body.
It’s worth noting that the base of these healthy homemade peppermint patties is indeed coconut. However, don’t let that deter you if you’re not a fan of strong coconut flavors! The mint extract beautifully permeates and blends with the coconut during processing, creating a harmonious and incredibly creamy filling where the coconut taste becomes wonderfully subtle and complements the mint rather than overpowering it. Many who typically shy away from coconut have been pleasantly surprised and even converted by these delightful treats!
Healthy Peppermint Patties Recipe Video Tutorial
Why You’ll Adore This Healthy Peppermint Patty Recipe
Beyond their irresistible taste, these homemade peppermint patties offer a myriad of reasons to become your new favorite treat. They are crafted with convenience and well-being in mind, making them a standout choice for any occasion.
- Wholesome, Natural Ingredients: We believe that delicious treats can also be good for you. This recipe champions natural, unprocessed ingredients that you can truly feel good about incorporating into your diet. Unlike many traditional peppermint patty recipes, ours proudly skips common additions like sweetened condensed milk, butter, conventional dairy, and refined sugars. Instead, we lean on the natural sweetness of maple syrup and the richness of coconut, providing a healthier foundation without sacrificing flavor or texture.
- Effortlessly Easy & No-Bake: Say goodbye to complicated baking steps and the need for an oven! This recipe is completely no-bake, making it a fantastic year-round dessert, especially perfect for warmer months or when you simply don’t want to turn on the oven. The simplicity extends to the chocolate coating – unlike many homemade candy recipes that demand tricky chocolate tempering, our method is straightforward, ensuring a beautiful, shiny finish every time without the fuss. It’s truly a beginner-friendly recipe!
- Dietary-Friendly & Inclusive: Catering to various dietary needs has never been easier or tastier. These peppermint patties are thoughtfully crafted to be:
- Gluten-Free: Safe for those with celiac disease or gluten sensitivities.
- Dairy-Free: An excellent option for individuals avoiding dairy products.
- Vegan: Made entirely without animal products, suitable for a plant-based lifestyle.
- Paleo-Friendly: Aligns with paleo dietary principles, focusing on whole, unprocessed foods.
This makes them a wonderful dessert to share with friends and family, accommodating diverse preferences effortlessly.
How to Make Homemade Vegan Peppermint Patties
Crafting these delightful peppermint patties is a surprisingly simple process, requiring minimal effort for maximum reward. The full, detailed recipe can be found in the recipe card at the bottom of this post, but let’s walk through the essential steps to give you a clear overview.
Essential Equipment
You won’t need an arsenal of kitchen gadgets to make these patties. The most crucial piece of equipment for achieving that perfectly creamy filling is:
- Food Processor: Essential for finely blending the coconut and other ingredients into a smooth, pliable dough. A high-speed blender might work if you have a tamper and are patient, but a food processor is highly recommended for the best texture.
Simple, Wholesome Ingredients You’ll Need
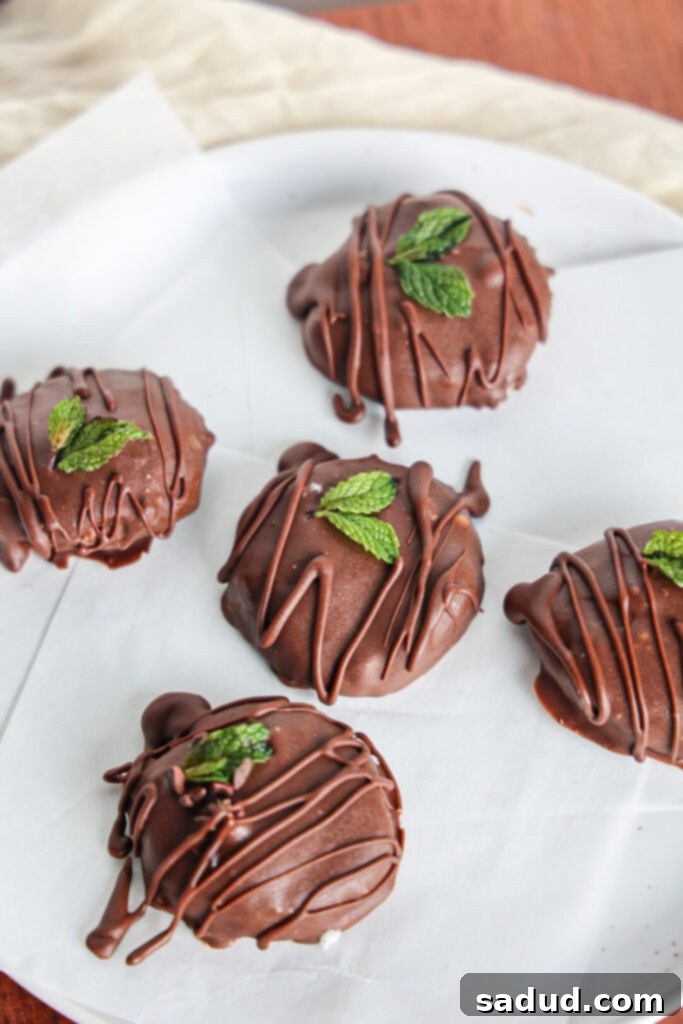
Our recipe for homemade peppermint patties distinguishes itself by eschewing conventional additions like corn syrup, butter, sweetened condensed milk, or powdered sugar. We believe a truly delicious, creamy, and refreshing peppermint filling can be achieved with far simpler, healthier components. Here’s a closer look at the key ingredients:
- Unsweetened Shredded Coconut: This forms the base of our creamy filling. When processed, it releases its natural oils and breaks down into a smooth, paste-like consistency, providing richness and structure without a strong, overpowering coconut flavor.
- Coconut Oil: Acts as a binding agent and adds a velvety texture to the filling. It also helps the patties firm up beautifully when chilled, contributing to their melt-in-your-mouth quality.
- Mint Extract: The star of the show! For that classic, invigorating peppermint flavor, mint extract is key. Ensure you use a high-quality extract for the best taste. (Note: You can use peppermint extract for a bolder flavor or spearmint for a milder, sweeter mint profile).
- Maple Syrup: Our natural sweetener of choice. Maple syrup offers a delicate sweetness and a hint of caramel notes, making it a wonderful alternative to refined sugars. For strict vegans, it’s also preferred over honey.
- Chocolate Chips: The perfect outer coating! While semi-sweet chocolate chips are a popular choice for a balanced flavor, feel free to customize. Dark chocolate chips will offer a more intense, sophisticated contrast to the mint, while milk chocolate chips would create a sweeter, creamier profile. For a unique twist, white chocolate chips could also be used, perhaps with a touch of green food coloring for a festive look!
- Creamer or Milk (Optional but Recommended): A tablespoon of dairy-free creamer (like NutPods) or plant-based milk can greatly enhance the creaminess of the filling, helping it achieve an even smoother consistency when blended. Just be cautious not to add too much, as it could prevent the patties from firming properly.
Step-by-Step Guide to Crafting Your Peppermint Patties
Follow these simple steps to create your own batch of healthy and delicious peppermint patties:
- Prepare the Mint Filling: In the bowl of your food processor, combine the unsweetened shredded coconut, melted coconut oil, mint extract, and maple syrup. Blend the mixture thoroughly until it transforms into a smooth, sticky, and uniform paste. The longer you process it, the finer the coconut will become, resulting in a silkier filling. If desired, add one tablespoon of a dairy-free creamer (such as NutPods) to achieve an even smoother texture, blending for another minute. Ensure the mixture is well combined and holds its shape when pressed.
- Shape the Patties: Once the filling is ready, scoop out small, uniform portions. A small cookie scoop or a tablespoon measure works perfectly for consistent sizing. Roll each portion into a ball, then gently flatten it into a disc shape, mimicking the classic peppermint patty. Arrange these discs on a baking sheet lined with parchment paper. Place the tray in the freezer for about 10-15 minutes to allow the mint discs to firm up, which will make them easier to dip.
- Melt the Chocolate Coating: In a microwave-safe bowl, or using a double boiler method, melt your chosen chocolate chips. If using the microwave, heat in 30-second intervals, stirring well after each, until the chocolate is smooth and glossy. If the chocolate appears too thick for easy dipping, stir in 1-2 teaspoons of coconut oil to thin it slightly. Be careful not to overheat the chocolate.
- Coat and Chill: Retrieve the firm mint discs from the freezer. Dip each disc into the melted chocolate, ensuring it’s completely coated. Use a fork to gently lift the patty, allowing any excess chocolate to drip back into the bowl. Carefully transfer the chocolate-coated patties back onto the parchment-lined tray.
- Set the Chocolate: Once all your patties are coated, return the tray to the freezer. Allow them to chill for another 10-15 minutes, or until the chocolate coating is completely firm and set. Once set, transfer the finished peppermint patties to an airtight container for storage.
Recipe Tips and Exciting Variations
Elevate your homemade peppermint patties with these expert tips and creative variations:
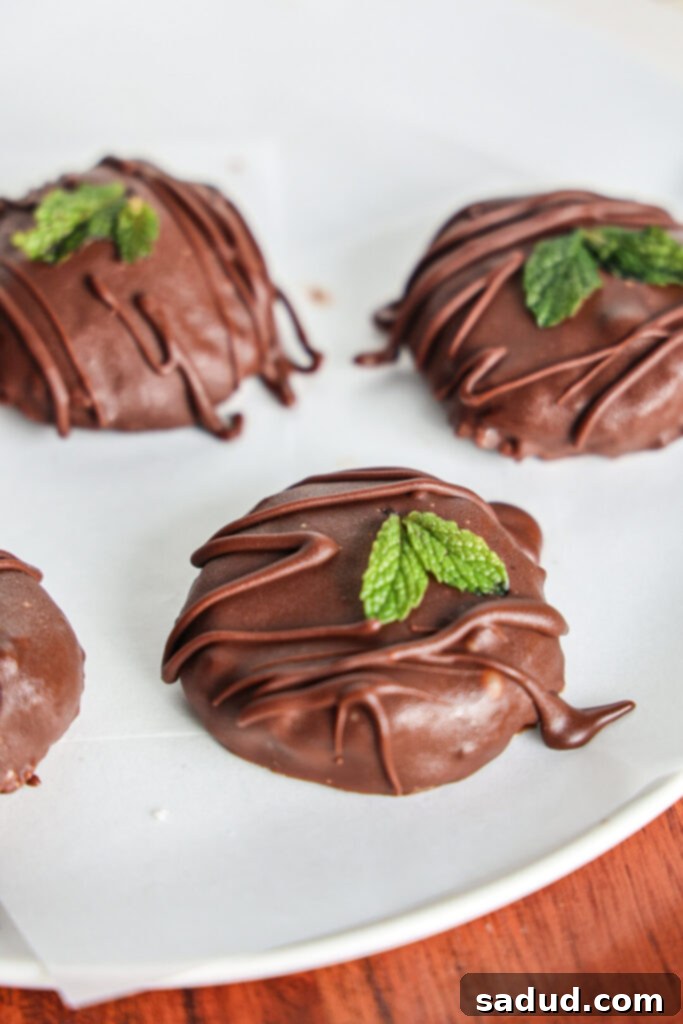
- Dressing Them Up for Any Occasion: Want to add a festive touch? Before the chocolate sets, sprinkle the tops with colorful sprinkles for birthdays, crushed candy canes for Christmas, or a delicate pinch of flaky sea salt to enhance the chocolate flavor. A drizzle of contrasting white chocolate can also add an elegant finish.
- Opt for High-Quality Chocolate: The quality of your chocolate significantly impacts the final taste. For a truly rich and satisfying coating, choose dark chocolate with a higher cocoa percentage. This creates a wonderful balance with the sweet mint filling.
- Master the Dipping Technique with a Fork: To ensure an even, thin chocolate coating and minimize mess, use a fork to dip each peppermint patty. Gently tap the fork against the side of the bowl to remove excess chocolate before transferring it back to the parchment paper. This technique helps achieve a professional-looking finish.
- Flavor Variations: Experiment with different extracts! A few drops of orange extract can transform these into a delightful chocolate-orange-mint treat. For a subtle hint of spice, add a tiny pinch of cinnamon to the chocolate.
- Add-ins for the Filling: For an extra layer of flavor or texture, consider adding finely chopped nuts or a sprinkle of mini chocolate chips to the peppermint filling before shaping.
How to Store Your Peppermint Patties
Proper storage is key to maintaining the freshness and texture of your homemade peppermint patties. Store them in an airtight container to prevent them from drying out or absorbing other odors from the fridge or freezer.
- Refrigerator Storage: For immediate enjoyment and up to a week, keep your peppermint patties in the fridge. They are wonderfully refreshing when enjoyed chilled straight from the refrigerator.
- Freezer Storage: For longer-term storage, the freezer is your best friend. These patties can be kept frozen for up to 2-3 months. Simply transfer them from the parchment-lined tray to an airtight freezer-safe container once the chocolate has fully set. When you’re ready to enjoy a frozen treat, you can eat them directly from the freezer, or let them sit at room temperature for a few minutes to soften slightly, if preferred.
More Healthy No-Bake Recipes to Explore
If you enjoyed the simplicity and deliciousness of these no-bake peppermint patties, you’ll love these other healthy, easy-to-make treats:
- 2-Ingredient Rolo’s
- Healthy Twix Cups
- Healthy Almond Joys
- The Best Vegan Frozen Yogurt
- Vegan Cookie Dough Protein Smoothie (Link typo in original, assuming similar healthy no-bake context, adjusting to a more relevant title if available or keeping as is if it fits)
- Healthier Mr. Goodbar Candy Bars
- No-Bake Snickers Protein Brownies
- Cinnamon Roll Energy Bites
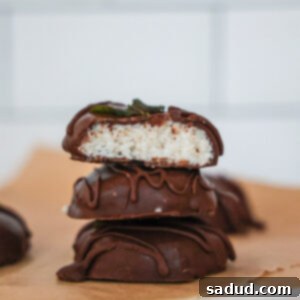
Healthy Peppermint Patties
Pin Recipe
Ingredients
For the mint discs
- 2 cups unsweetened shredded coconut
- 3 tbsp maple syrup or honey
- 1 tbsp melted coconut oil
- 1/2 tsp mint extract
- 1 tbsp creamer or milk (I used NutPods creamer!) *optional, but I prefer to add it!
Chocolate coating
- 1 cup chocolate chips
- 2-3 tsp coconut oil *optional, if needed to help thin out the chocolate for dipping!
Instructions
-
Make the Mint Filling: In a food processor, blend the shredded coconut, melted coconut oil, mint extract, and maple syrup until the mixture becomes smooth – the longer you blend it, the more the coconut will break down and become a little smoother. I like to add a tablespoon of NutPods creamer to help smooth the mixture out even more, but be careful not to add too much as they won’t firm up properly.
-
Scoop out small portions and roll them into balls – I like to use a small cookie scoop to do this to ensure they’re all around the same size! Flatten each ball into a small disc to create the peppermint patty shape.
-
Melt the Chocolate: In a microwave-safe bowl or using a double boiler, melt the chocolate chips with 1 tsp of coconut oil until smooth and glossy.
-
Coat the Patties: Remove the mint discs from the freezer. Dip each one into the melted chocolate, ensuring it’s fully coated. Use a fork to lift and let excess chocolate drip off. Place the coated patties back onto the parchment-lined tray.
-
Set the Chocolate: Once all patties are coated, freeze them until the chocolate is fully set, about 10-15 minutes. Then store them in an air-tight container in the fridge or freezer. Note: Store in freezer for longer term storage. You can always let them sit out at room temperature for a few minutes to soften, if needed!
Video
