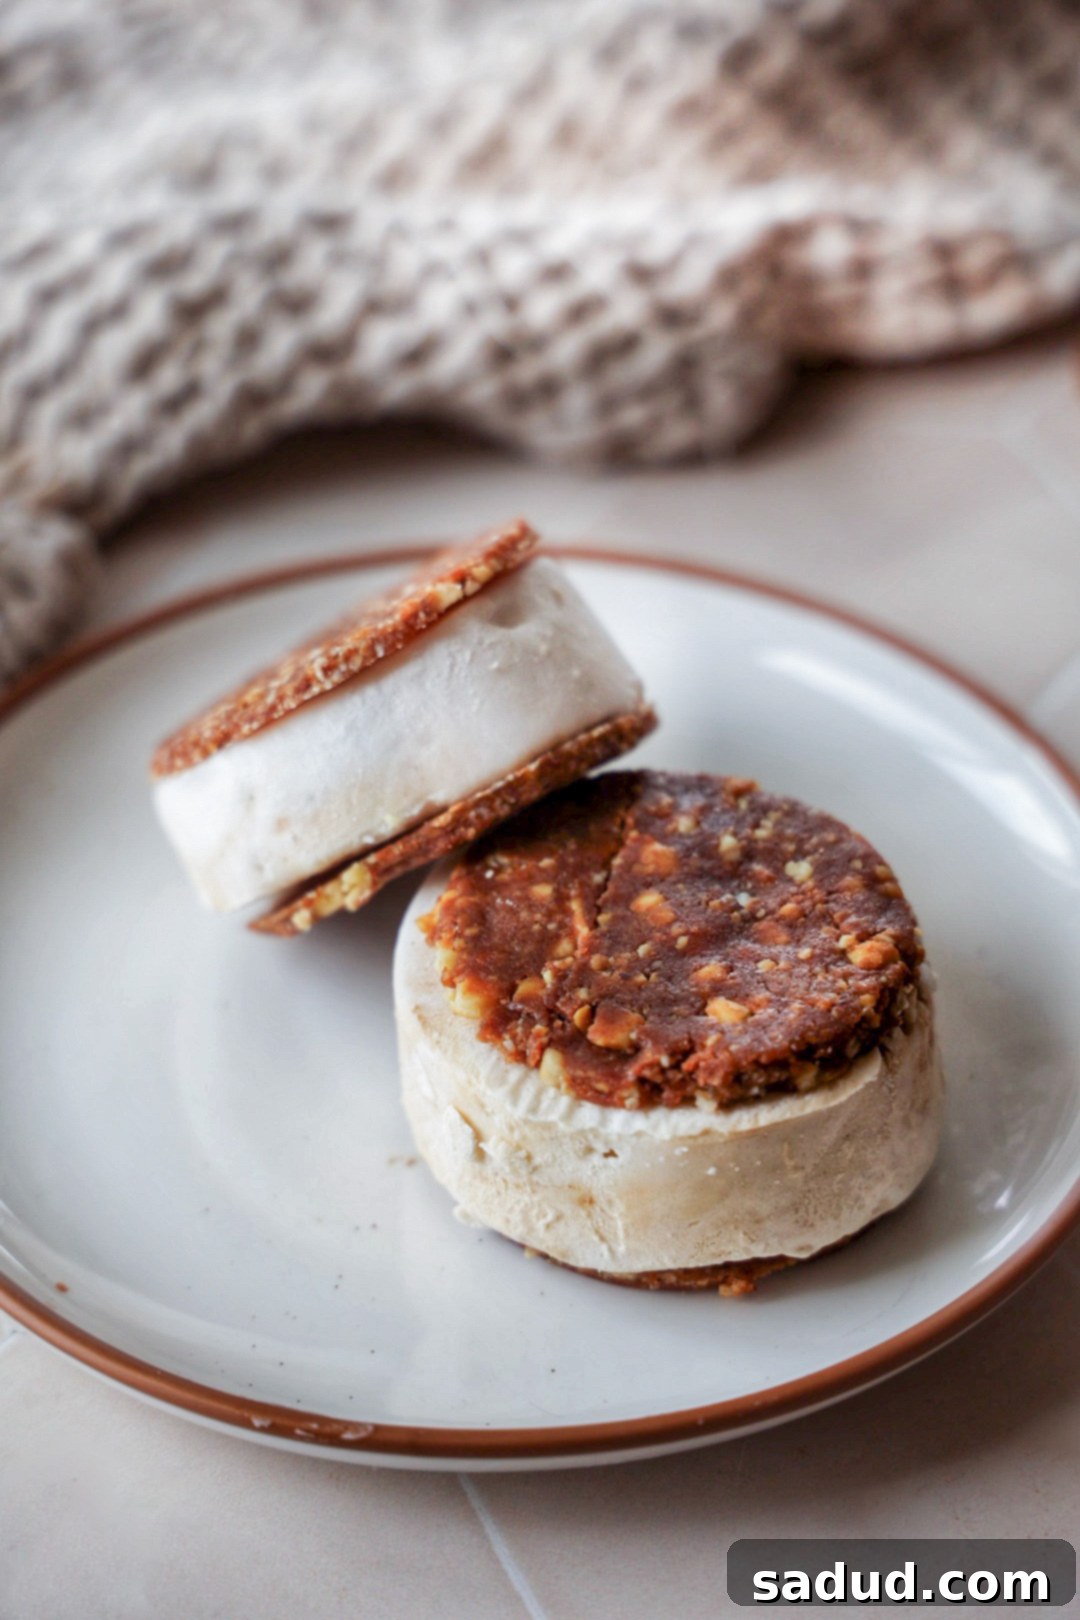
Healthy & Easy Frozen Yogurt Ice Cream Sandwiches: Your Perfect Guilt-Free Summer Treat (Vegan Option!)
Beat the summer heat or simply indulge in a refreshing, guilt-free treat with these incredible healthy frozen yogurt ice cream sandwiches! This recipe is a game-changer for anyone looking for a delicious dessert that’s both wholesome and incredibly simple to prepare. Requiring only a few ingredients and absolutely no baking, these delightful sandwiches come together with minimal effort, making them perfect for busy days or impromptu cravings. Whether you follow a vegan lifestyle or prefer a protein-packed snack, you can easily adapt this recipe by using either creamy coconut yogurt for a vegan option or a thick Greek yogurt for an extra boost of protein.
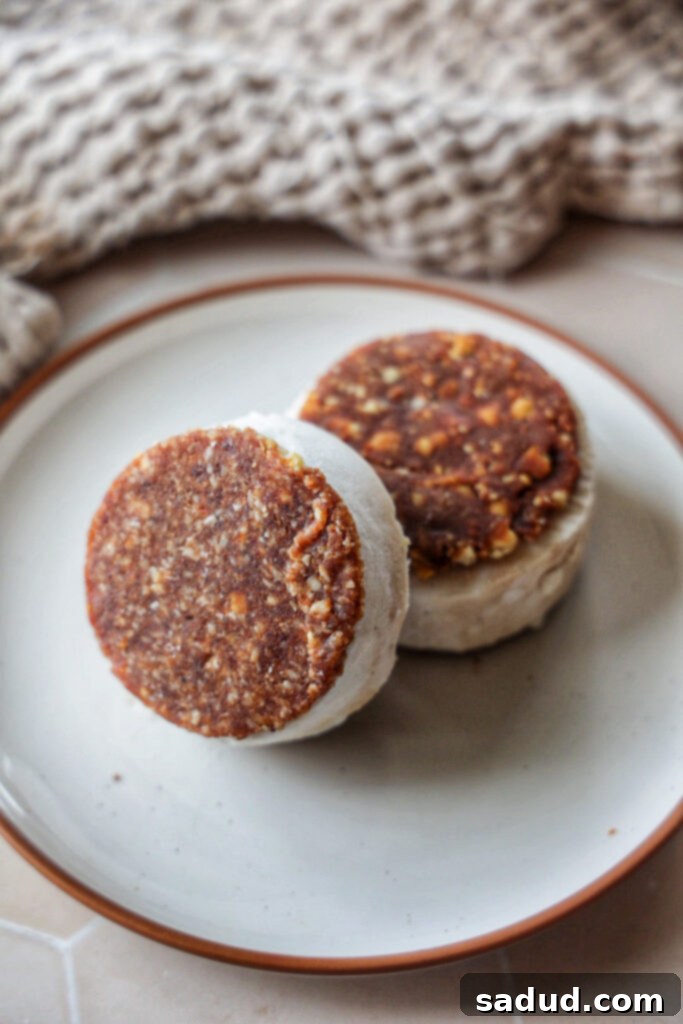
Why You’ll Fall in Love with These Healthy Frozen Yogurt Ice Cream Sandwiches
These aren’t just any ice cream sandwiches; they’re a thoughtfully crafted, more wholesome rendition of the classic, delivering all the flavor without any of the guilt. In fact, they’re so good and made with such nourishing ingredients, you might even consider them for a decadent breakfast! Here’s why these healthy frozen yogurt ice cream sandwiches will become your new favorite:
- Made with Wholesome Ingredients: Say goodbye to artificial flavors and excessive sugars. Our recipe utilizes simple, natural components like creamy coconut yogurt (or Greek yogurt), optional protein powder for an added boost, and your favorite fruit & nut or protein bars as the delicious “cookie” base. You have full control over what goes in, ensuring a truly healthy snack.
- Couldn’t Be Easier to Make: Forget complicated steps and lengthy prep times. This recipe is designed for simplicity, allowing you to whip up a batch of these delightful treats with minimal fuss, perfect for even the most novice home cook.
- No Baking Required: Enjoy a refreshing dessert without ever turning on your oven! This no-bake marvel is ideal for hot summer days when you want to avoid heating up your kitchen, making it a convenient choice year-round.
- Refined Sugar and Gluten-Free Option: Unlike many store-bought ice cream bars that are loaded with high amounts of refined sugar and often contain gluten, this recipe offers a fantastic alternative. By choosing the right bars and yogurt, you can easily create a dessert that caters to specific dietary needs, including gluten-free and refined sugar-free preferences.
- Endlessly Customizable: While delicious as is, this recipe serves as a perfect canvas for your culinary creativity. Easily adjust flavors, add mix-ins, or experiment with different bar types to tailor each sandwich to your personal taste.
- Kid-Friendly Fun: Get the whole family involved! The simple steps make this a wonderful activity for children, allowing them to help assemble their own treats and fostering healthy eating habits.
Essential Ingredients for Your Healthy Frozen Yogurt Ice Cream Sandwiches
Crafting these delectable frozen treats starts with selecting a few key ingredients. Each component plays a vital role in achieving the perfect texture, flavor, and nutritional profile. Here’s a closer look at what you’ll need:
- Yogurt: The foundation of our frozen filling! I highly recommend opting for a super thick yogurt to ensure the creamiest, most luxurious results. For a fantastic vegan and dairy-free option, my go-to is coconut yogurt (CocoJune is a personal favorite for its rich texture). If you’re not vegan and are looking to boost the protein content, a thick Greek yogurt works wonderfully, providing a dense and satisfying filling. Ensure your chosen yogurt has minimal added sugar if you’re aiming for a truly healthy treat.
- Protein Powder (Optional): This is an excellent addition if you want to increase the protein in your frozen yogurt and add an extra layer of flavor. Since coconut yogurt typically contains less protein than Greek yogurt, a scoop of your favorite protein powder can provide a beneficial boost. Choose a flavor you genuinely enjoy, as it will subtly influence the overall taste of your sandwiches. I personally love and highly recommend Truvani protein powder (don’t forget to use code DANI for 20% off!).
- Bars: These ingenious “cookies” form the top and bottom of your sandwiches, making assembly incredibly easy and entirely no-bake! Look for fruit and nut-based bars or softer protein bars that can be easily rolled out flat. Brands like LaraBar or GoMacro are excellent choices due to their pliable texture. The key is to select bars that are soft enough to be flattened without crumbling excessively. Avoid bars coated in chocolate, as they tend to become messy when handled and won’t give you the clean “cookie” look.
- Cashew Butter (Optional): While not strictly necessary, adding a touch of cashew butter is a fantastic trick to give the yogurt an even creamier, richer texture that I absolutely adore. It contributes to a wonderfully smooth mouthfeel. Almond butter or even sunflower seed butter could be used as alternatives if you have dietary restrictions or preferences.
- Milk: Just a splash of milk is needed to help achieve the perfect consistency when mixing all the yogurt ingredients together. You can use any milk you prefer, such as almond milk, oat milk, or cow’s milk.
- Vanilla Extract: A staple in most sweet recipes, vanilla extract adds a lovely depth and aromatic sweetness to the yogurt mixture, enhancing its overall flavor profile. Don’t skip it for that classic ice cream taste!
- Maple Syrup (Optional): Although not explicitly mentioned in the original body text ingredients list, the recipe card includes maple syrup. This natural sweetener allows you to adjust the sweetness of your frozen yogurt to your preference, making it refined sugar-free. Honey or agave nectar can be used as alternatives.
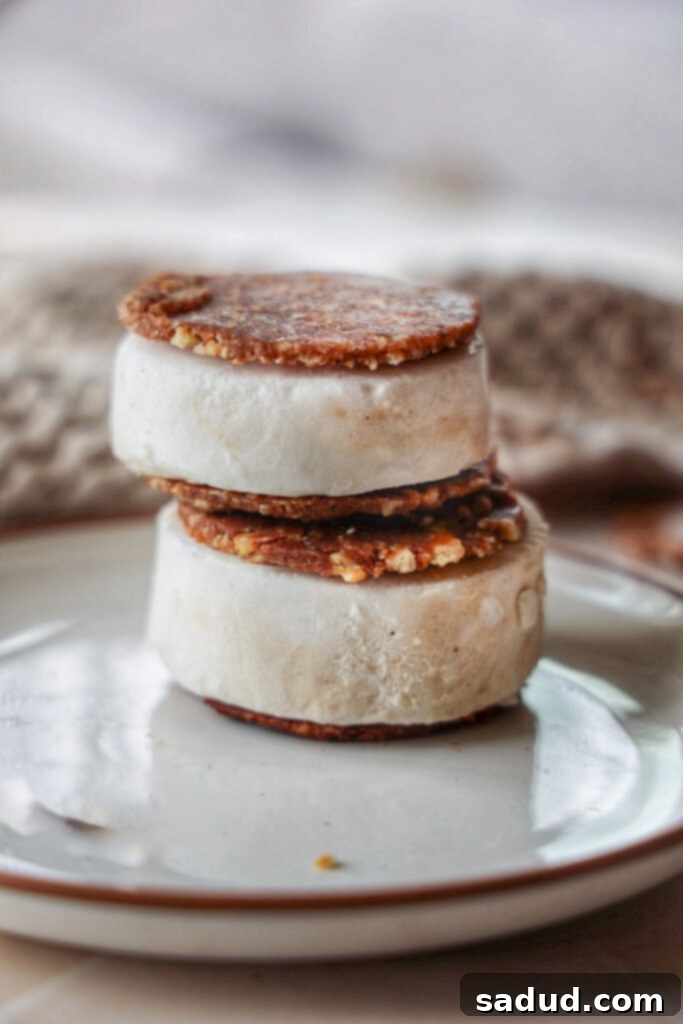
How to Make Healthy Frozen Yogurt Ice Cream Sandwiches: Step-by-Step Guide
Creating these delightful frozen yogurt ice cream sandwiches is surprisingly simple! Follow these easy steps to whip up your own batch of wholesome, refreshing treats:
- Prepare the Frozen Yogurt Base: The key to easy slicing later is how you freeze your yogurt. I find it easiest to use the original cardboard container of yogurt. First, in the container itself (or in a separate bowl if blending), combine your chosen yogurt, protein powder (if using), milk, vanilla extract, cashew butter (if using), and maple syrup (if using). Mix everything together very well until completely smooth and no clumps remain. If you prefer a super smooth consistency, you can blend all the ingredients and then pour the mixture back into the container. Taste and adjust sweetness or flavor as desired. Freeze the container for at least 5-6 hours, or preferably overnight, until the yogurt mixture is completely firm.
- Craft the “Cookies” from Bars: While your yogurt is firming up in the freezer, prepare your bar “cookies.” If your chosen bars are particularly hard, warm them in the microwave for 15-20 seconds to soften them slightly, making them much easier to work with. Lay a piece of parchment paper on a flat surface. Place a bar on the parchment paper and, using a rolling pin (or a large jar/glass if you don’t have one), roll it out flat to your desired thickness (about 1/4 inch works well). Then, use a circular cookie cutter, a mason jar lid, or even the rim of your yogurt container to cut out rounds from the flattened bars. Place these “cookies” on a parchment-lined tray and put them in the freezer to firm up while you wait for the yogurt.
- Assemble Your Sandwiches: Once the yogurt is completely firm, remove its container from the freezer and let it thaw for about 10-15 minutes. This brief thawing period will make it much easier to slice. Turn the yogurt container onto its side. Using a sharp, serrated knife, carefully slice rounds of frozen yogurt from the container. Gently peel off any remaining cardboard from the yogurt rounds. Immediately place one “cookie” on the bottom of a frozen yogurt round, and another “cookie” on top. Press gently to create your sandwich.
- Enjoy or Store: Your healthy frozen yogurt ice cream sandwiches are now ready to be enjoyed! If the yogurt is still very firm, you can let them thaw for a few more minutes for a creamier texture. For later enjoyment, store any leftover sandwiches in an airtight container in the freezer.
Alternative Method: How to Make Square Ice Cream Sandwiches if Using a Plastic Yogurt Container
As mentioned, using a cardboard yogurt container makes cutting rounds easy. However, if your yogurt comes in a plastic container that you can’t easily cut through, don’t worry! You can still make these delicious frozen yogurt treats by transforming them into “bars” which are then cut into squares. This method is equally simple and yields perfect square sandwiches.
- Prepare the Base Layer: If your chosen bars are firm, warm them in the microwave for 15-20 seconds to soften them. Line a standard loaf pan (approximately 9×5 inches) with parchment paper, leaving an overhang on the sides to easily lift the finished bars later. Press 2-4 bars (depending on their size) firmly into the bottom of the pan, covering the entire surface to create an even “cookie” base.
- Create the Yogurt Layer: In a bowl, blend or vigorously mix together your yogurt, protein powder (if using), milk, vanilla extract, cashew butter (if using), and maple syrup (if using) until completely smooth. Taste and adjust sweetness as desired. Pour this creamy yogurt mixture evenly over the bar base in the loaf pan.
- Freeze and Add Top Layer: Place the loaf pan in the freezer for 4-5 hours, or until the yogurt layer is firm enough to support the top layer of bars. Once firm, take the remaining bars, soften them slightly if needed, and press them evenly over the frozen yogurt layer, creating the top “cookie” crust. Return the pan to the freezer for another 1-2 hours to ensure everything is solid.
- Cut and Serve: When you’re ready to serve, remove the pan from the freezer and let it thaw for 10-15 minutes. This will make it much easier to cut through. Use the parchment paper overhangs to lift the entire block out of the pan. Place it on a cutting board and use a sharp knife to cut it into desired square or rectangular sandwiches. Enjoy immediately or store in an airtight container in the freezer.
How to Store Leftover Healthy Frozen Yogurt Ice Cream Sandwiches
To keep your healthy frozen yogurt ice cream sandwiches fresh and delicious for future enjoyment, proper storage is key. Simply place any leftover sandwiches in an air-tight container. You can also wrap each sandwich individually in parchment paper or plastic wrap before placing them in the container to prevent them from sticking together and to minimize freezer burn. Store them in the freezer for up to 1-2 weeks. When you’re ready for another treat, let them sit at room temperature for 5-10 minutes to soften slightly for the best creamy texture before digging in!
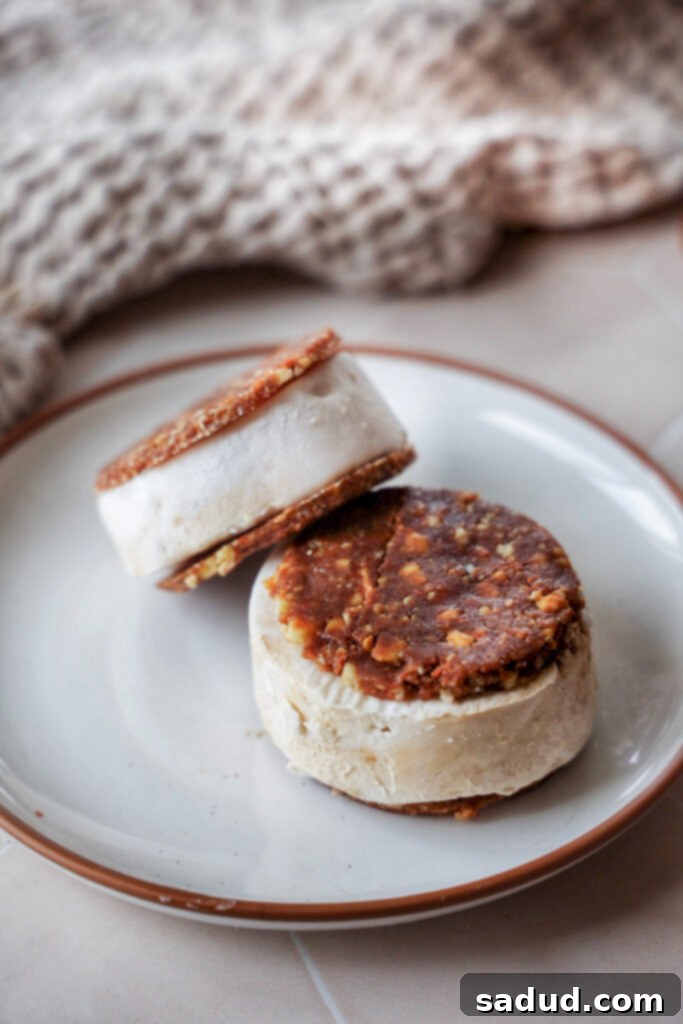
Expert Tips & Tricks for Perfect Healthy Frozen Yogurt Ice Cream Sandwiches
Achieving perfectly delicious and easy-to-handle frozen yogurt ice cream sandwiches is simple with these helpful tips:
- Soften Your Bars for Easy Rolling: If your chosen protein or fruit and nut bars are quite firm or hard, a quick trick will make rolling them out much easier. Pop them into the microwave for just 15-20 seconds. This brief warming period softens them, making them pliable and less prone to crumbling when you flatten them. Alternatively, you can warm them gently in your hands.
- No Rolling Pin? No Problem!: Don’t own a rolling pin? No need to buy one! A large, heavy jar (like a pasta sauce jar), a sturdy glass bottle (like a wine bottle), or even a heavy drinking glass can be used effectively to roll out your bars flat. Just ensure it’s clean and apply even pressure.
- Improvise Your Cookie Cutter: If you don’t have a specific circular cookie cutter on hand, get creative! A mason jar lid (the metal ring part), the bottom of your yogurt container (if it’s a good size), or even a wide-mouth glass can be used to cut out perfectly round “cookies” from your flattened bars. Just press firmly and twist.
- Thawing for Optimal Creaminess: While these sandwiches are delicious straight from the freezer, letting them thaw for 10-15 minutes at room temperature will result in a much creamier, more enjoyable texture. The frozen yogurt will soften slightly, becoming more akin to traditional ice cream, and the bars will become less rigid.
- Use Parchment Paper for Non-Stick Success: Always roll out your bars on a piece of parchment paper. This prevents sticking and makes it incredibly easy to transfer your cut “cookies” to and from the freezer. It also helps with easy cleanup!
- Get Creative with Garnish: Elevate your sandwiches with a fun garnish! A sprinkle of mini chocolate chips, shredded coconut, chopped nuts, or a drizzle of a thin fruit puree can add extra flavor and visual appeal.
- Plan Ahead for Freezing Time: Remember that the yogurt needs several hours (or overnight) to firm up properly. Plan your preparation accordingly, perhaps making the yogurt mixture the night before you plan to assemble and enjoy your sandwiches.
Customization Options for Your Perfect Frozen Yogurt Sandwiches
One of the best aspects of this recipe is its versatility. Feel free to experiment with different flavors and ingredients to make these healthy frozen yogurt ice cream sandwiches uniquely yours:
- Flavor Your Yogurt:
- Fruity Fun: Blend in a handful of fresh or frozen berries (strawberries, raspberries, blueberries) for a burst of fruit flavor.
- Chocoholic’s Dream: Stir in a tablespoon or two of unsweetened cocoa powder for a rich chocolate frozen yogurt.
- Spiced Delights: Add a pinch of cinnamon, nutmeg, or pumpkin spice for a warm, comforting twist.
- Citrus Zest: Grate in some lemon or orange zest for a bright, refreshing zing.
- Vary Your “Cookies”:
- Different Bar Flavors: Experiment with various fruit and nut bar flavors like apple pie, cherry, or peanut butter to match or complement your yogurt.
- Homemade Base: If you’re feeling ambitious, you could use homemade oat cookies, a simple shortbread, or even thin rice cakes as your “cookie” base.
- Mix-ins and Toppings:
- Crunchy Bits: Fold chopped nuts (pecans, walnuts, almonds), seeds (chia, flax), or granola into your yogurt mixture before freezing.
- Sweet Surprises: Add mini chocolate chips, carob chips, shredded coconut, or tiny pieces of dried fruit to the yogurt.
- Drizzles: After assembling, drizzle with a little melted dark chocolate, nut butter, or a fruit sauce for an extra touch.
Frequently Asked Questions (FAQ) About Healthy Frozen Yogurt Ice Cream Sandwiches
Here are some common questions you might have when making these delicious frozen yogurt ice cream sandwiches:
- Can I use regular ice cream instead of frozen yogurt?
Yes, you can! However, the recipe is designed around the lighter, tangier profile and higher protein content (if using Greek yogurt) of frozen yogurt. Using regular ice cream will make them less “healthy” in terms of sugar and fat content, but it will still be delicious. Be sure to use a very firm ice cream for easier slicing.
- How long do these frozen yogurt sandwiches last in the freezer?
When stored in an airtight container, these sandwiches will stay fresh for up to 1-2 weeks. For best quality, consume them within the first week.
- Can I make these ahead for a party?
Absolutely! These are perfect for meal prep or making ahead for a gathering. Prepare them completely and store them in an airtight container in the freezer. Just remember to pull them out 10-15 minutes before serving for optimal texture.
- What if my yogurt isn’t thick enough?
If your yogurt seems too runny, you can try straining it through a cheesecloth-lined sieve for a few hours in the refrigerator to remove excess whey, resulting in a thicker consistency. Alternatively, a little extra protein powder (unflavored or vanilla) can also help thicken the mixture.
- Are these suitable for people with nut allergies?
To make these nut-free, ensure you select fruit-only bars (like some LaraBar flavors) or seed-based bars, and use sunflower seed butter instead of cashew butter. Always double-check ingredient labels for hidden nuts or cross-contamination warnings.
More Healthy Frozen Treats to Try
If you loved these frozen yogurt ice cream sandwiches, be sure to check out some of these other delightful and healthy frozen recipes:
Healthy blueberry crisp ice cream
Peanut butter cup nice cream without banana
Healthy vegan pumpkin spice frappuccino
Nutter butter nice cream
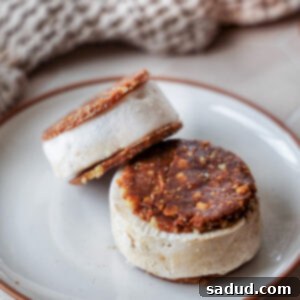
Healthy Frozen Yogurt Ice Cream Sandwiches (Vegan)
Pin Recipe
Ingredients
- 4-5 fruit & nut or protein bars of choice *You may need more/less depending on how large your bars are
- 1 16oz container of yogurt (thick coconut yogurt for vegan, or Greek yogurt)
- 3 tbsp of your favorite protein powder *optional
- 3 tbsp maple syrup *optional, or other natural sweetener to taste
- 1 tsp vanilla extract
- 2 tbsp cashew butter *optional but makes them even better!
- 1 tbsp milk *any milk of choice (almond, oat, dairy)
Instructions
If making round sandwiches
-
You can either blend all of the frozen yogurt ingredients together (yogurt, protein powder, maple syrup, vanilla extract, cashew butter, milk) & then add back to the yogurt container or just mix it inside the container really well until no clumps remain. Taste the mixture & adjust sweetness or flavor as you’d like.
-
Freeze the container for 5-6 hours-overnight until completely firm.
-
If your bars are firm/hard, heat them for 15-20 seconds to soften them slightly. This will make rolling them out easier. Roll them out on parchment paper. Use a cookie cutter, mason jar lid, or the bottom of your yogurt container to cut rounds out of the bars to create the cookies. I cover mine and place them in the freezer to firm up while I wait for the yogurt.
-
When ready to assemble the sandwiches, remove the yogurt from the freezer and let thaw for 10-15 minutes. This will make cutting it easier. Turn the yogurt container on its side. Using a serrated knife, carefully slice rounds out of the container, removing the cardboard from the yogurt if they don’t just pop out.
-
Add a “cookie” to the bottom and top of each frozen yogurt round. Press gently to create your sandwich. You can let them thaw a bit more if the yogurt is really frozen for a creamier texture, or enjoy immediately.
If making square sandwiches (using a plastic yogurt container)
-
If your bars are firm/hard, heat them for 15-20 seconds to soften them slightly, making them easier to work with. Line a loaf pan with parchment paper, ensuring there’s an overhang on the sides. Press 2-3 bars into the bottom of the pan until it’s completely covered, forming an even base layer.
-
Blend or mix together the yogurt ingredients (yogurt, protein powder, maple syrup, vanilla extract, cashew butter, milk) until smooth. Taste & adjust as you’d like. Pour this mixture evenly over the bar base in the loaf pan.
-
Place in the freezer for 4-5 hours or until the yogurt layer is firm. Once firm, take the remaining bars, soften them slightly if needed, and press them over top until the yogurt layer is completely covered, forming the top “cookie” layer. Return to the freezer for another 1-2 hours.
-
Let the entire block thaw for 10-15 minutes to make them easier to cut. Then, using the parchment overhangs, lift the block out and cut into desired squares or rectangular sandwiches with a sharp knife. Enjoy!
